Another Code Recollection – Getting the Second and Third ANOTHER Keys
Upon completing the Piano puzzle and discovering the initial ANOTHER Key in Another Code Recollection, players must obtain two additional ANOTHER Keys.
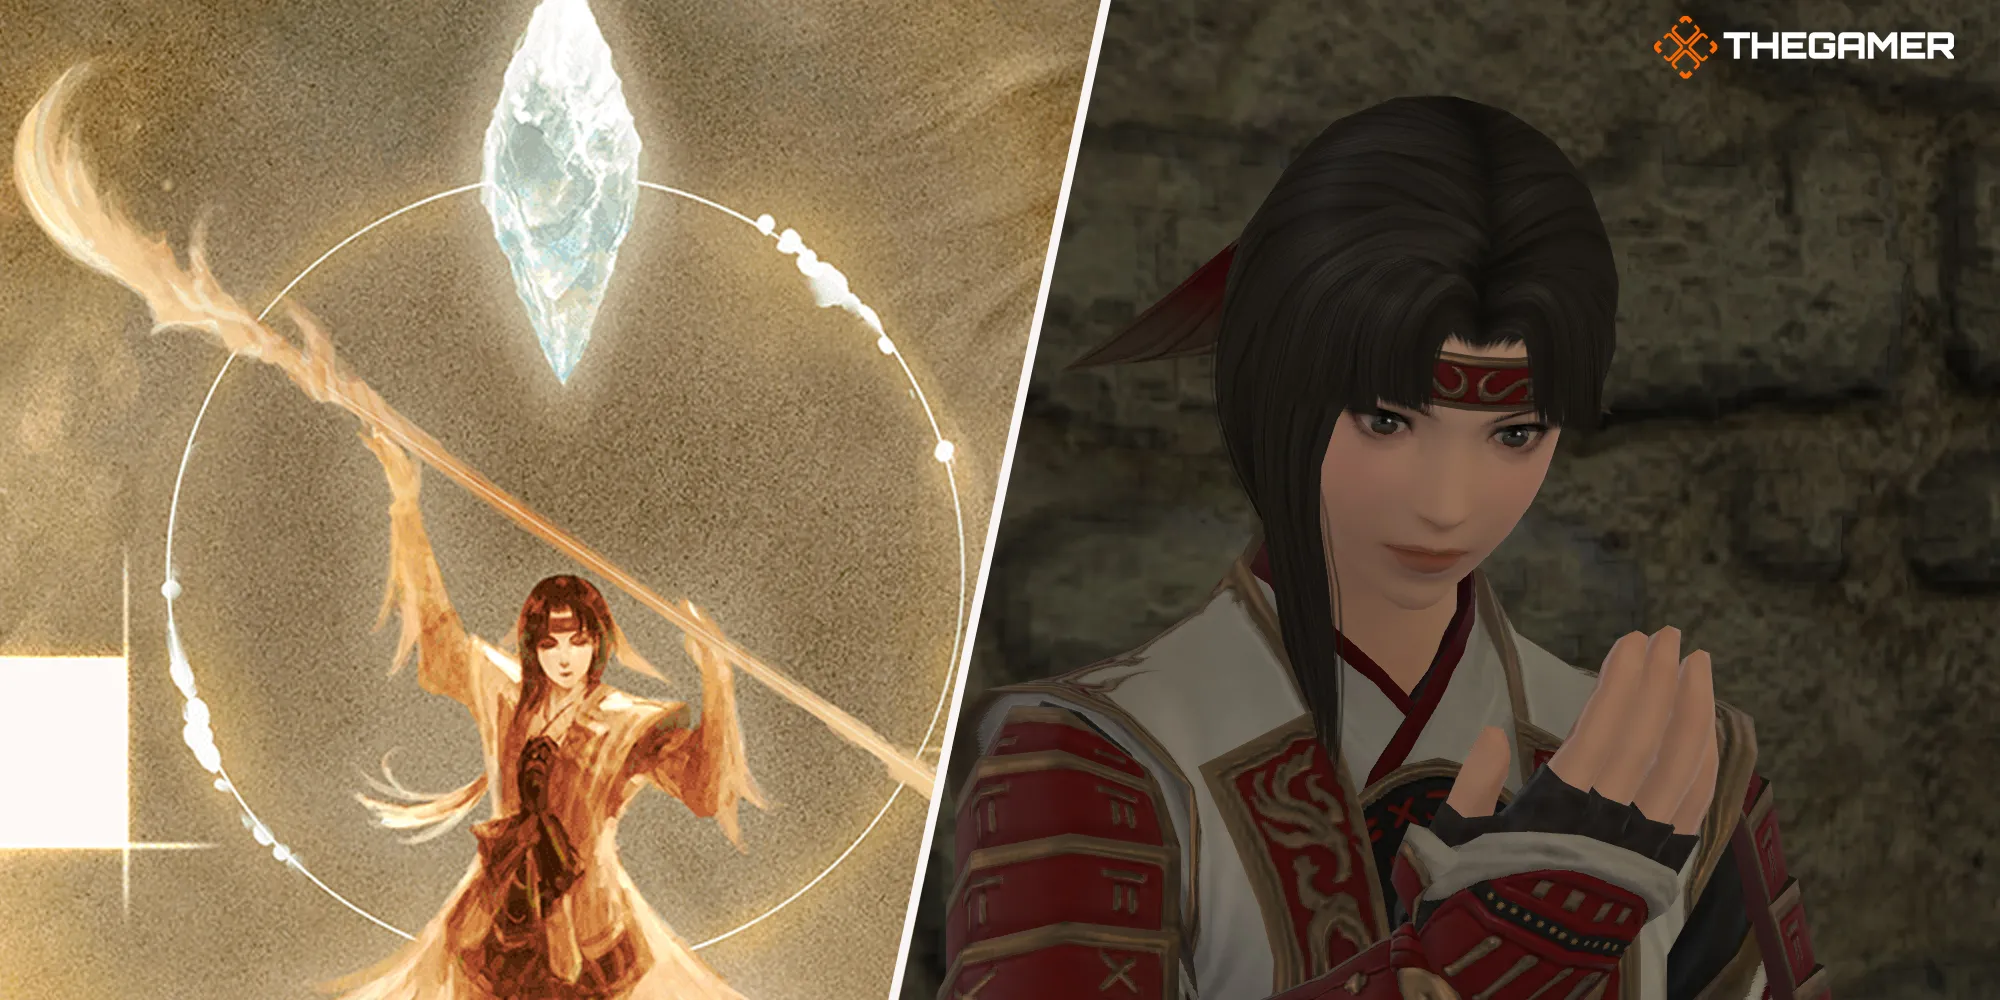
Another Code: Recollection – A Puzzling Adventure!
🎮 Attention all puzzle-loving gamers! Have you ever played a game that combines mystery, adventure, and mind-bending puzzles? Look no further than Another Code: Recollection. This incredible game is not just a remake, but it’s actually two games in one! The first story you’ll experience is Another Code: Two Memories, followed by Another Code: R – A Journey Into Lost Memories. Strap in, gamers, because we’re about to embark on an unforgettable journey with the clever and resourceful Ashley!
Seeking the ANOTHER Keys
The heart of the story revolves around Ashley’s quest to reunite with her long-lost father on the mysterious Blood Edward Island. But to make it happen, she must first track down three elusive computer chips, called ANOTHER Keys. These keys are scattered across the island, and Ashley will need to use her wits to solve various puzzles in order to find them.
🔑 In Chapter Three, after solving the Piano puzzle (which is outlined in another guide), players will discover the first ANOTHER Key. But fear not, fellow adventurers, because I’m here to guide you through finding the second and third ANOTHER Keys in Another Code: Recollection!
The Quest for ANOTHER Key 02
Are you ready to embark on a puzzle-filled adventure to find the second ANOTHER Key? Put on your thinking cap and let’s go! 🧩🚀
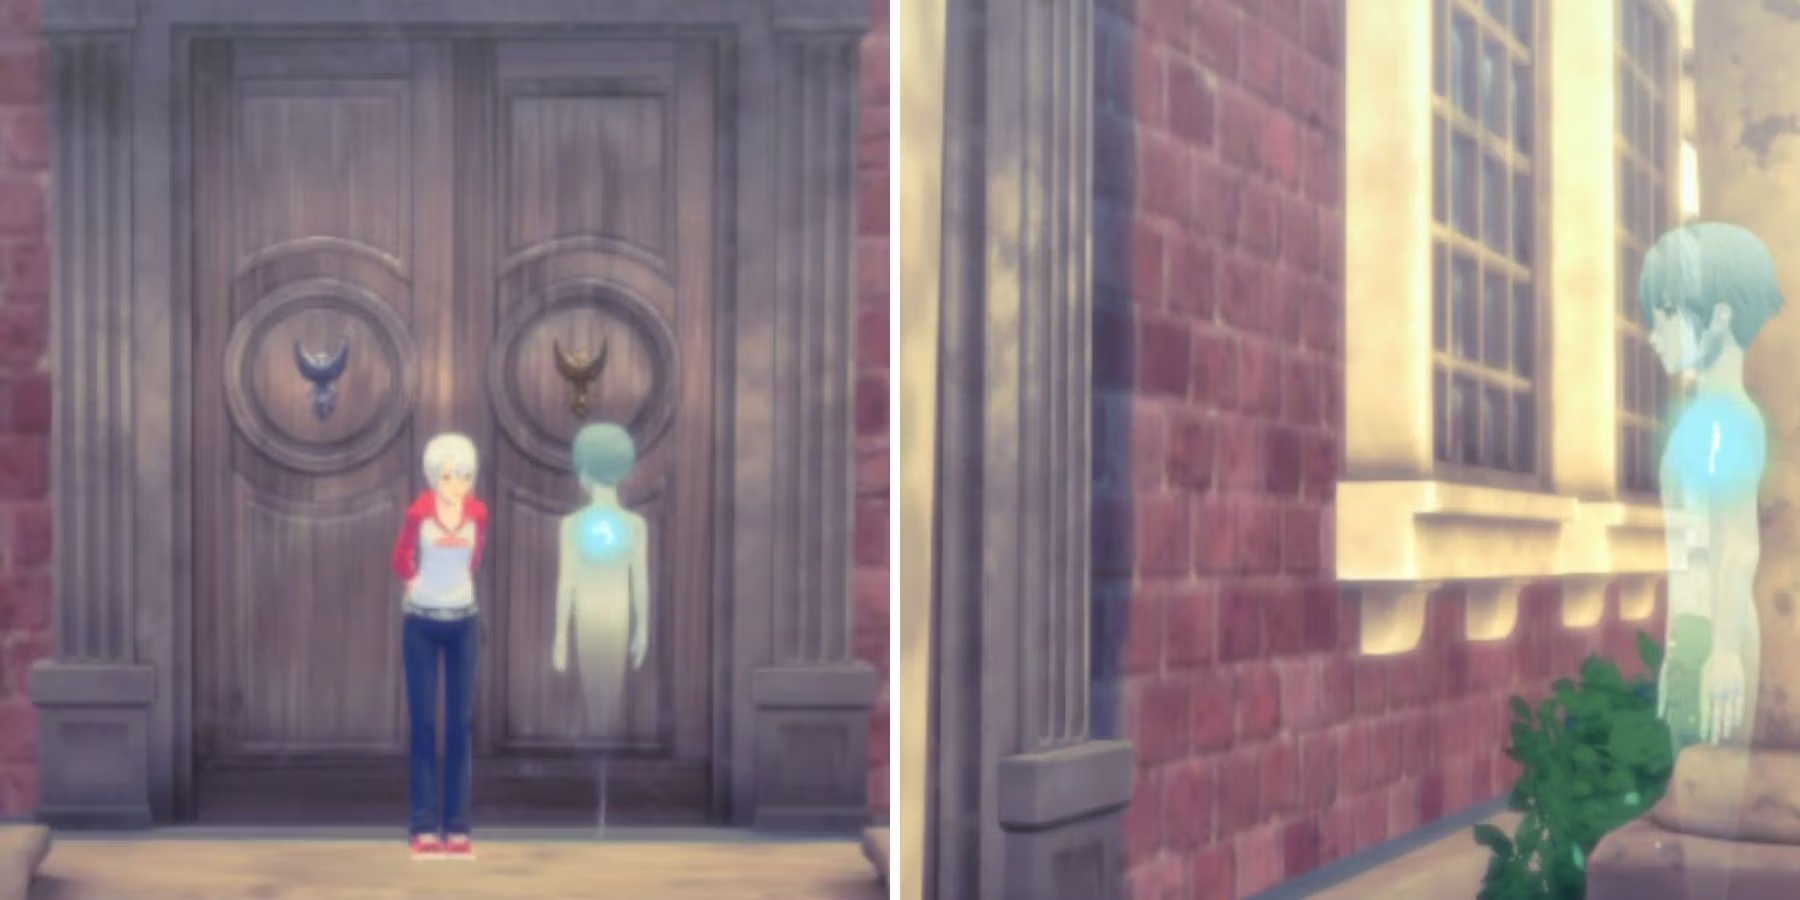
🏰 Head to the West Wing of the Mansion and make your way to the Study/Library on the second floor. Richard will give you a key to unlock the door, leading you into a room shown in a first-person POV.
- Can You Remove Dead Bodies in Palworld?
- Palworld: How to Carry More Weight
- A Beginner’s Guide: How to Get Wool and Cloth in Palworld
🕯️ The Library is shrouded in darkness, with floor holes and knocked-over bookshelves. But fear not, my brave gamers! Light some candles to brighten your path. Remember, you should have a handy Lighter from the Drawing Room.
📚 Navigate through the maze-like Library, following these steps:
- ✨ Light the first obvious candle near the entrance to brighten the hallway.
- 📜 Proceed down the path to the left, walking over a bookshelf. You’ll spot a pile of books illuminated by a lit candle. Grab the two loose candles in the pile before returning to the starting point.
- 🔥 Go straight forward, passing the lit candle, then turn right. You’ll find an empty candleholder next to a bookshelf blocking your way. Place one of the candles in the holder, and use the DAS camera to take a picture of the symbols etched into the bottom of the books on the shelf.
- 🕯️ Take the candle from the holder, place it in the opposite holder at the end of the hallway, and return to the starting point.
- 🚶♂️ Facing the Foyer door, turn left and proceed down the dark hallway. Perched on the wall, you’ll find a candleholder. Place the second candle there and light it up. Cross the bookshelf leaning over a huge hole in the floor, just like a daring adventurer!
- 👁️🗨️ Keep moving straight until you reach D, who will be waiting at the end of the path, looking at a bookshelf.
Crack the Bookshelf Puzzle
Congratulations on making it this far! Now it’s time to put your puzzle-solving skills to the test and unlock the secret door hidden within the bookshelf. Are you ready to unravel its mysteries? Let’s go! 📖🔒
🦜 Ashley and D notice that one of the bookshelves has symbols etched into the bottom of the books, just like the shelf with the hummingbird decorations. There’s also a plaque with the phrase “The two birds know the order”. Time to crack the code!
🧩 Using the photo of the hummingbird bookshelf as a reference, switch the books around until they match the symbols on the other shelf. Voila! The bookshelf will slide aside, revealing a hidden room brimming with secrets.
Solve the Fireplace Puzzle
You’re doing a fantastic job, gamers! We’re getting closer to finding the elusive ANOTHER Key 02. But first, we need to overcome the puzzle guarding the secret room behind the fireplace. Are you ready to challenge your wit and unlock the mystery? 🔥🗝️
- 🪶 Examine the items in the room, including a scale with moon coins, a note from Frannie, and a fireplace. Pay close attention to the several coins on the scale, each with a different weight and moon phase.
- 🕯️ Investigate the low table between the couches. You’ll find a candle, a note from Frannie, and invisible ink. Give the note a read and use your trusty lighter to light the candle. Time to reveal the hidden secrets!
- 🔥 Hold the note over the flame until an omega symbol appears in each box. These symbols correspond to the symbols on the moon coins and the scale, indicating the weight of each coin.
- 🌒🌕🌖 Match each symbol on the paper with the correct moon coin using the scale. This will help you uncover the correct arrangement of the coins.
- 🚪 Return to the fireplace and click on the decoration above it. Ah! Coin slots are revealed. Place the coins in the correct order based on Frannie’s challenge:
- 🌑 New Moon
- 🌕 Full Moon
- 🌘 Waning-Gibbous
Unlock the Briefcase
Huzzah! You’ve made it past the fireplace puzzle, and now the final challenge awaits: unlocking the mysterious briefcase. Dare you venture forth and uncover its secrets? Let’s go, brave puzzle solvers! 💼🕵️♀️
🕯️ Light all the candles in the room behind the fireplace to see what lies ahead. Sitting atop wooden crates, you’ll find a locked briefcase and a bag. But fear not, my determined gamers, for within the bag lies a clue to the briefcase’s combination.
🎩 Search through the bag to discover an old hat, a baseball, and a birthday card for D. The date on the card, November 28, 1948, holds the key to cracking the combination. Subtract 12 years from 1948 to reveal the code. Enter 1128 on the left and 1936 on the right to unlock the briefcase.
🔑 Behold! ANOTHER Key 02 is revealed to you, eager adventurer. Take it and bask in the glory of your puzzle-solving prowess. But don’t rest just yet, for ANOTHER Key 03 beckons!
The Final Pursuit – ANOTHER Key 03
Congratulations on making it this far, brave puzzle enthusiasts! You’re about to unveil the location of the third and final ANOTHER Key. Get ready for the last stretch of our winding adventure! 🗝️🌟
🏰 Utilize the DAS map once again to locate the approximate position of ANOTHER Key 03 on the first floor of the West Wing.
🚪 Exit the secret fireplace room and make your way through the left-hand door, leading to the West Wing Hallway. Your destination awaits!
🌉 Cross the gap in the floor by using the board as a bridge. Ashley’s fearless exploration knows no bounds!
↘️ Proceed down the staircase at the end of the hall.
🍽️ Enter the Kitchen, the first door on your right. Investigate the items near the table before continuing to the Lounge.
🚪 Unlock the doors to the West Wing Hallway (on the left) and the Lounge (at the end of the Dining Room).
🥂 The Lounge is a swanky bar area with a radio atop the bar. Tune in to trigger a discussion between Ashley and D. But wait, there’s a puzzle to solve! Adjust the dials on the radio until the red meter is in the green zone. Use the provided photo as the perfect reference.
🎹 Once the music is playing loud and clear, Ashley realizes it’s the same song from the Piano puzzle. A secret compartment appears on the side of the radio, and lo and behold, the third ANOTHER Key emerges!
The Incredible Conclusion
You’ve conquered the challenges, solved the puzzles, and found all three ANOTHER Keys! 🎉🔓 It’s time to install the last ANOTHER Key into the DAS and usher in a heartwarming reunion between Ashley and her father in the Foyer.
What an extraordinary adventure you’ve been on, my fellow gamers! Another Code: Recollection is a must-play masterpiece that showcases the power of puzzles and the thrill of exploration. If you haven’t already, grab your Nintendo Switch and embark on this mind-bending journey today!
Remember to share your gaming experiences with friends and fellow gamers on social media. Let’s spread the joy and excitement of Another Code: Recollection together! Until next time, happy gaming! 🎮🌟
🌟 Additional Q&A Content
Q1: Are there any other intriguing puzzles in Another Code: Recollection?
Q2: Can you provide tips for solving puzzles more efficiently in the game?
Q3: Is there any significance behind the island’s name, Blood Edward Island?
Q4: Are there any alternate endings or hidden secrets in the game?
Q5: Can I play Another Code: Recollection on other gaming consoles besides the Nintendo Switch?
🔗 References: 1. Another Code: Recollection – Nintendo Switch 2. Another Code: Two Memories – Game Trailer 3. Another Code: R – A Journey Into Lost Memories – Game Trailer 4. How to Solve the Piano Puzzle in Another Code: Recollection 5. Official Another Code: Recollection Forums (Community)