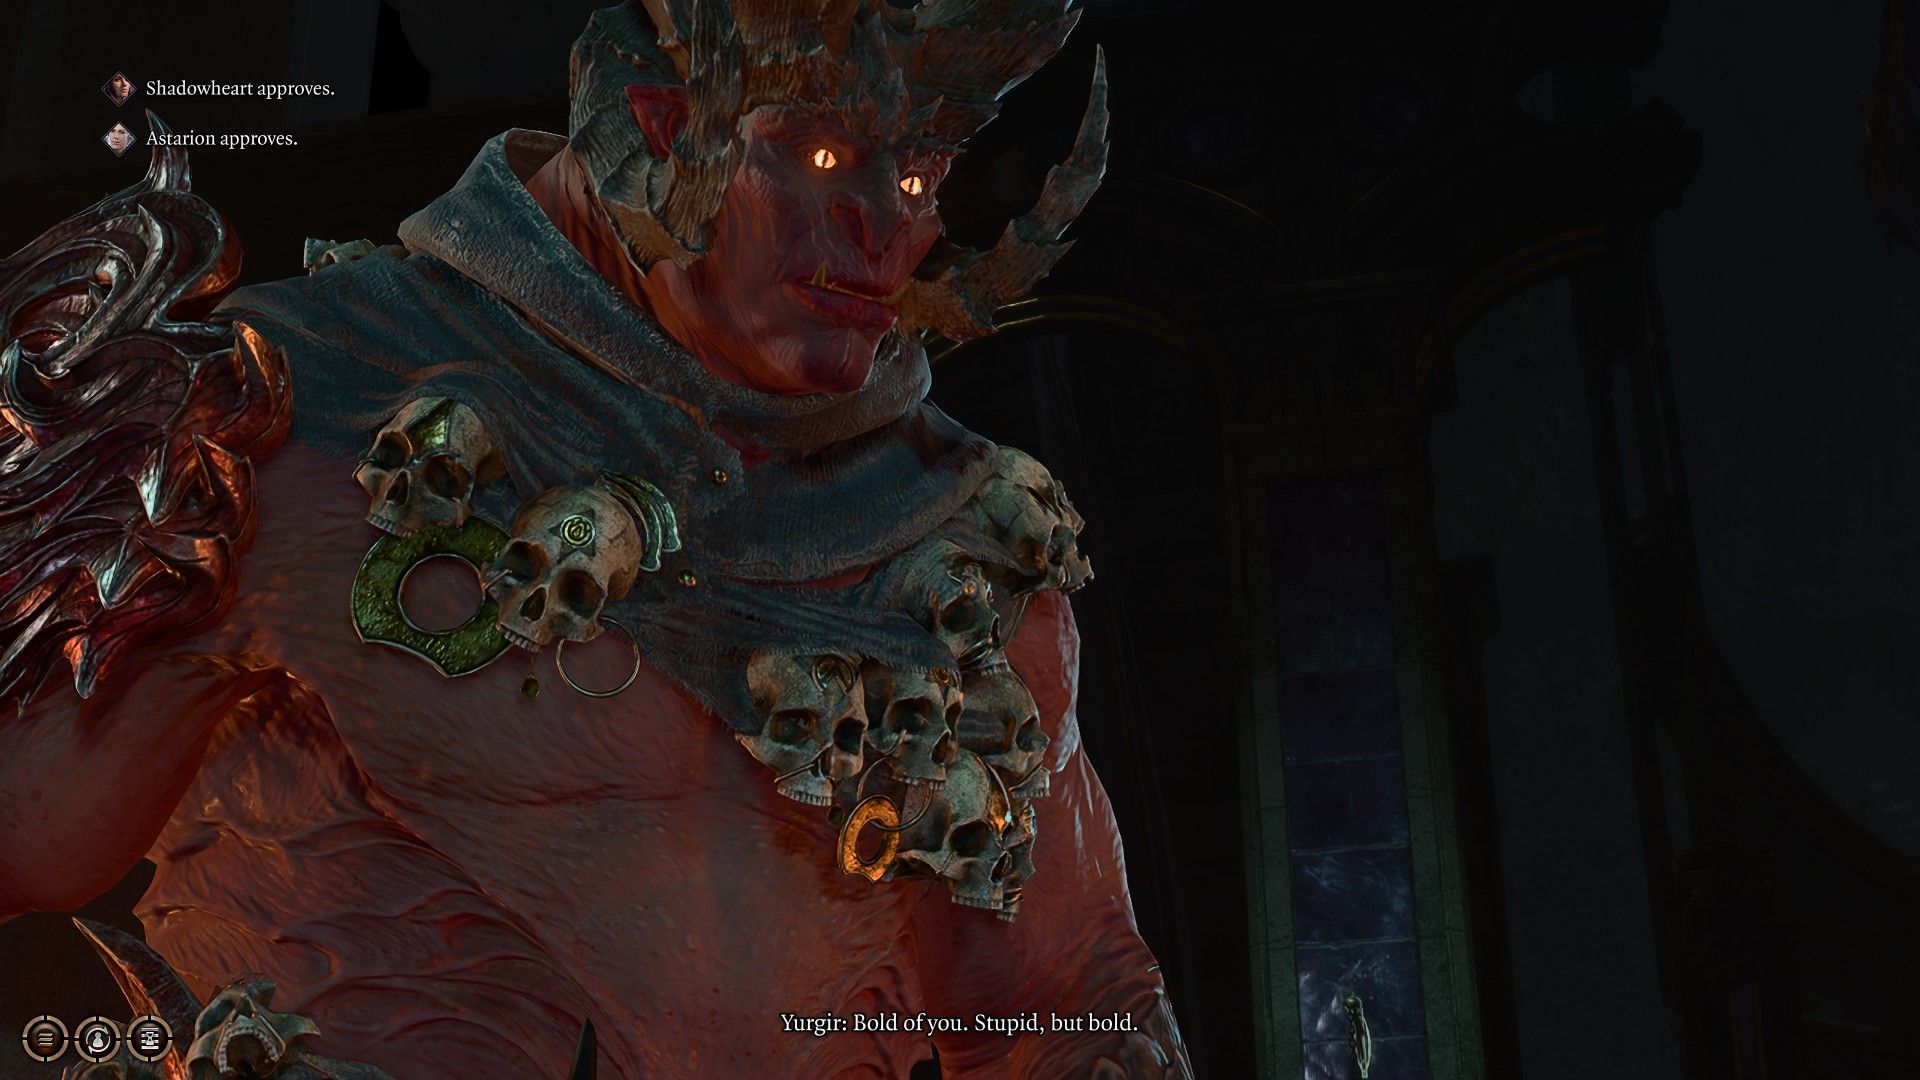
Baldur’s Gate 3: Defeating Yurgir the Orthon in Shar’s Gauntlet
Baldur's Gate 3: Defeating Yurgir the Orthon in Shar's Gauntlet
Baldur’s Gate 3: Conquering Yurgir the Orthorn and Unleashing Chaos
Few fights in Act 2 of Baldur’s Gate 3 are as daunting as the infamous battle against the mountain-like Yurgir the Orthorn. With the odds stacked against you, this is the ultimate test before reaching the Moonrise Towers and uncovering the secrets of the Gauntlet of Shar.
But fear not! We’re here to help you survive this epic encounter and emerge victorious, whether you choose to persuade, negotiate, or unleash your wrath upon Yurgir.
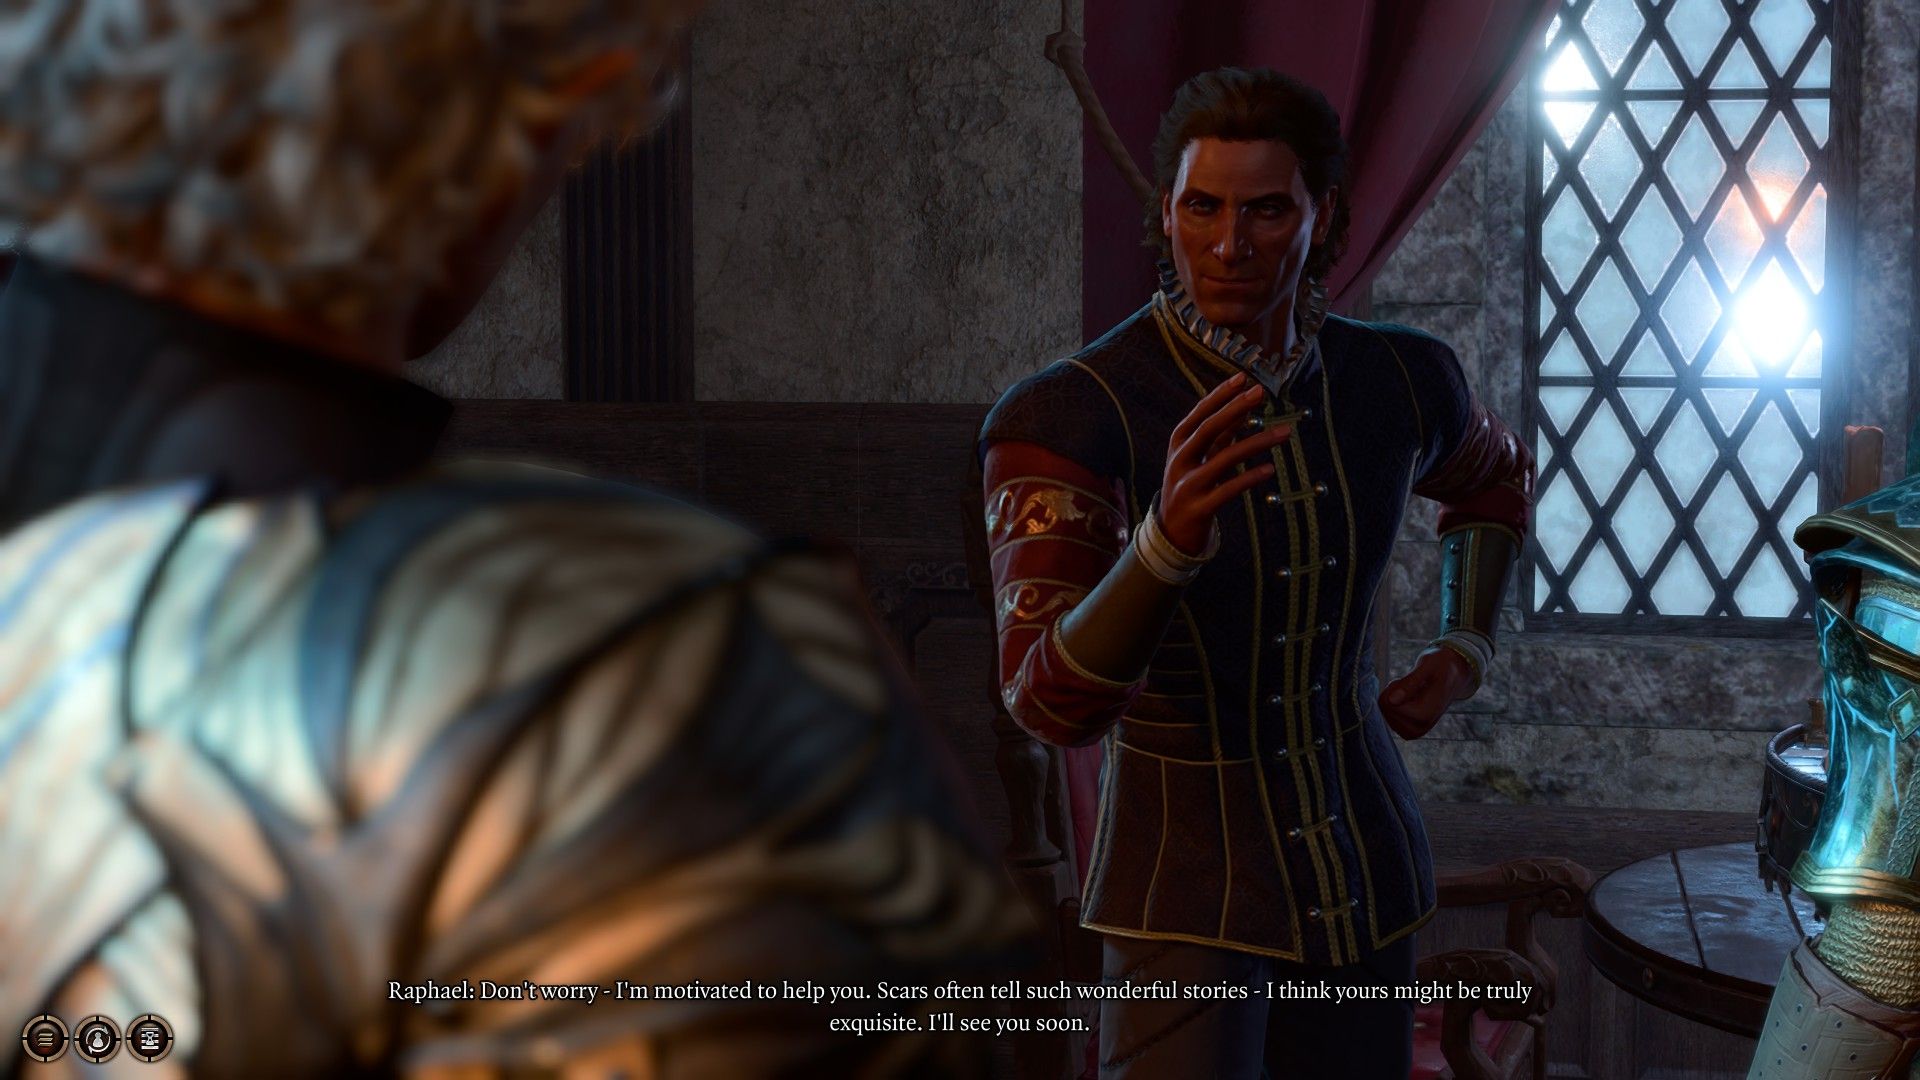
How to Start: Killing Raphael’s Old Enemy
Before entering the Gauntlet of Shar, make sure to have a chat with Raphael in two different locations: Last Light Inn (before facing Isobel and Flaming Fist Marcus) and outside Thorm Mausoleum. These conversations will kickstart a quest to decipher the Infernal markings on Astarion’s back, with killing Yurgir as the ultimate payment for Raphael’s translation.
Once you’ve accepted the quest, venture through the Mausoleum and make your way down into Shar’s Sanctum. Complete the first night puzzle and seek out Yurgir in the east wing. You’ll find him to the right of the main area, where you previously fought the Reconstituted Duelists and stood in awe of Shar’s grand statue.
- Baldur’s Gate 3: 10 Combat Pro Tips
- Guide to locating Mol’s hideout in Baldur’s Gate 3 and ...
- Get the Diablo 4 Prime Gaming rewards
If you wish to speak to Yurgir, follow the Displacer Beast that leads you through a doorway without hiding. This will give you the freedom to choose from all three options when interacting with Yurgir.
If you’re set on a more direct approach and want to eliminate Yurgir without conversation, dispatch the Displacer Beast and continue east. Jump across a broken gap section to reach a set of stairs leading upward. Hide, wait until Yurgir’s troops are revealed with a successful Perception check, and position your own troops strategically behind them as you please.
How to Nullify Yurgir’s Contract: Persuasion to Spare Yurgir
If you don’t fancy a fight and would rather make Yurgir your friend, there’s a way to bypass the battle altogether. Persuade Yurgir to spare himself and everyone else in the room by offering to search the area (DC 16).
A successful persuasion will grant you a map area to search for a way to nullify Yurgir’s contract. Your objective is to reach the feet of the Shar statue. There are two ways to proceed: jump down with Feather Fall or use your Umbral Orb from the first trial to activate the Shar statue disc and ride it down.
Once you’re behind the bare feet of the statue, interact with a broken effigy and a book called “One Becomes Many” to summon a small rat. Attack and eliminate this rat to summon a horde of its kin.
Be cautious, as these rats have a deadly trick up their sleeves. Some of them explode upon death, causing sleep-inducing status effects. Elves are immune to this, so keep that in mind. Employ spellcasters with area-of-effect spells or keep your group in a tight circle protected by either Spirit Guardians or a Guardian of Faith.
Once you’ve defeated all the rats, the final rat will transform into a Dark Justiciar named Lyrthindor, the Last Dark Justiciar. While he’s not particularly special, he is fond of spam-casting a high-level Sleep spell (which can be Counterspelled). Defeat Lyrthindor to fulfill Yurgir’s contract. Return to Yurgir, inform him of your success, and gain the ability to take the Umbral Gem peacefully.
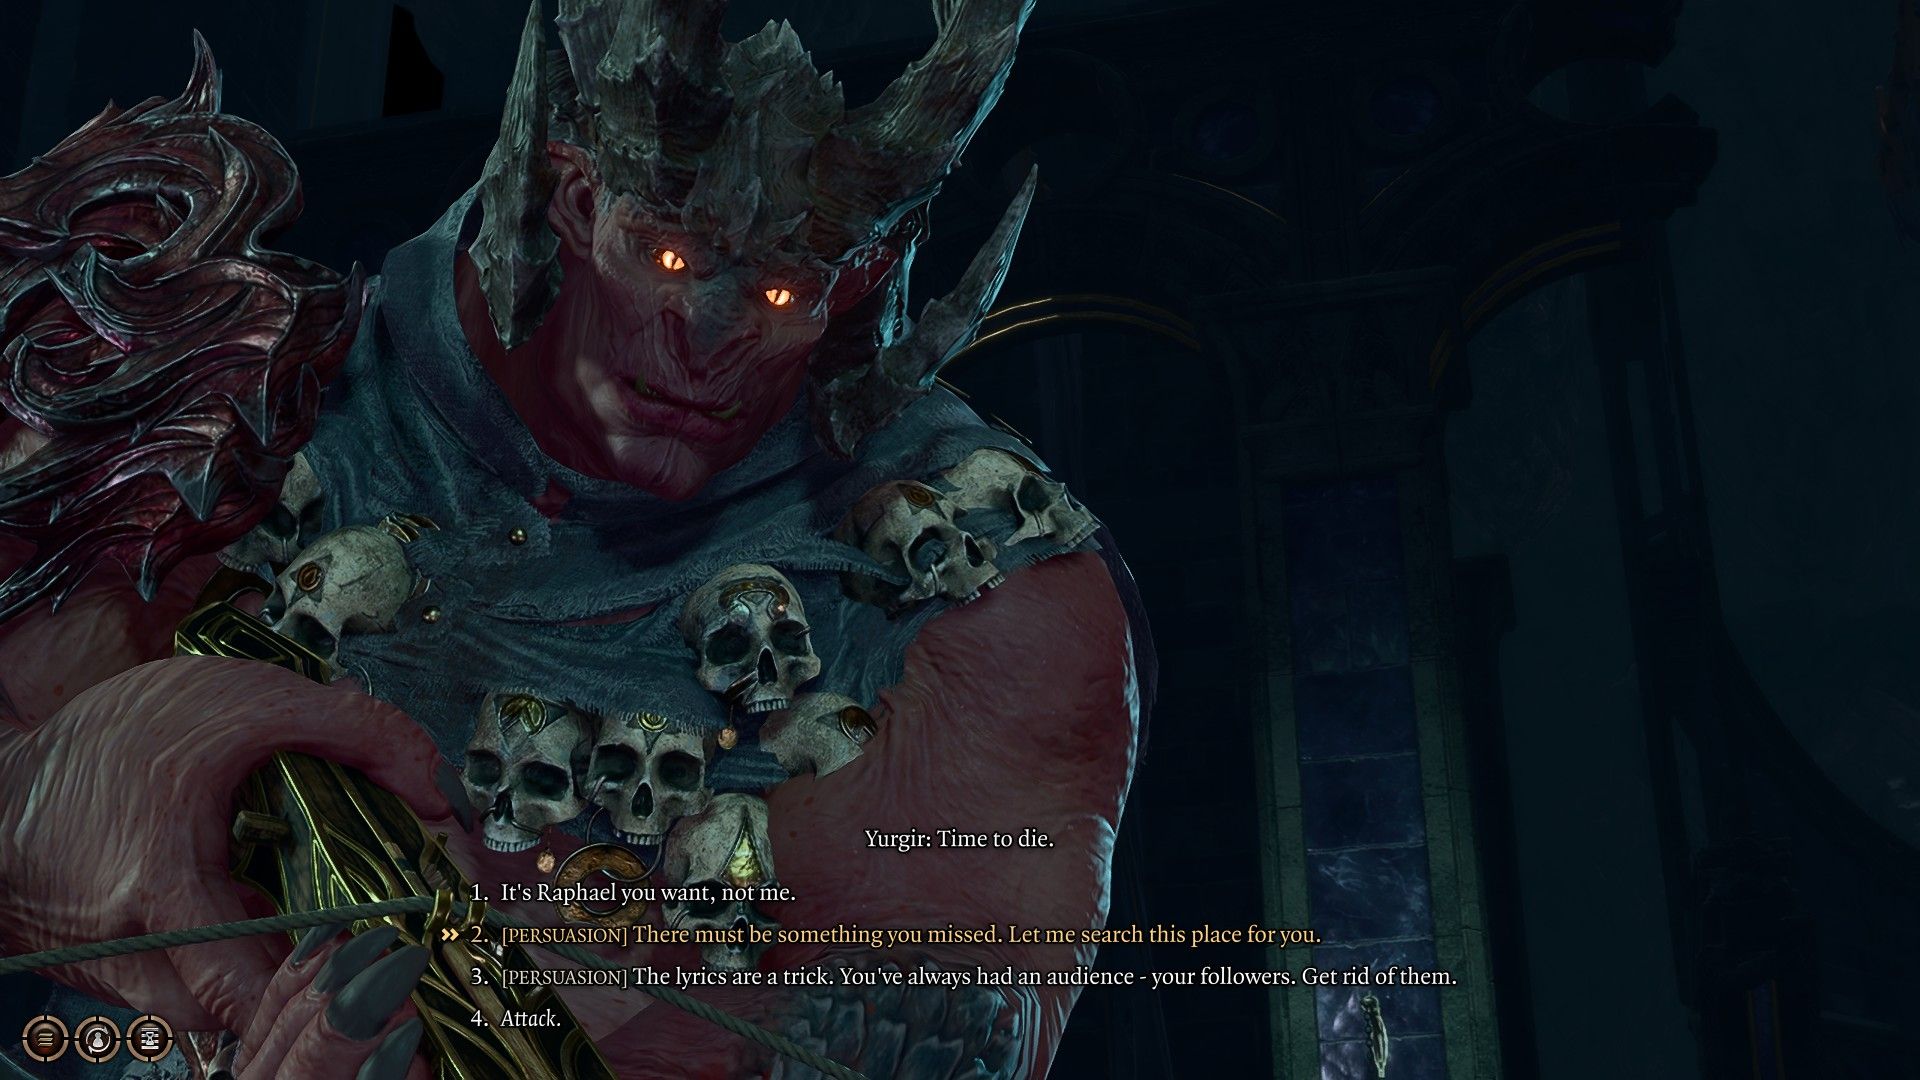
How to Defeat Yurgir: Persuasion to Kill Yurgir
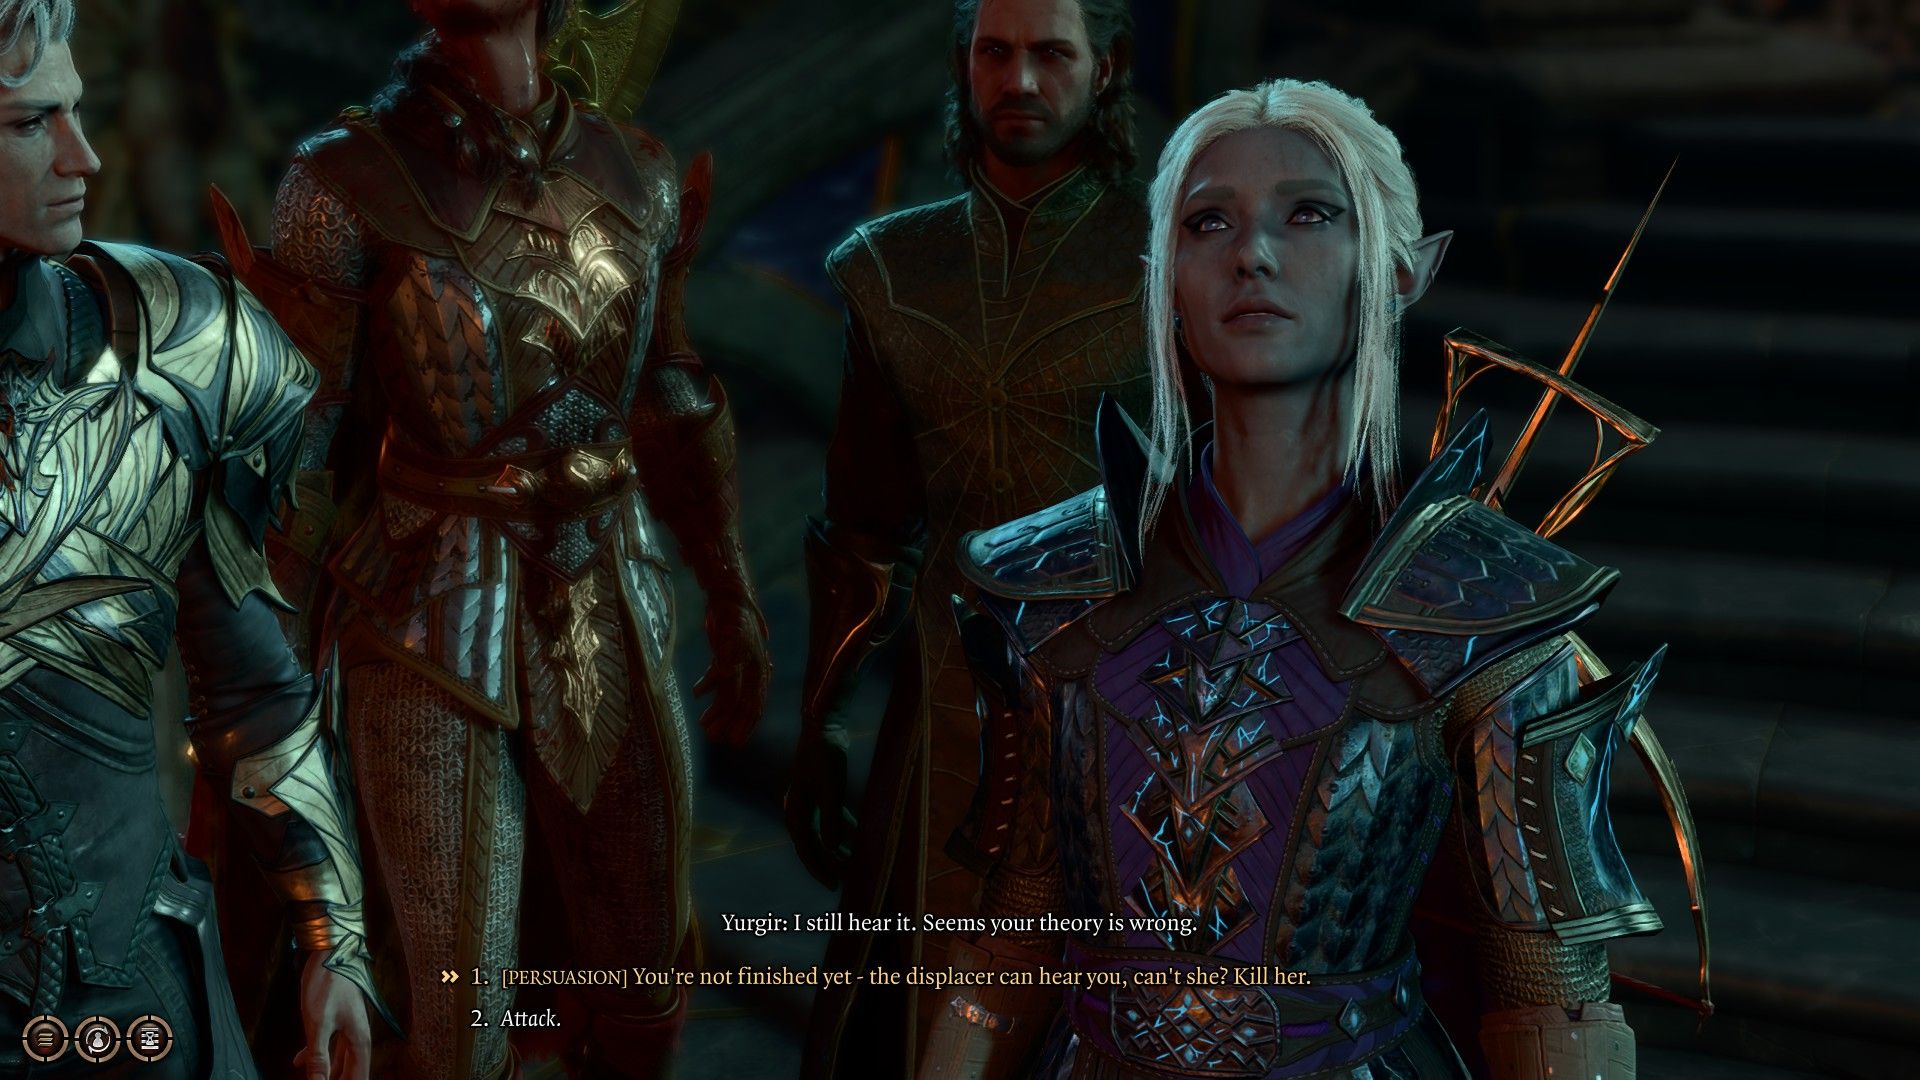
If you have a way with words and a knack for persuasion, you can convince Yurgir to kill everyone in the room, including himself. Pass an Insight check and tell Yurgir, “The lyrics are a trick. You’ve always had an audience – your followers. Get rid of them.”
Each persuasion check will have an increasingly higher DC:
- Minions – DC 16
- Nessa, the Displacer Beast – DC 21
- Yurgir – DC 21
Try your luck with this approach if sparing Yurgir is not your preference. Even a single successful persuasion will greatly benefit you in the ensuing fight. However, be prepared to face Yurgir in combat if your persuasive skills fail. At least give it a shot, though!
If you successfully eliminate all three targets, the fight and quest will be automatically completed without further effort. Take the Umbral Gem and leave. You can speak with Raphael at your camp during your next long rest to wrap things up.
How to Defeat Yurgir: Combat
Yurgir is no pushover, especially when he’s accompanied by his minions. The fight becomes particularly challenging due to Yurgir’s Orthonic Handbombs (also thrown by his Merregon minions), his deadly outgoing damage, and his pesky habit of spamming Invisibility at the end of each turn.
The key to this fight is breaking Yurgir’s Invisibility, and lucky for you, there are multiple ways to achieve this:
- Faerie Fire
- Armor of Agathys
- Spirit Guardians
- Guardian of Faith
- Cloud of Daggers
- Spike Growth
- Glyph of Warding
- Hunger of Hadar
- Lightning Bolt
- Moonbeam
All of these spells and effects that create long-lasting area effects or illuminate the enemy (like Faerie Fire) can dispel Yurgir’s Invisibility. Witchbolt is also effective in revealing him if he’s already visible.
Another efficient method to reveal Yurgir is by using Minthara’s mace weapon, Xyanyde. When missing with this mace, it can illuminate the target with Faerie Fire and disrupt Invisibility. This is a great option for your melee fighters.
If you start the fight on the bottom floor, it’s best to team up against Nessa the Displacer Beast and eliminate her quickly. However, be prepared for a constant barrage of bolt attacks and Orthonic Handbombs.
Once Nessa is dealt with, shift your focus to the enemies upstairs. You can reach the upper level by running up the incline or baiting the minions downstairs by hiding behind the pillars. Alternatively, you can use spells like Misty Step or Dimension Door to teleport up.
Knock out any remaining minions first to prevent unnecessary damage or the triggering of Yurgir’s Volatile Clusters. If you’re starting upstairs or manage to reach a minion near the edge, try shoving them over. If successful, they’ll take damage and will need to climb back up.
When you’re finally face-to-face with Yurgir, don’t hold anything back. Every turn matters, and dealing as much damage as possible before he turns invisible again is crucial. Keep an eye out for any remaining Merregon or Nessa, as they can complicate the fight further.
If Yurgir’s health drops below 10% on his final turn, he may release a swarm of 12 Orthonic Handbombs that will explode on their next turn. You can try picking up a large section of them or, if possible, run away.
Eventually, with patience and perseverance, Yurgir will fall. Loot his ashes to claim an Infernal Iron and his unique Hellfire Hand Crossbow. Return to camp for a well-deserved rest, where Raphael will be waiting to congratulate you on your triumph.
Now go forth, fearless adventurer, and paint the world of Baldur’s Gate with your legendary deeds!
NEXT: Baldur’s Gate 3: Best Oath Of Vengeance Paladin Build