Baldur’s Gate 3: Free Orpheus Quest Guide
Baldur's Gate 3: Free Orpheus Quest Guide
Baldur’s Gate 3: How to Liberate Orpheus and Unleash Chaos!
In the vast world of Baldur’s Gate 3, your choices matter. And when it comes to freeing the imprisoned Githyanki prince, Orpheus, those choices can lead to monumental consequences. But fear not, my fellow adventurers! I’ve got you covered with a humorous and informative guide on how to embark on the epic journey to liberate Orpheus!
Optional Prerequisites – Let the Adventure Begin!
To embark on this noble quest, you’ll need to meet some requirements. First and foremost, make sure you have the legendary Orphic Hammer in your possession. Trust me, this thing is no mere tool for household repairs! Secondly, have you betrayed the Emperor yet? If not, it’s time to stir up some trouble!
Lae’zel’s Questline – An Optional Endeavor
While you’re at it, you might as well dive into Lae’zel’s questline, “The Githyanki Warrior.” It’s optional, but it adds some extra spice to the adventure. Join her in finding the Githyanki Creche at Rosymorn Monastery, encountering Vlaakith (quite the character, I must say), and even hear Voss out and consider siding with him. Nothing like a bit of drama to keep things interesting!
Making Deals and Breaking Skulls – Obtain the Orphic Hammer
Now, let’s get to the juicy part – obtaining the Orphic Hammer. Head to Sharess’ Caress and pay Raphael a visit. He’s the guy you want to make a deal with. And trust me, this Raphael character is quite the smooth talker, residing on the third floor in the farthest northern room. Strike a bargain, offer him the Crown of Karsus, and voila! The Orphic Hammer shall be yours!

But beware, my friends, for this deal comes with a price. It may have some devastating consequences, such as poor Gale’s questline coming to a fiery end. On top of that, Raphael might just decide to overthrow Zariel and conquer Avernus, not to mention the small detail of losing your soul and living in eternal damnation. But hey, who needs a soul when you have an awesome hammer, right?
- Hades: Lyre Mastery – Gift of Song Prophecy Guide
- God Of War Ragnarok: Untamed Fury Location Guide
- Starfield: Level Up Your Pilot Skill Fast Guide
Stealing is an Art – Snatch the Orphic Hammer
If making deals isn’t your style, don’t fret! There’s always the option to steal the hammer instead. Firstly, you’ll need to enter the House of Hope by performing a ritual at the Devil’s Fee shop in the Lower City. Think of it as your very own heist mission, with an added bonus of a boss fight with Raphael if you succeed.
Once inside, befriend Hope’s astral projection and secure the Debtor’s Disguise. With this disguise, you can freely explore the House of Hope, avoiding any unnecessary lockpicking. Navigate your way to the Archives, avoiding Zariel’s terrifying High Inquisitor in the process. And there it is, the Orphic Hammer, waiting behind a pesky magical forcefield.
“But how do I remove the forcefield?” you ask. Well, my dear adventurer, you have two options. Deceive the Archivist into thinking you’re the High Inquisitor or sneak behind him and snatch the Boudoir invitation from his pocket. Behind the mysterious portrait of Raphael lies the password you need to dispel the arcane barrier. But beware of an encounter with the seductive incubus, Harleep. You might want to think twice before getting involved in any otherworldly temptations!
Once you’ve obtained the password, the Orphic Hammer shall be yours for the taking! Just one small thing, though – be prepared to face the wrath of everyone residing in the House of Hope, including Raphael himself. With great power comes great responsibility, and in this case, great battles!
Finding Voss and Mending Alliances
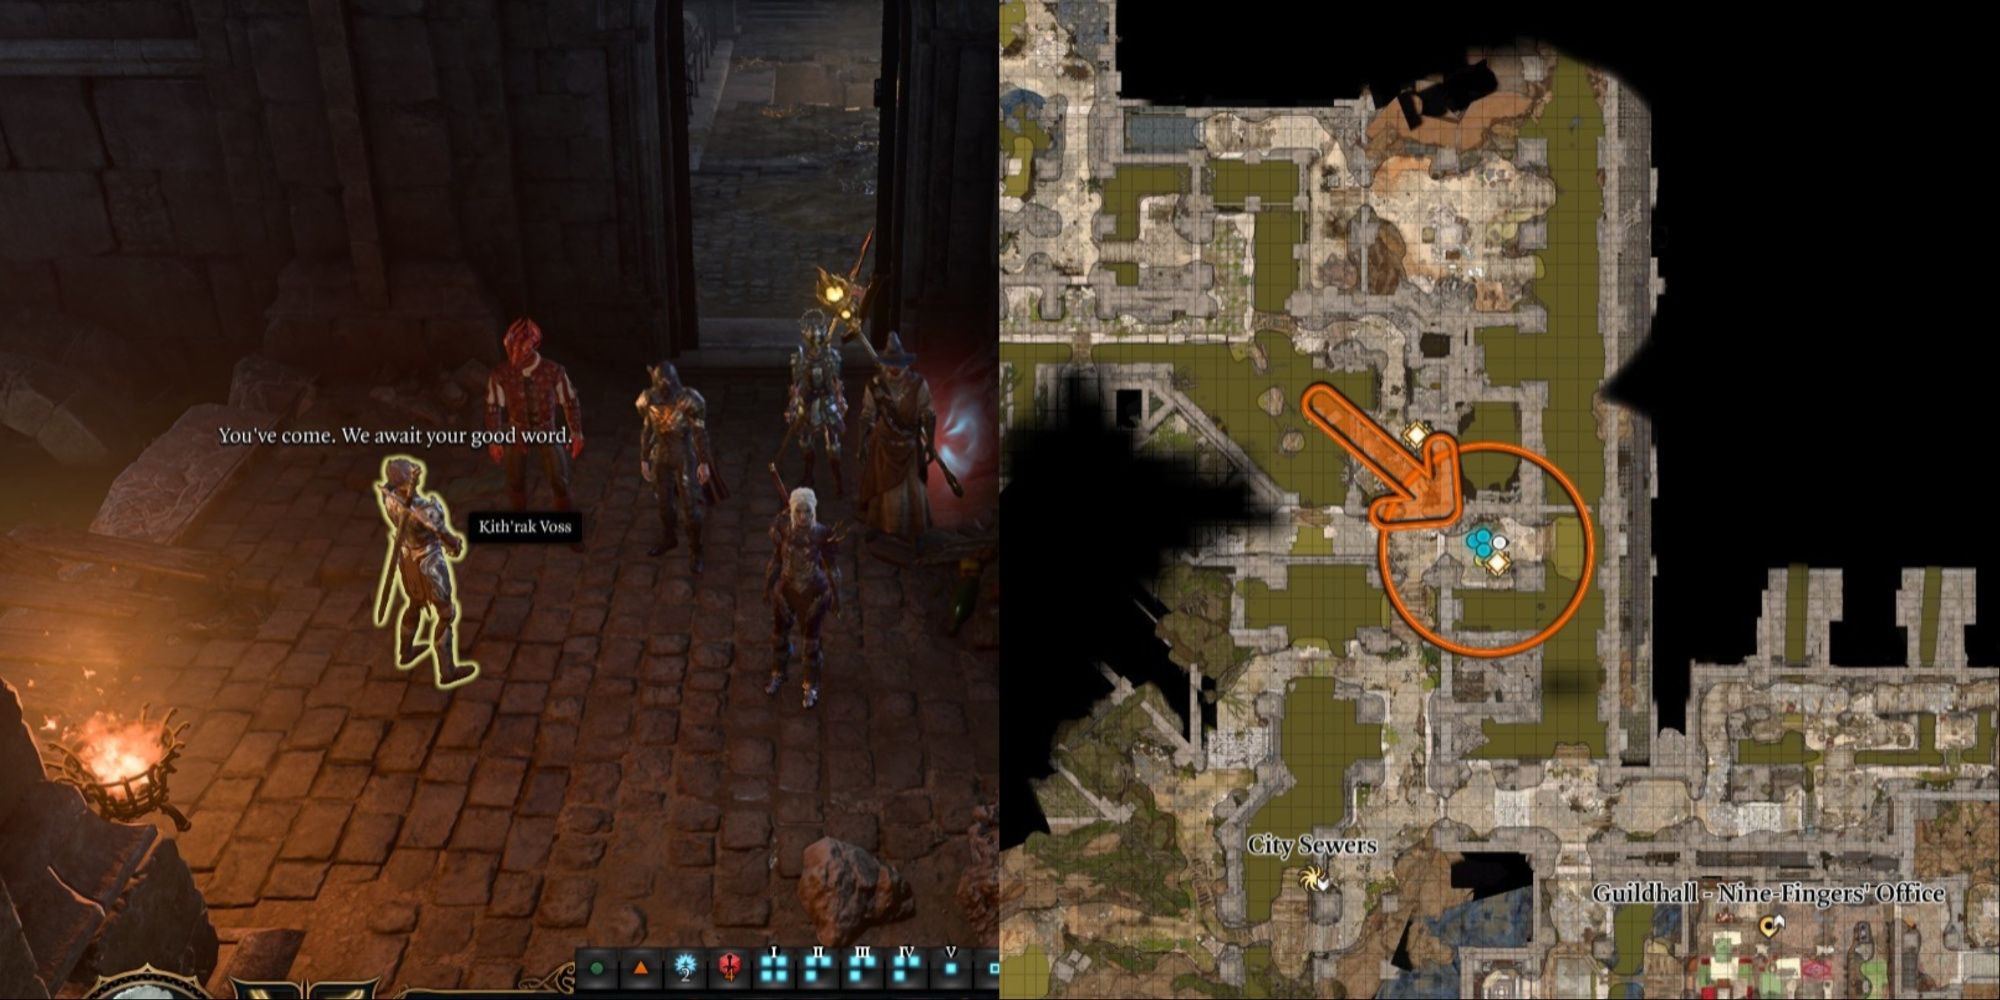
After securing the Orphic Hammer, it’s time to find a fellow named Voss. You can locate him in the Lower City Sewers, engaged in a conversation with an intriguing individual. Make sure you have Lae’zel by your side and the hammer firmly in your grasp. Chat with Voss to update your “Gather Your Allies!” quest, potentially gaining the Githyanki as powerful allies for the final showdown.
While you’re at it, share the news about the Orphic Hammer with Lae’zel. This will progress her quest further and grant you a legendary weapon fit for a Githyanki warrior – the Silver Sword of the Astral Plane. Trust me, it’s a sight to behold with its +3 enchantment and a whole arsenal of special abilities. Time to show off your new shiny toy!
Freeing Orpheus – The Grand Finale!
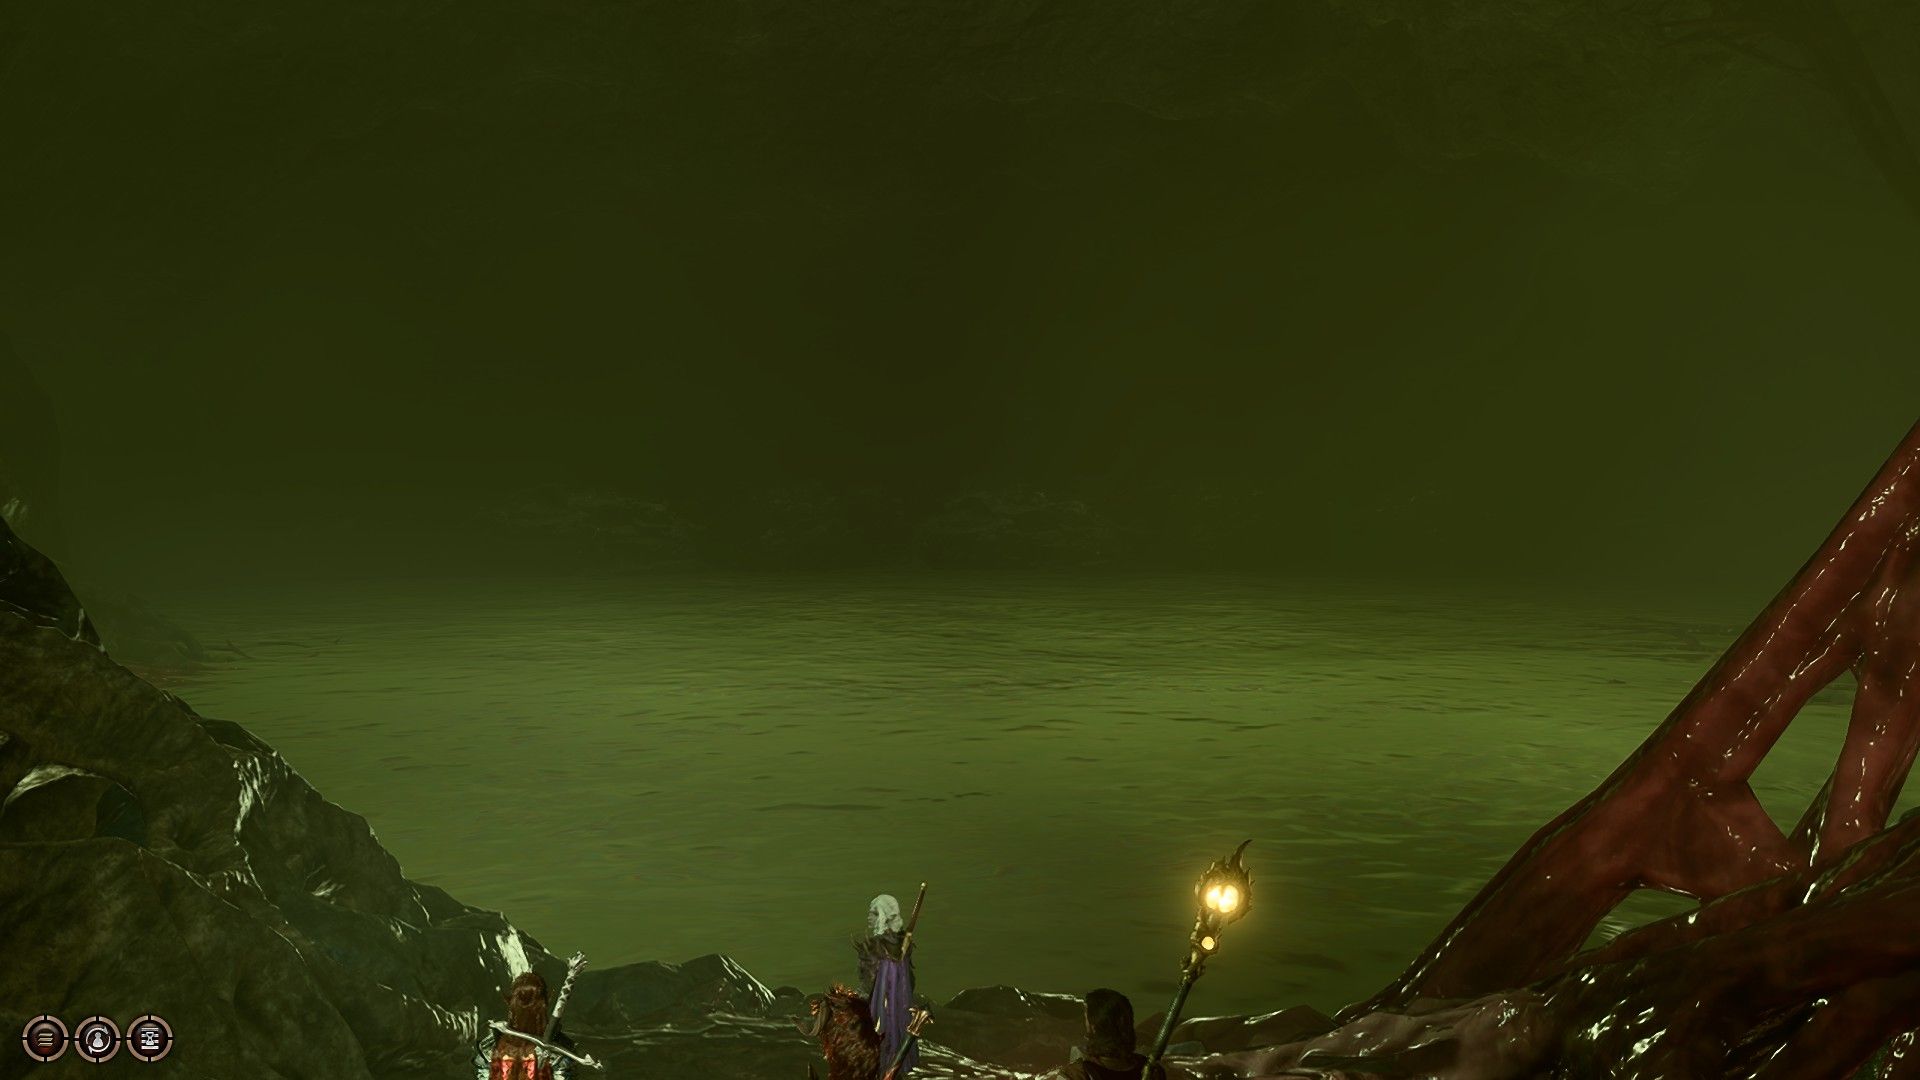
Now, my brave adventurers, we come to the grand finale of this epic tale – freeing Orpheus himself! But before we proceed, make sure you’ve collected all three Netherstones and triumphantly set foot in the lair of the Elder Brain. The fate of the world hangs in the balance!
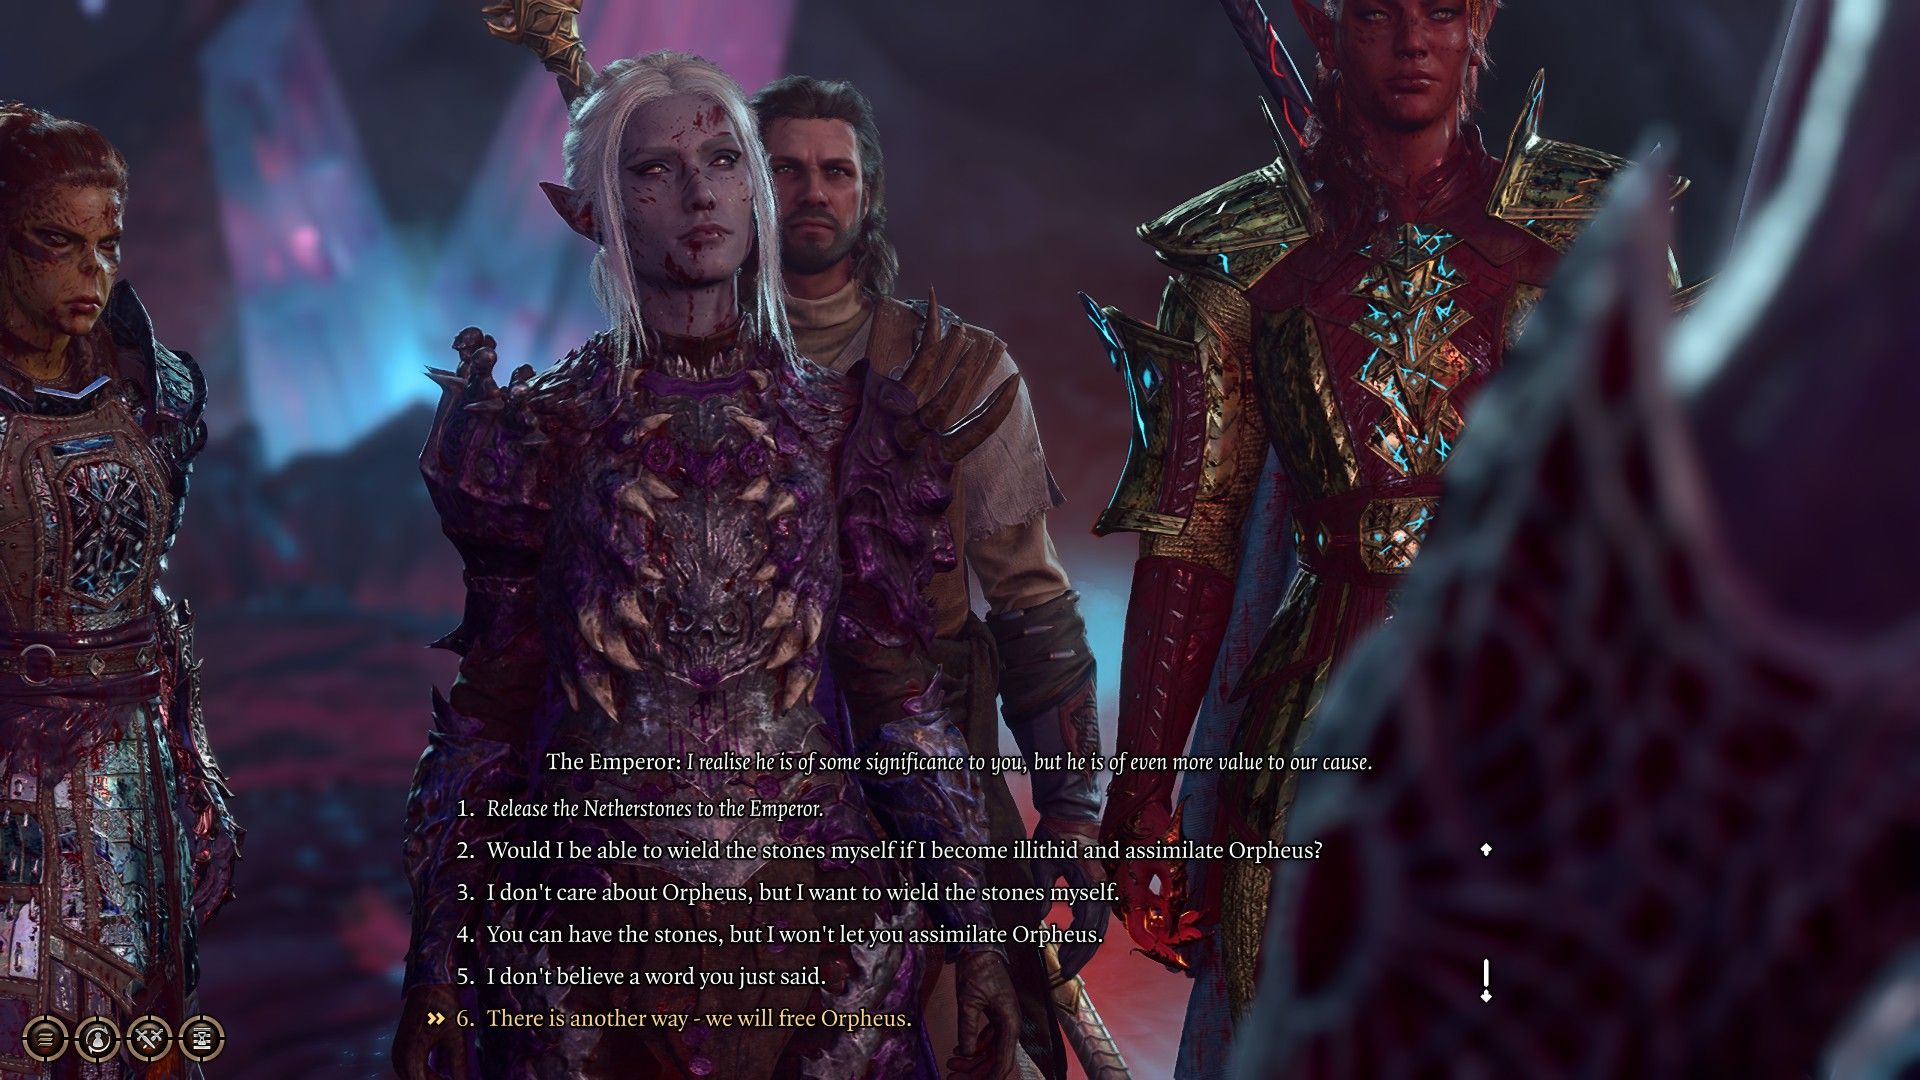
After a brief encounter with the mighty Elder Brain (try not to be too star-struck), both you and Orpheus will find yourselves trapped in the Prism space with none other than the Emperor. Brace yourself for a confrontation of epic proportions! When the Emperor demands the Netherstones, stand tall and refuse his devouring desires.
Instead, boldly declare, “There is another way – we will free Orpheus!” Stick to your guns and make it clear that you trust Orpheus and not the cunning Emperor. This may come at a cost, as the Emperor will surely bear a grudge and become your enemy in the final boss fight.
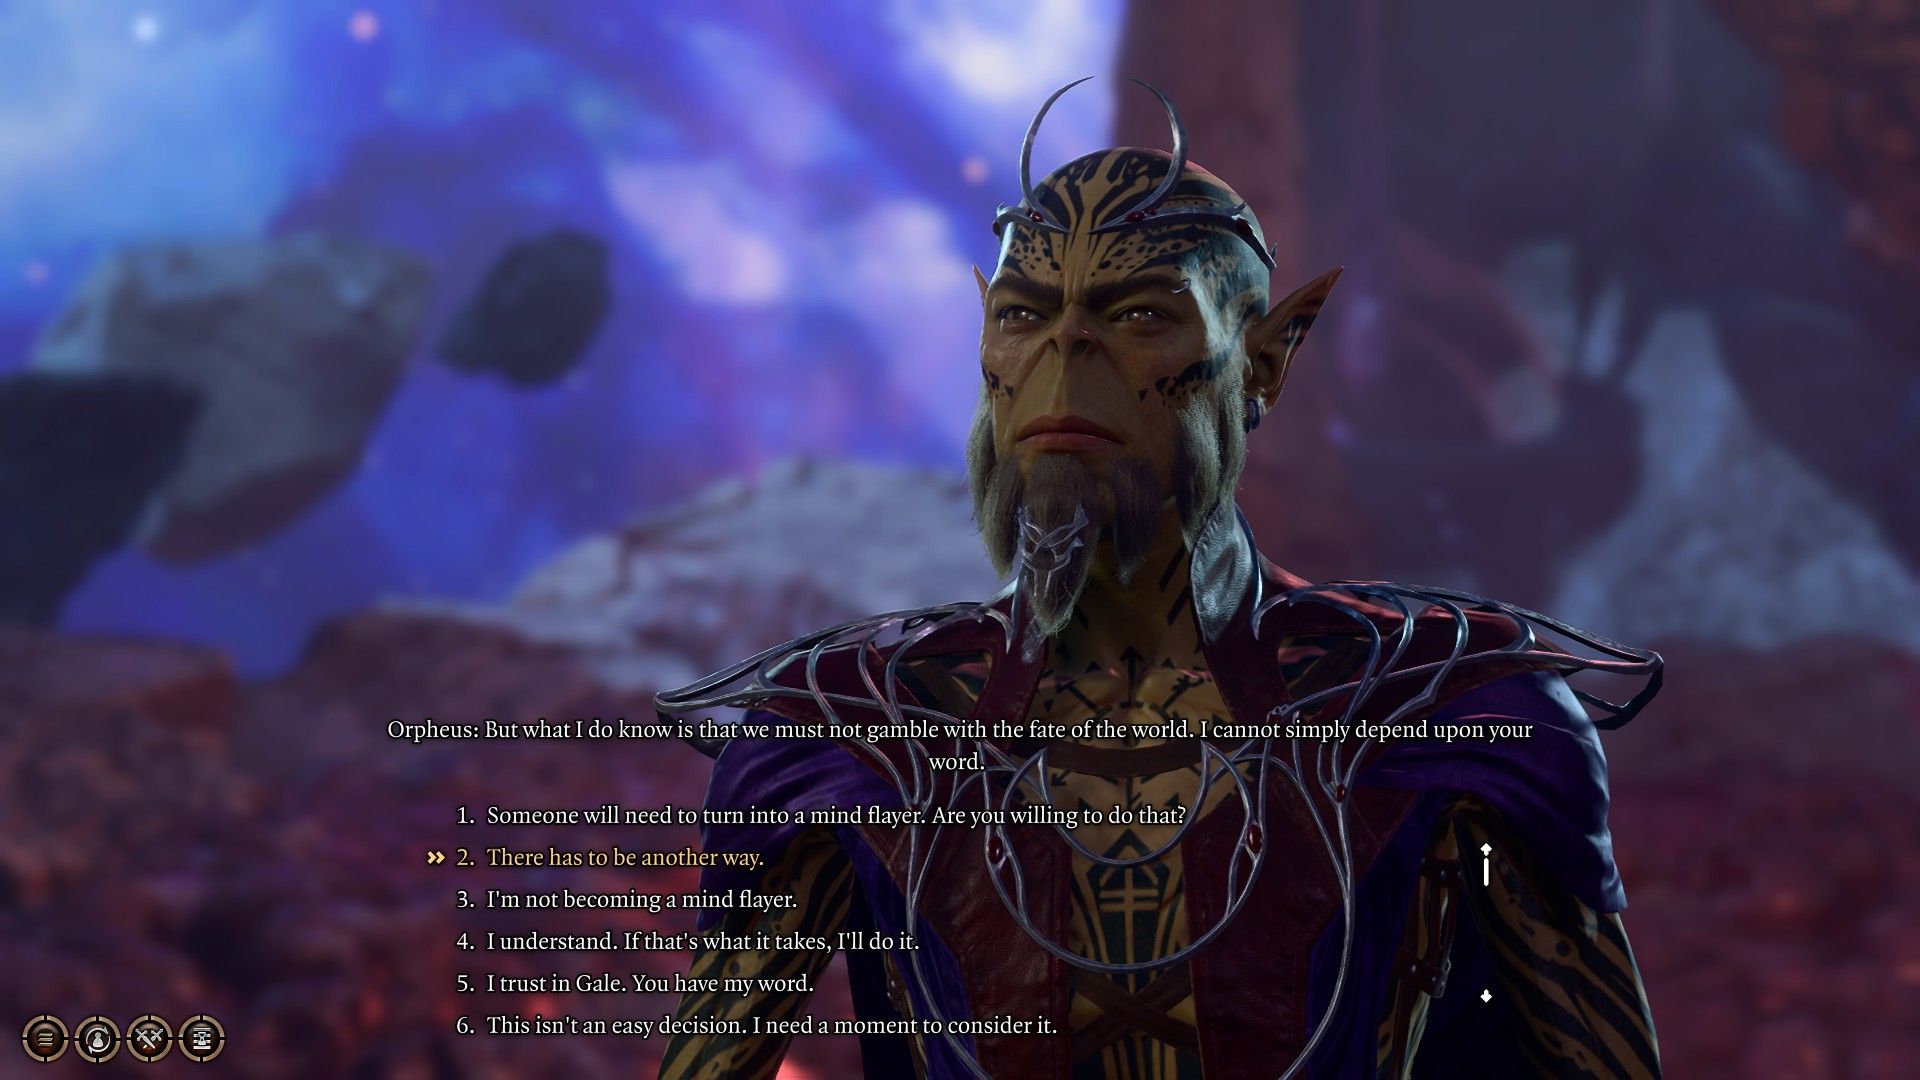
Once the Emperor leaves in a huff, it’s time to wield the power of the Orphic Hammer. Destroy the crystals imprisoning Orpheus, liberating him from his eternal torment. But wait, trouble stirs once more! To control the Netherbrain, someone must become an illithid. Don’t worry, you have options: Orpheus himself, your own character (hey, it’s your destiny, after all), or even the enigmatic Karlach.
Regardless of your choice, Orpheus will be free! He will be by your side, fighting alongside you in the ultimate battle against darkness. With the might of the Orphic Hammer and the power of newfound allies, Baldur’s Gate and the Githyanki people shall rise to glory!
So there you have it, my fellow adventurers. The epic saga of liberating Orpheus unfolds before you. Remember, every choice you make has consequences, but it’s the risks we take that truly make the journey memorable. May your path be filled with humor, excitement, and of course, glorious victory!
NEXT: Baldur’s Gate 3: Disable The Steel Watch Quest Walkthrough