Blasphemous 2: Defeating Lesmes, the Incorrupt Sacristan
Blasphemous 2: Defeating Lesmes, the Incorrupt Sacristan
Quick Links
- Lesmes, Incorrupt Sacristan Overview
- Lesmes, Incorrupt Sacrtistan: Phase One Guide
- Sleeping Infanta: Phase Two Guide
- Lesmes And Infanta: Phase Three Guide
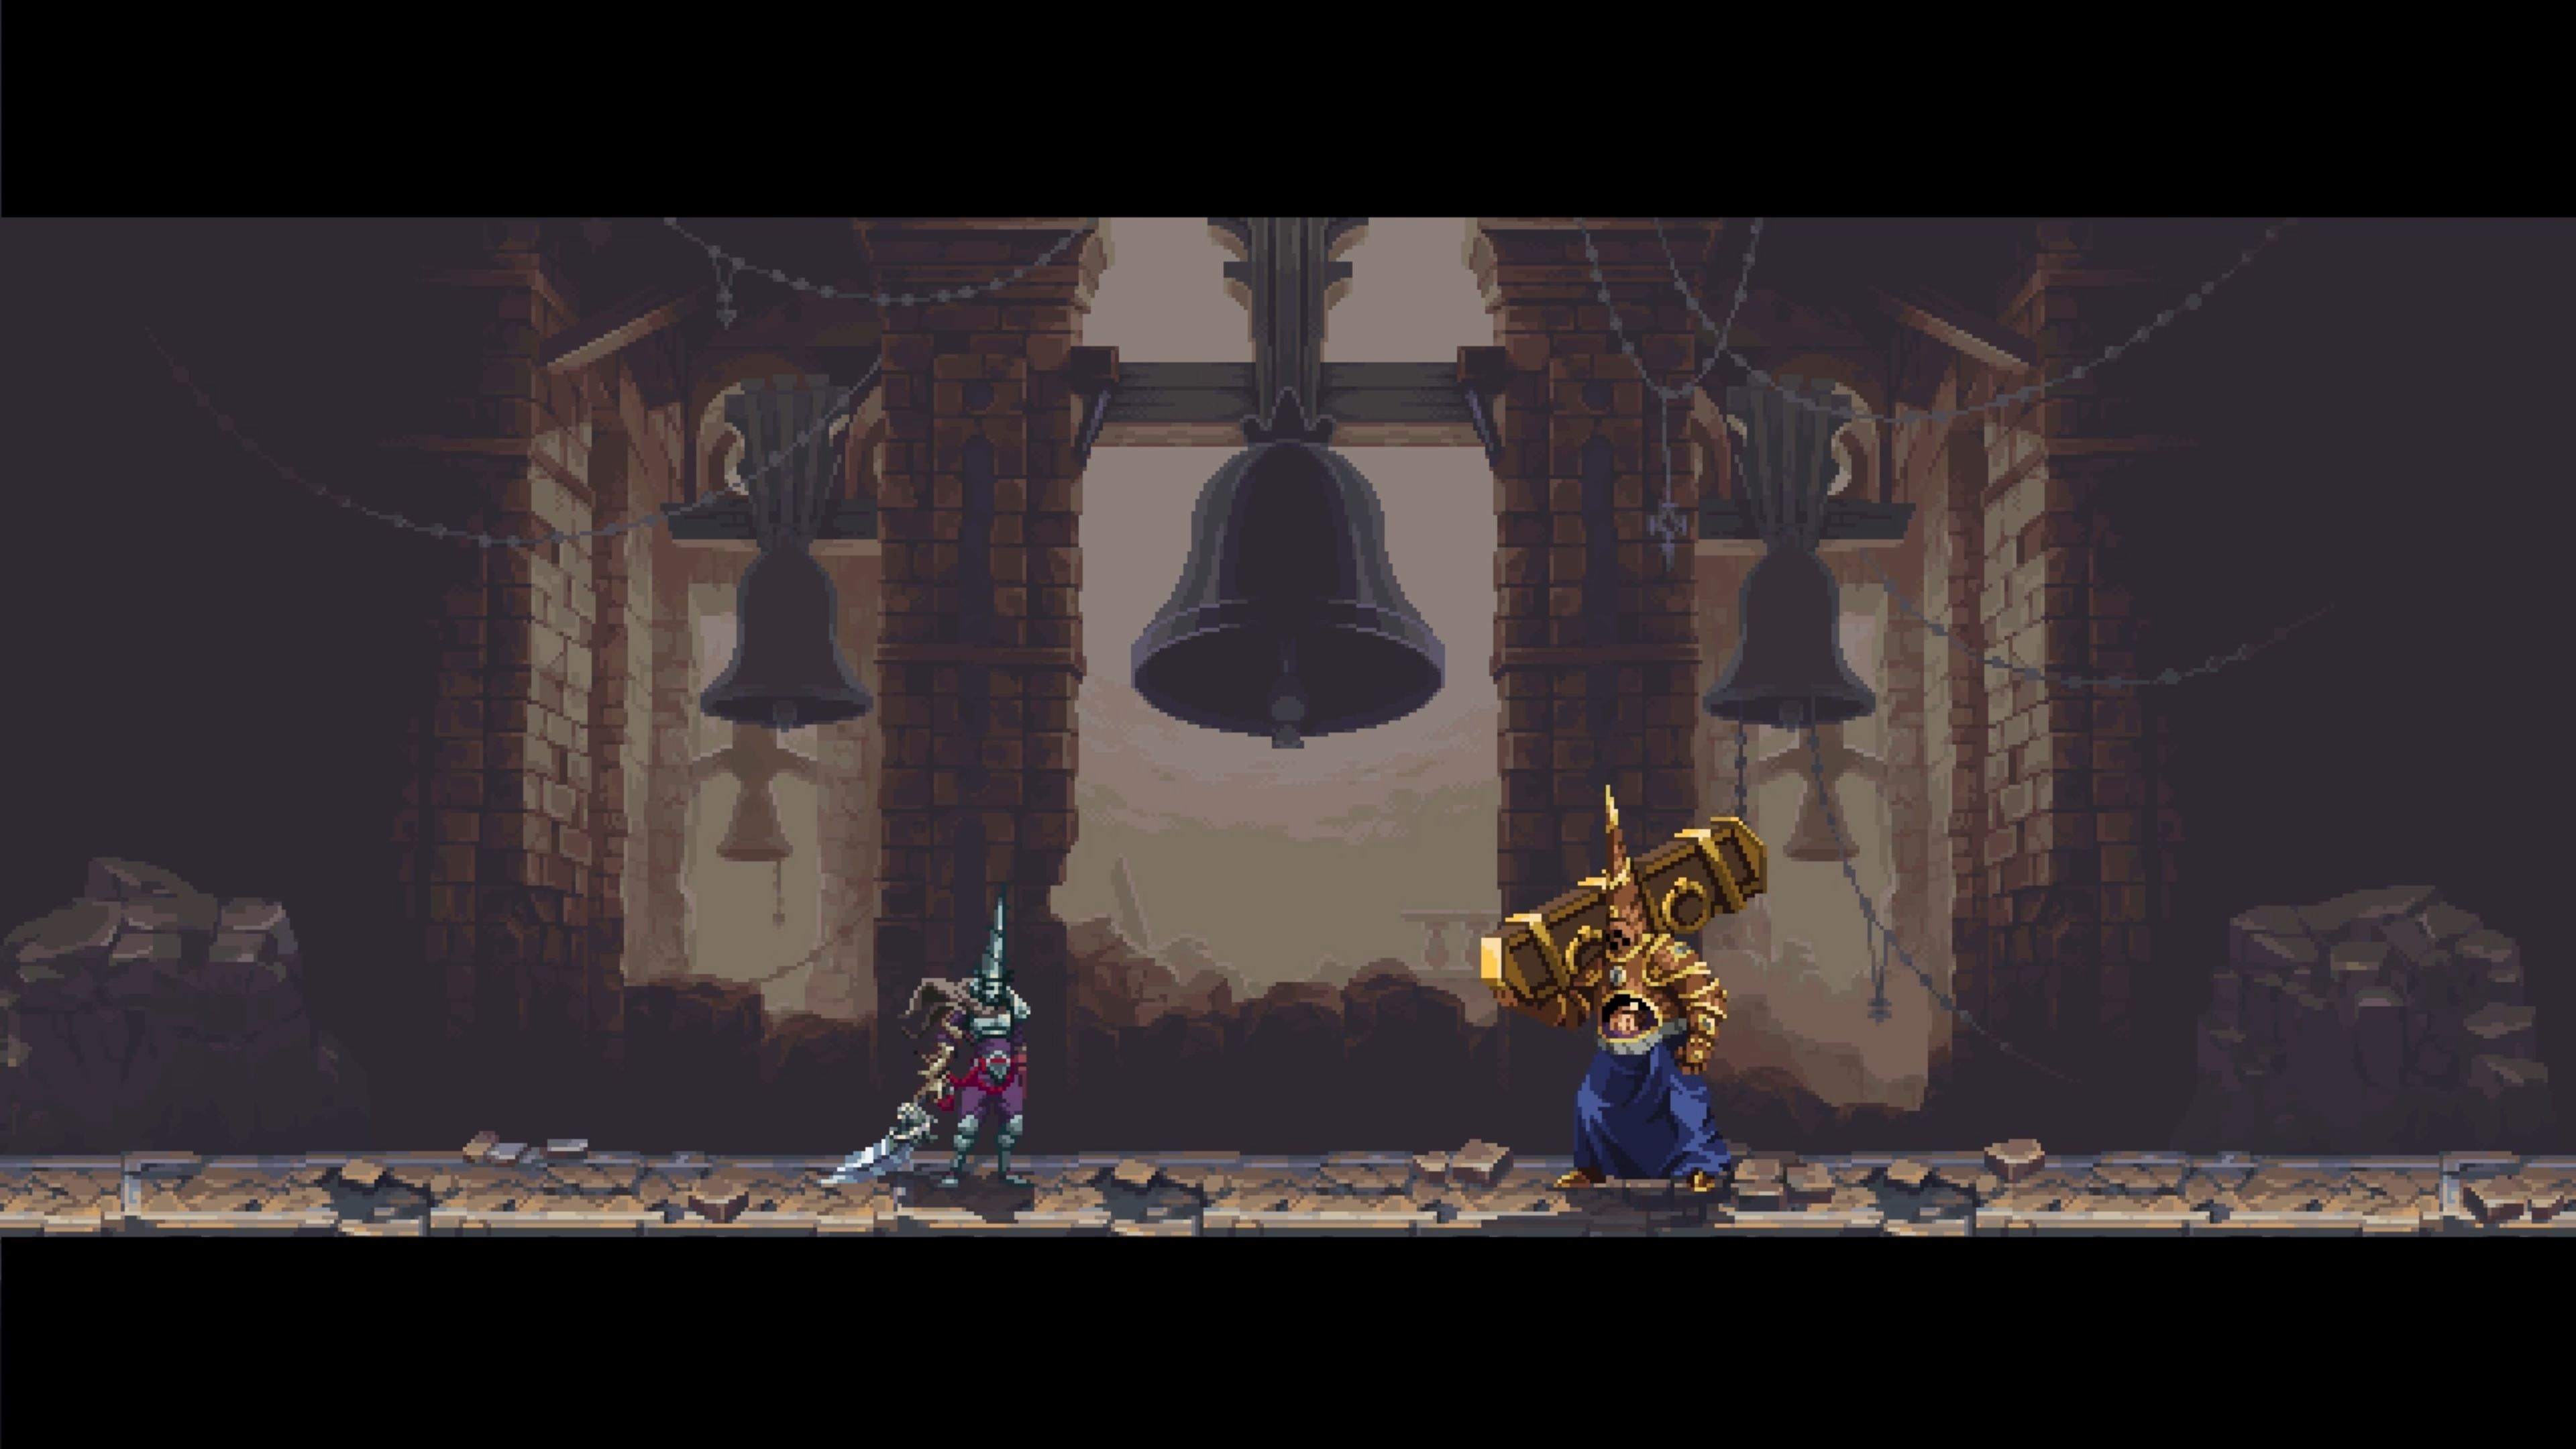
Despite things kicking off with a relatively by-the-books tutorial boss, you will quickly learn that the rest of the cast is not to be taken lightly. And speaking of formidable foes, let me introduce you to the one and only Lesmes, Incorrupt Sacristan! Might I add, this guy is one tough cookie and the second boss encounter in Blasphemous 2. Brace yourself for an epic battle!
This encounter comprises three phases that will put your skills to the ultimate test. It’s a battle of endurance and patience, my friend. If the first boss was a warm-up, consider this your full-fledged workout. Get ready to unleash everything you’ve got or die trying. It’s gonna be a wild ride!
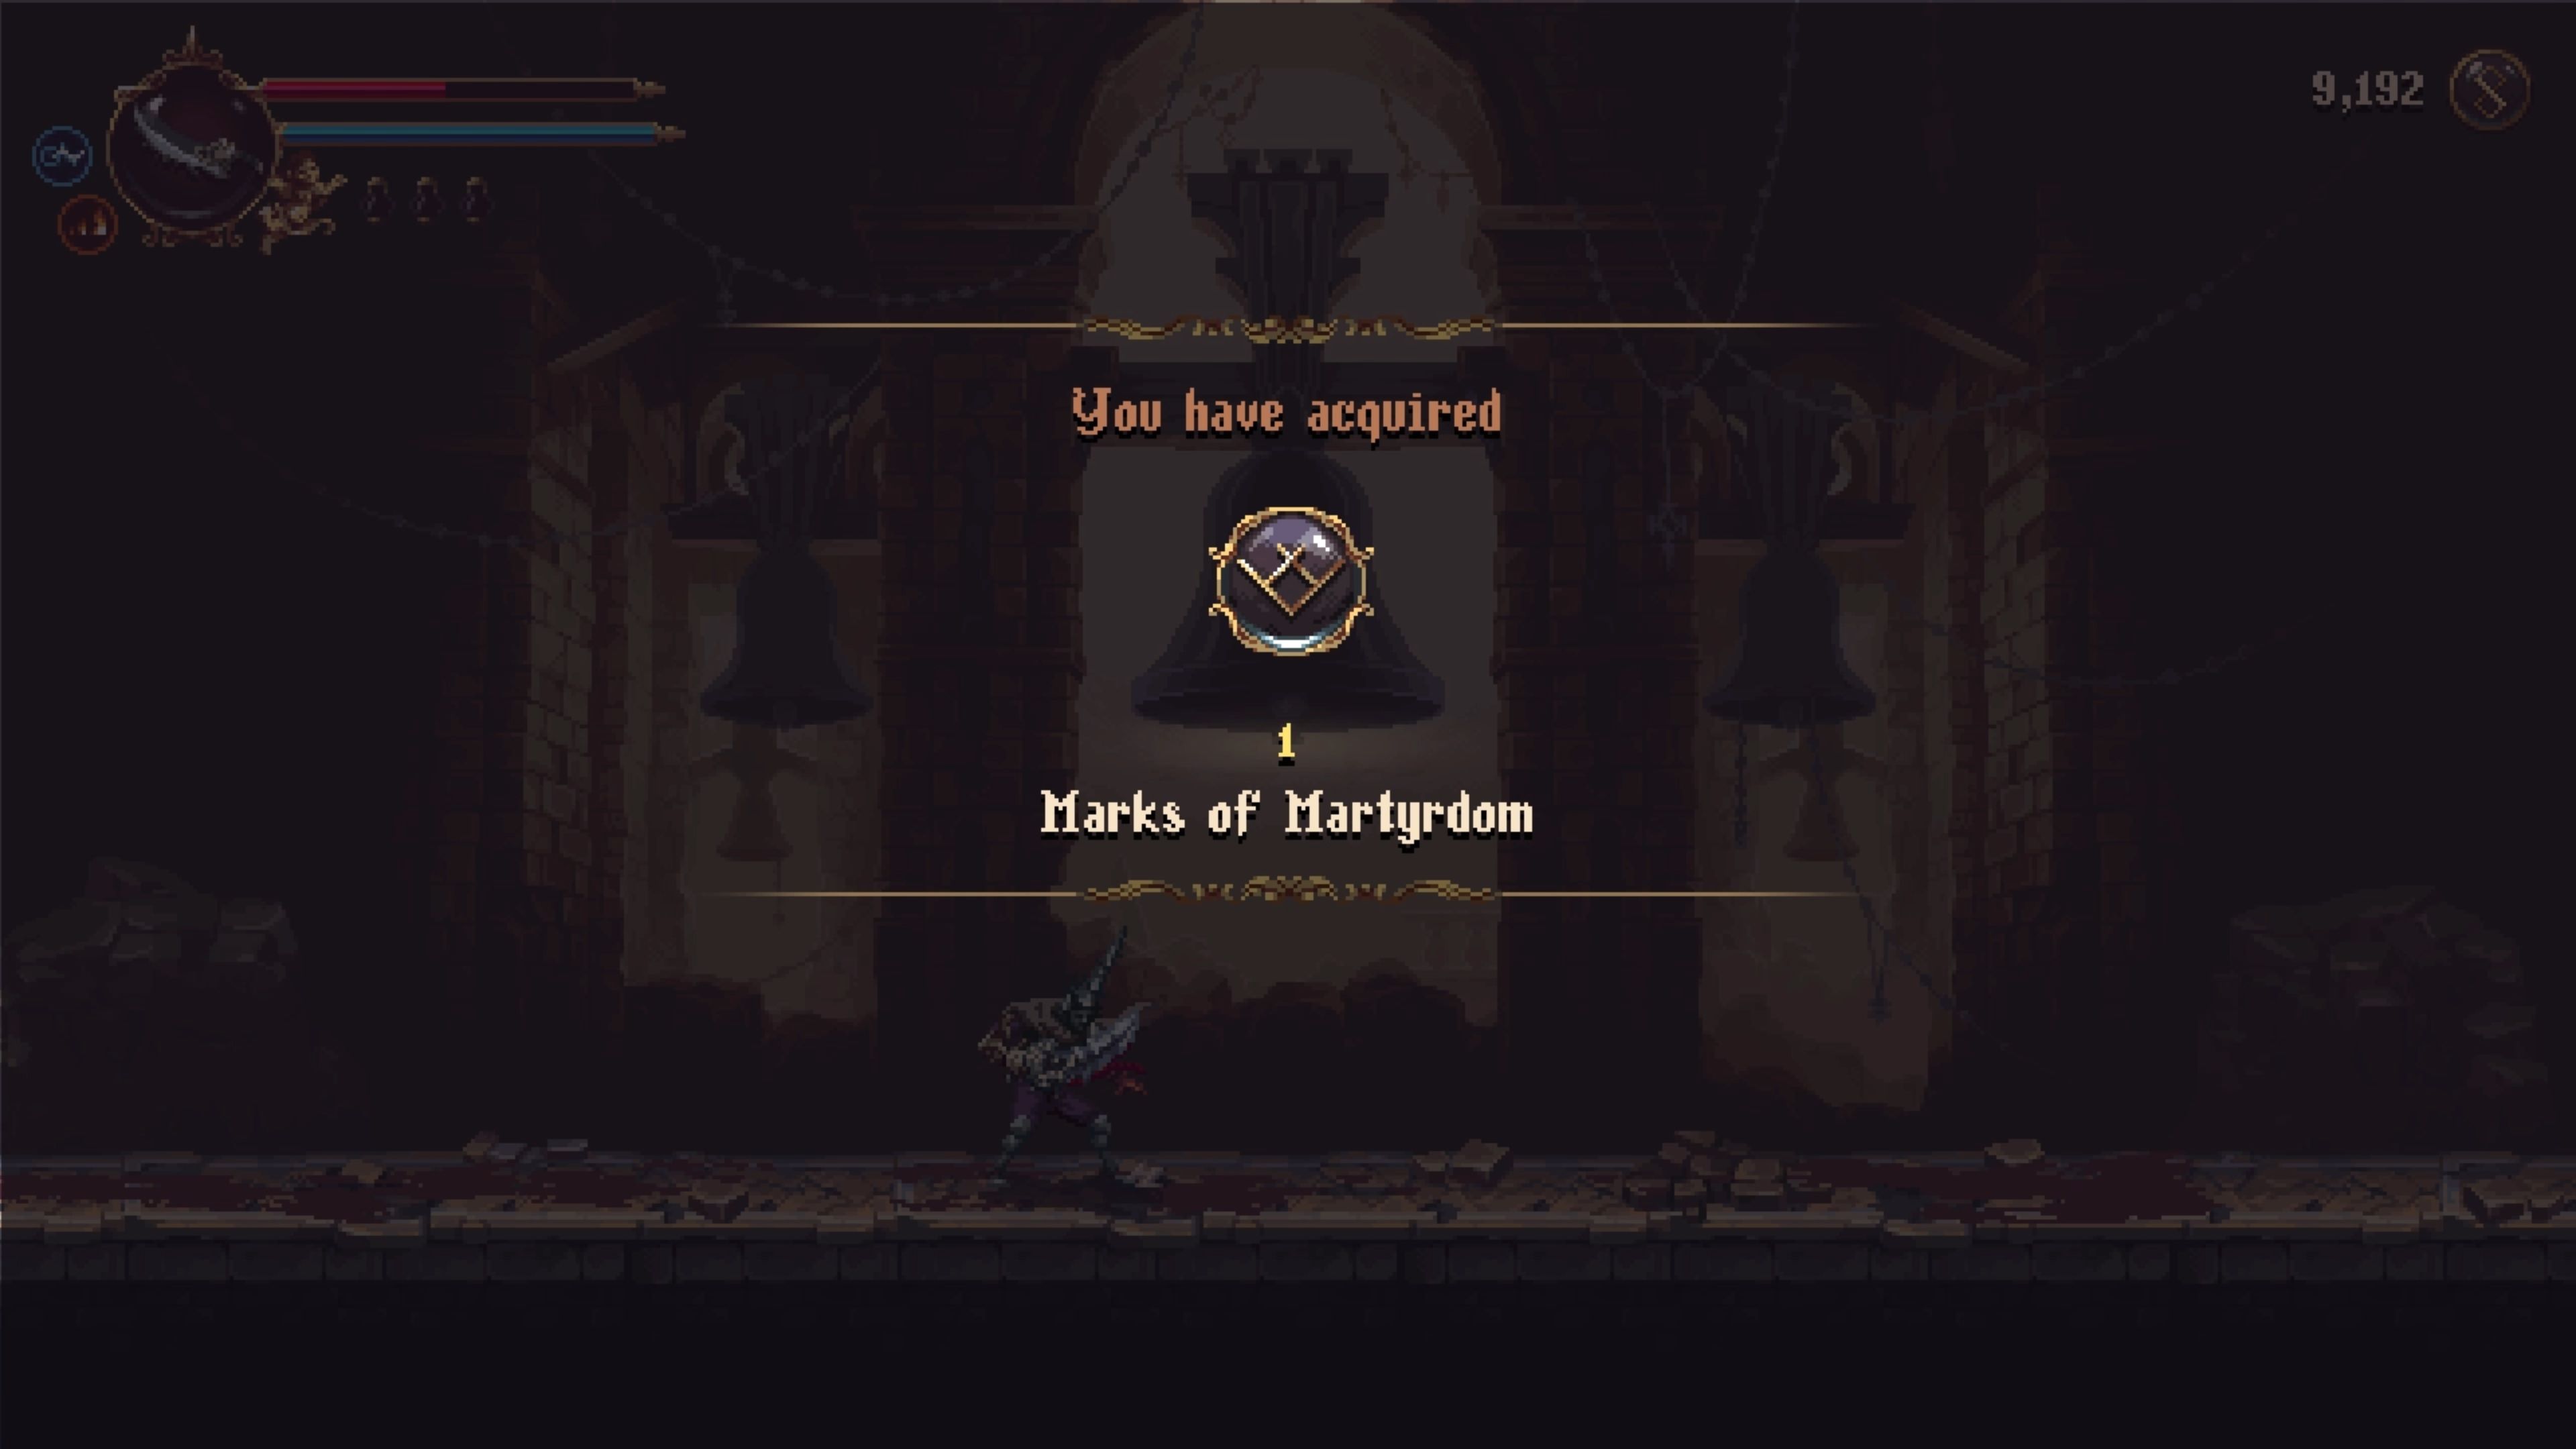
But fear not, brave gamer! I’ve got your back. I’ll guide you through each phase of this epic showdown and make sure you come out victorious. By the way, I must mention that taking down Lesmes has its rewards. You’ll be rewarded with 2000 Tears of Atonement and a Mark of Martyrdom. Nice loot, right?
Lesmes, Incorrupt Sacristan Overview
Before we dive into battle, let’s take a closer look at this formidable foe. Lesmes is no pushover, my friend. He’s here to give you a real challenge. As this game’s first ‘real’ boss battle, he sets the bar high. But fear not, the reward for defeating him is totally worth it. Along with a sense of accomplishment, you’ll also get 2000 Tears of Atonement and a Mark of Martyrdom. Not too shabby!
| Rewards | Amount |
|---|---|
| Tears of Atonement | 2000 |
| Marks of Martyrdom | 1 |
Now that you know what’s at stake, let’s get down to business. Here’s how you can defeat Lesmes, Incorrupt Sacristan in each phase.
- Fort Solis: Unlocking The Surgery Guide
- Baldur’s Gate 3: Killing Balthazar Guide
- Blasphemous 2: Defeating Faceless One with Chisel of Oblivion
Lesmes, Incorrupt Sacrtistan: Phase One Guide
The first phase of this boss battle is a one-on-one showdown between you and Lesmes. Brace yourself, as he has four powerful attacks up his sleeve. But fear not, I’ll show you how to telegraph, evade, and punish each of his moves.
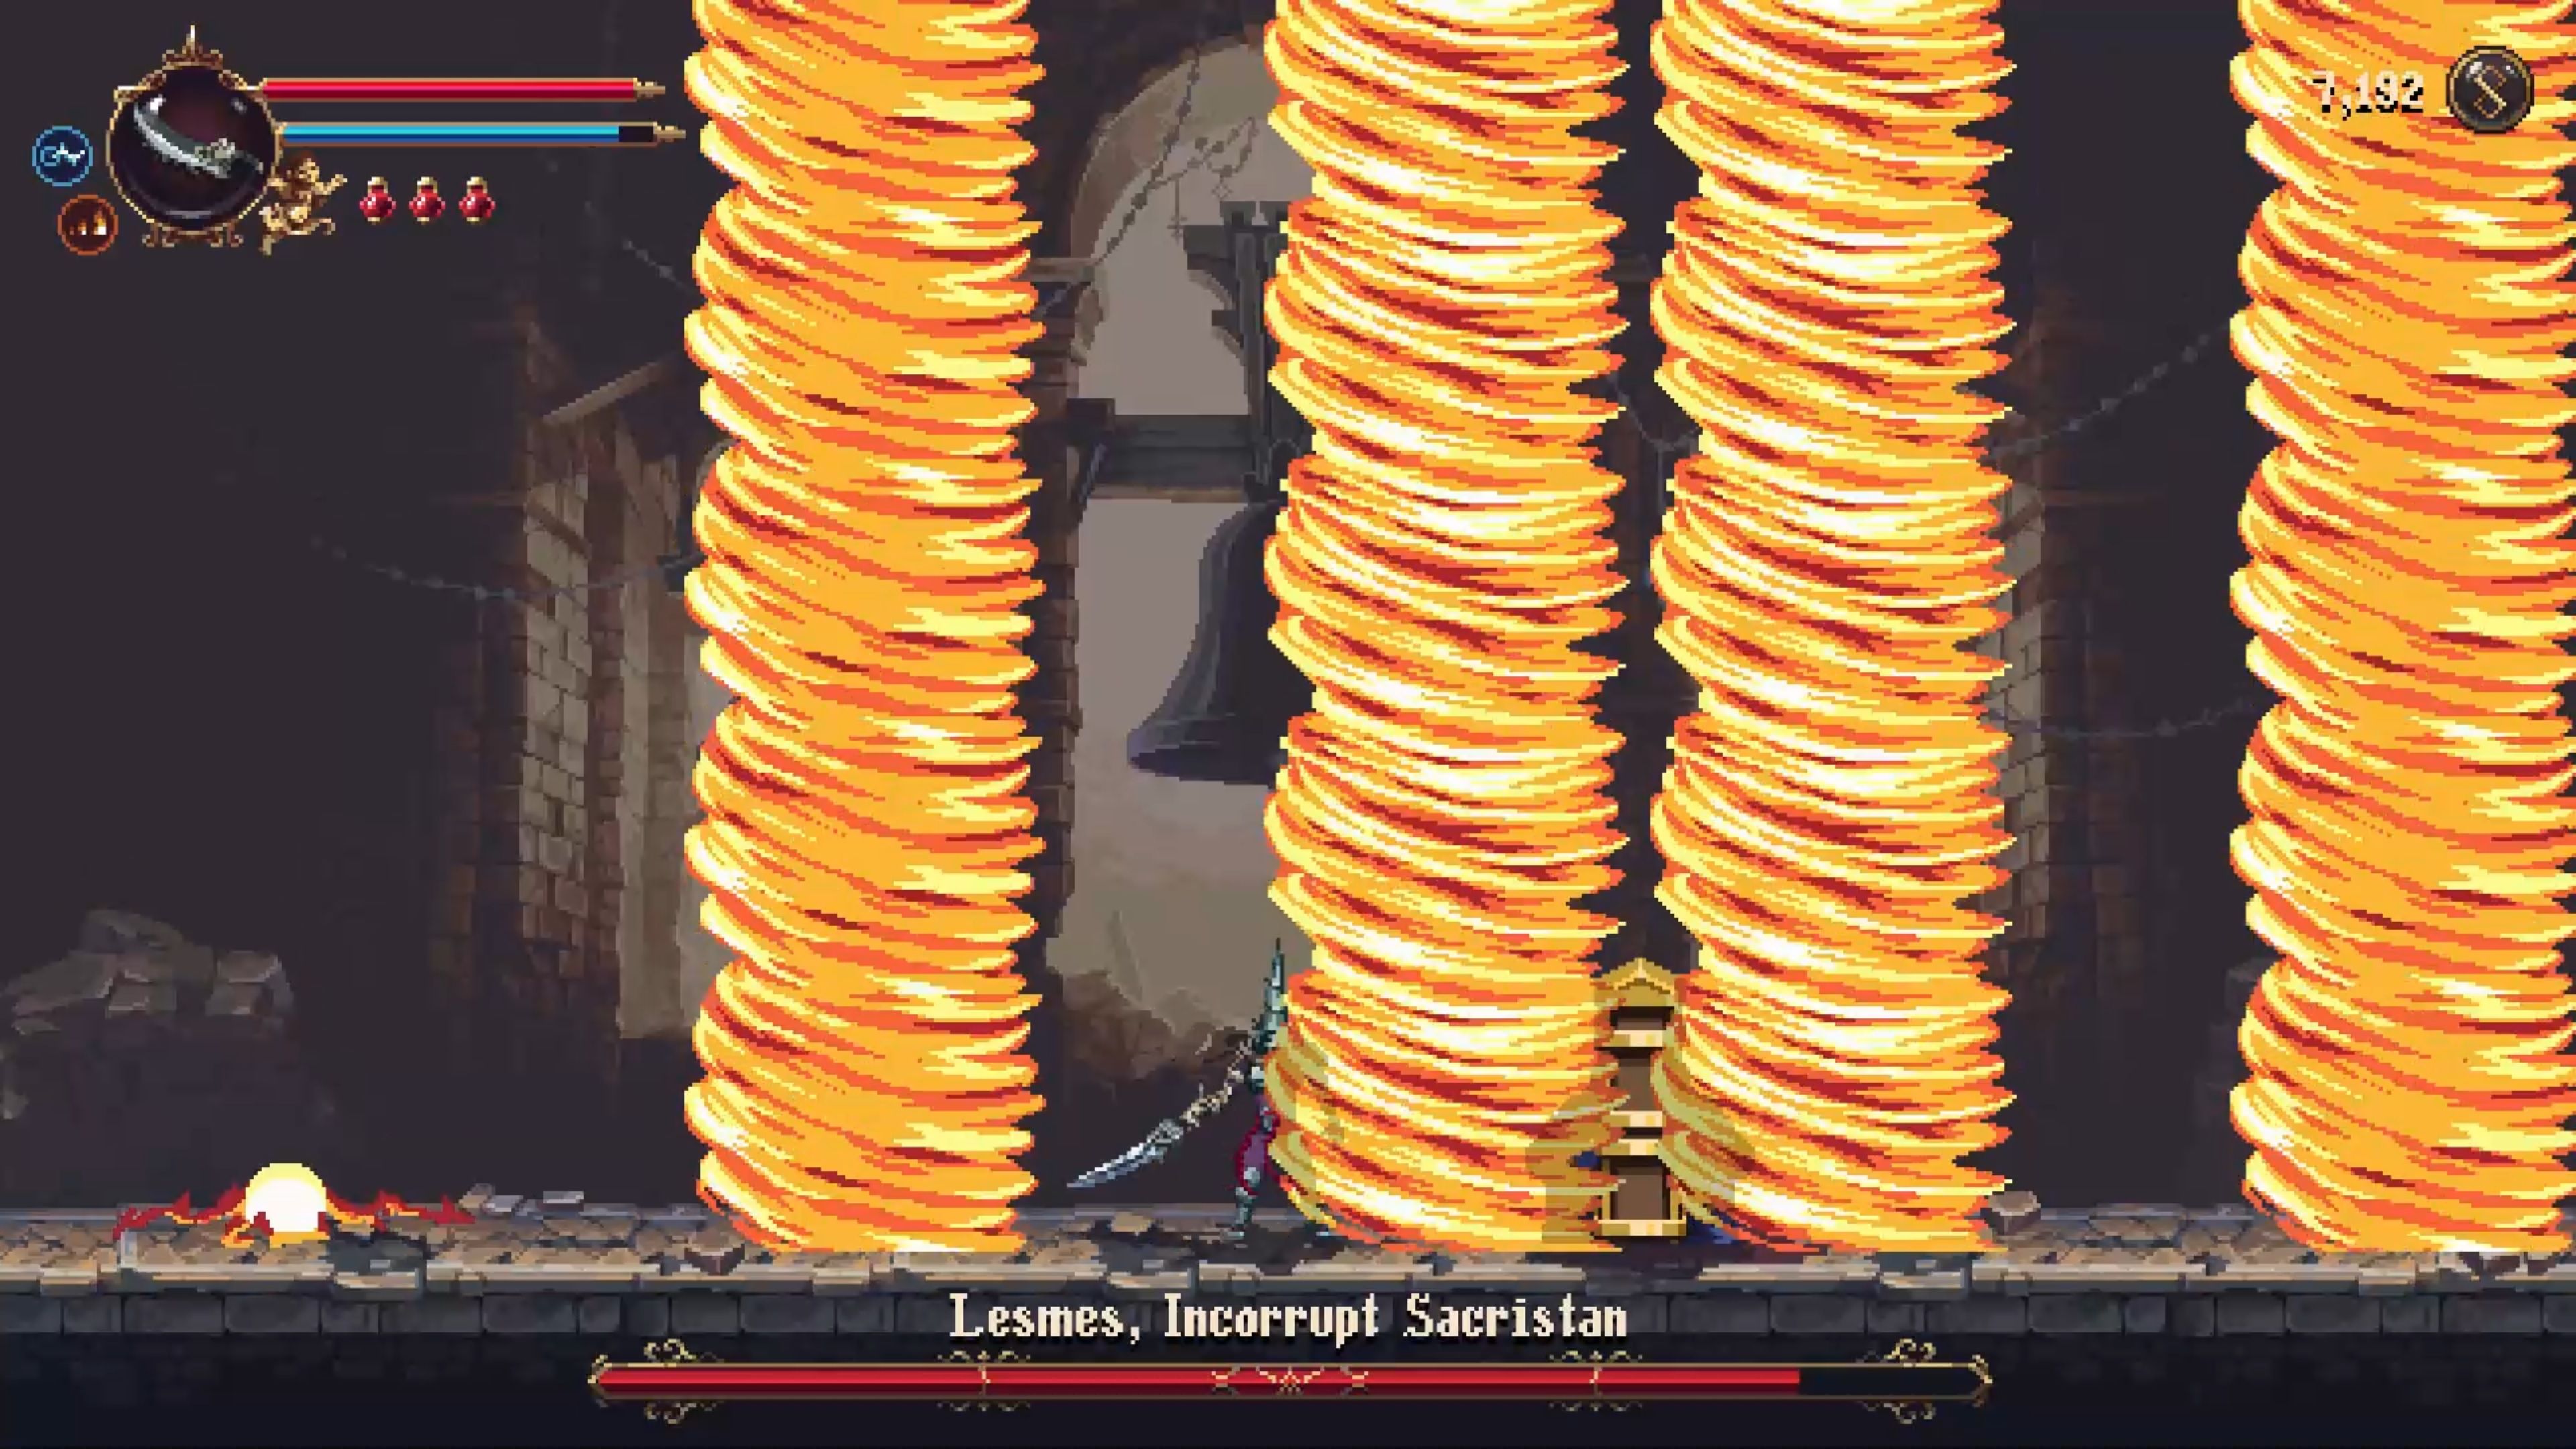
Flame Cyclones:
Lesmes loves to warm things up with his Flame Cyclones attack. He’ll slam his pillar into the ground, creating streams of intense flame. Although it may look intimidating, it’s actually the easiest to dodge and punish. The key is to stay close to the edges of the Flame Cyclones, as they won’t damage you. So go ahead, unleash a flurry of attacks while he’s busy showing off his fire skills.
Spiraling Flame Orbs:
Next up is Lesmes’ Spiraling Flame Orbs. He’ll turn into a fiery ball and summon six Flame Orbs around himself. Brace yourself as he spirals towards you, stopping only when he reaches the corner of the stage. But fear not, you can easily evade this attack by jumping over him before he reaches you. Once he stops, be prepared to dodge his next move, which could be another Flame Cyclones or something else.
Plunging Flames:
Lesmes loves his fiery acrobatics. With Plunging Flames, he leaps high into the air before slamming his pillar down, creating Flame Cyclones upon impact. He’ll repeat this process three times before stopping. Your best bet is to evade away from the Flame Cyclones. Keep your distance and wait for an opportunity to strike after he finishes this fiery display.
Charging Strike:
Lesmes’ Charging Strike is the simplest move to deal with. He’ll cock his arm back, pause for a moment, and then deliver a powerful strike with his pillar. To evade this attack, simply jump over him and get behind him. This will leave him vulnerable to a barrage of your own attacks. Don’t hold back!
Sleeping Infanta: Phase Two Guide
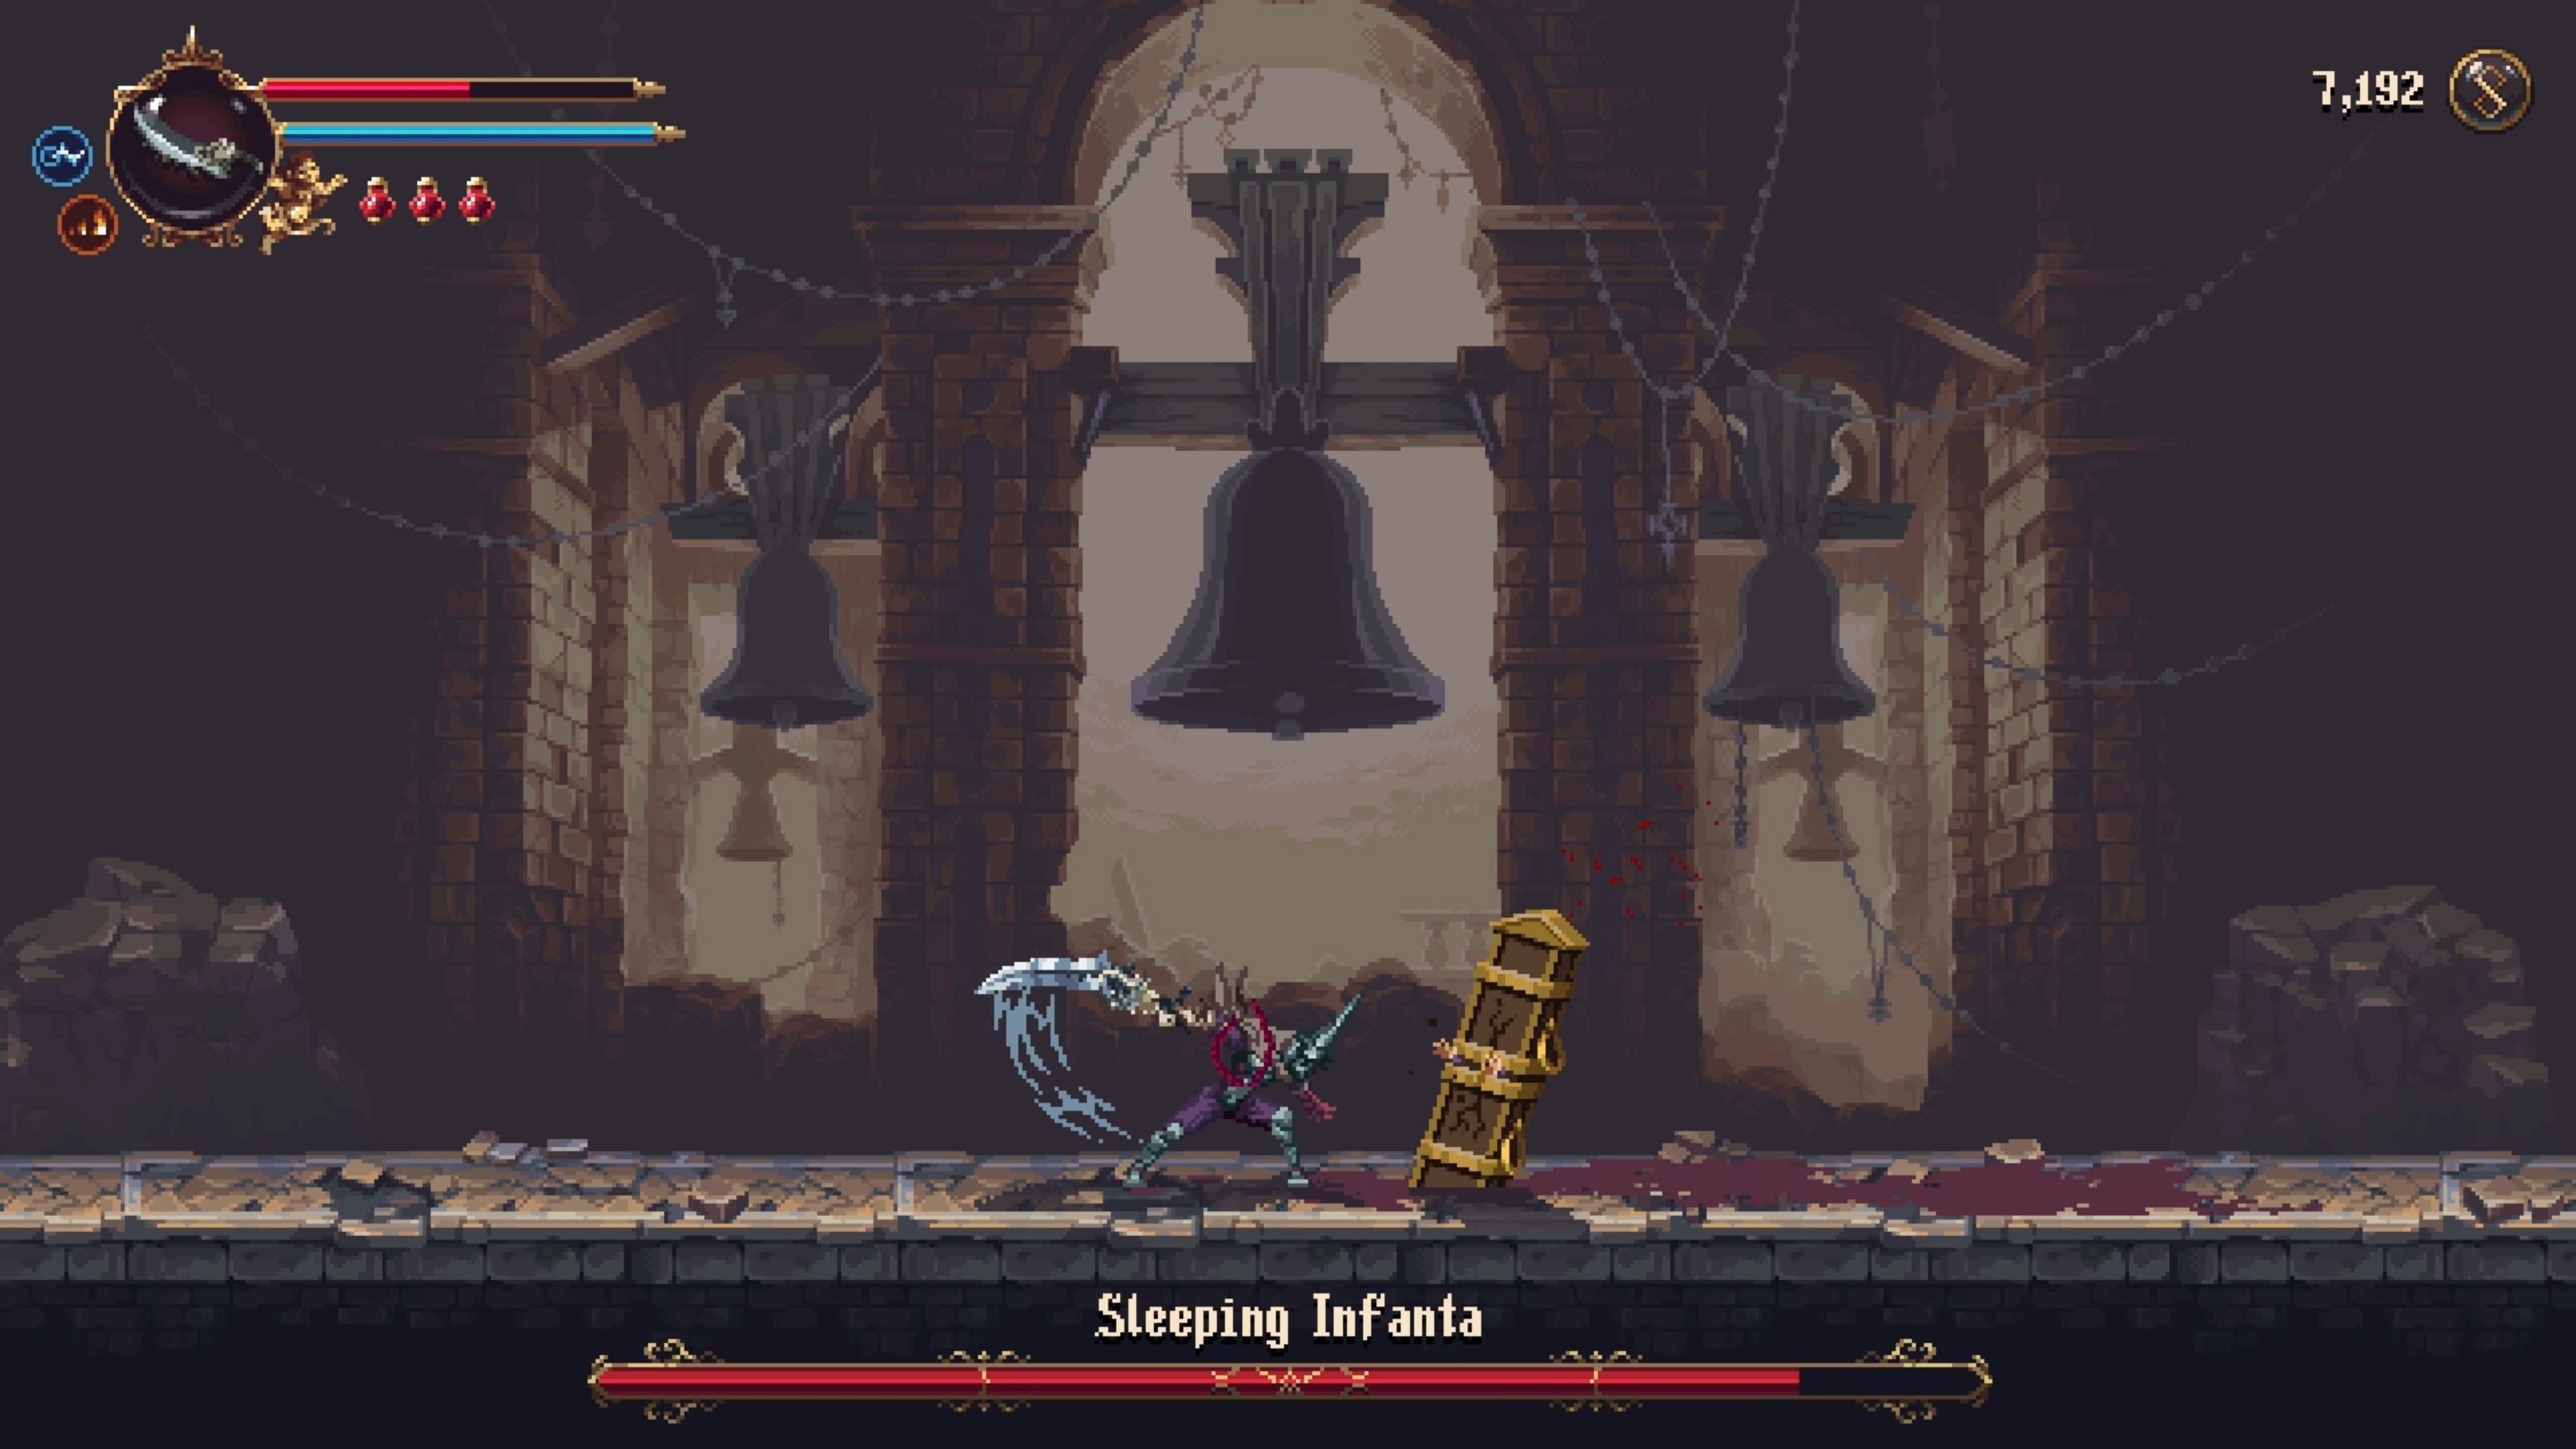
Just when you thought the battle was over, it’s time to face the Sleeping Infanta! Remember that golden pillar Lesmes was lugging around? Well, it’s time to unleash your fury on it. As soon as the second phase begins, rush towards the pillar and start attacking it. You’ll do some significant damage to the Sleeping Infanta, giving you an advantage right from the start.
Dashing Spikes:
The Sleeping Infanta has three attacks up its sleeve, and it usually starts with its Dashing Spikes attack. It summons a circle of spikes around itself before dashing violently towards you. But fear not, you can easily avoid this attack by jumping over the Infanta before it reaches you. After landing, seize the opportunity to unleash a flurry of your own attacks.
Spike Shot:
Next up is the Spike Shot. The Sleeping Infanta leaps into the air and fires off a single spike towards you. You can either evade just before it reaches you or run in the opposite direction to dodge it. You can also choose to guard against this attack, but evading or running may be easier in this phase. Once you avoid the spike, get close to the Infanta and keep up the pressure.
Fury Spikes:
The Sleeping Infanta’s Fury Spikes attack is a bit more challenging. It leaps into the air, turns purple, and rains spikes down on you. To deal with this, you can either evade through the first spike and then run in the opposite direction to avoid the rest, or simply guard all of them. Either way, it’s important to act quickly and continue your assault once the Infanta lands.
Lesmes And Infanta: Phase Three Guide
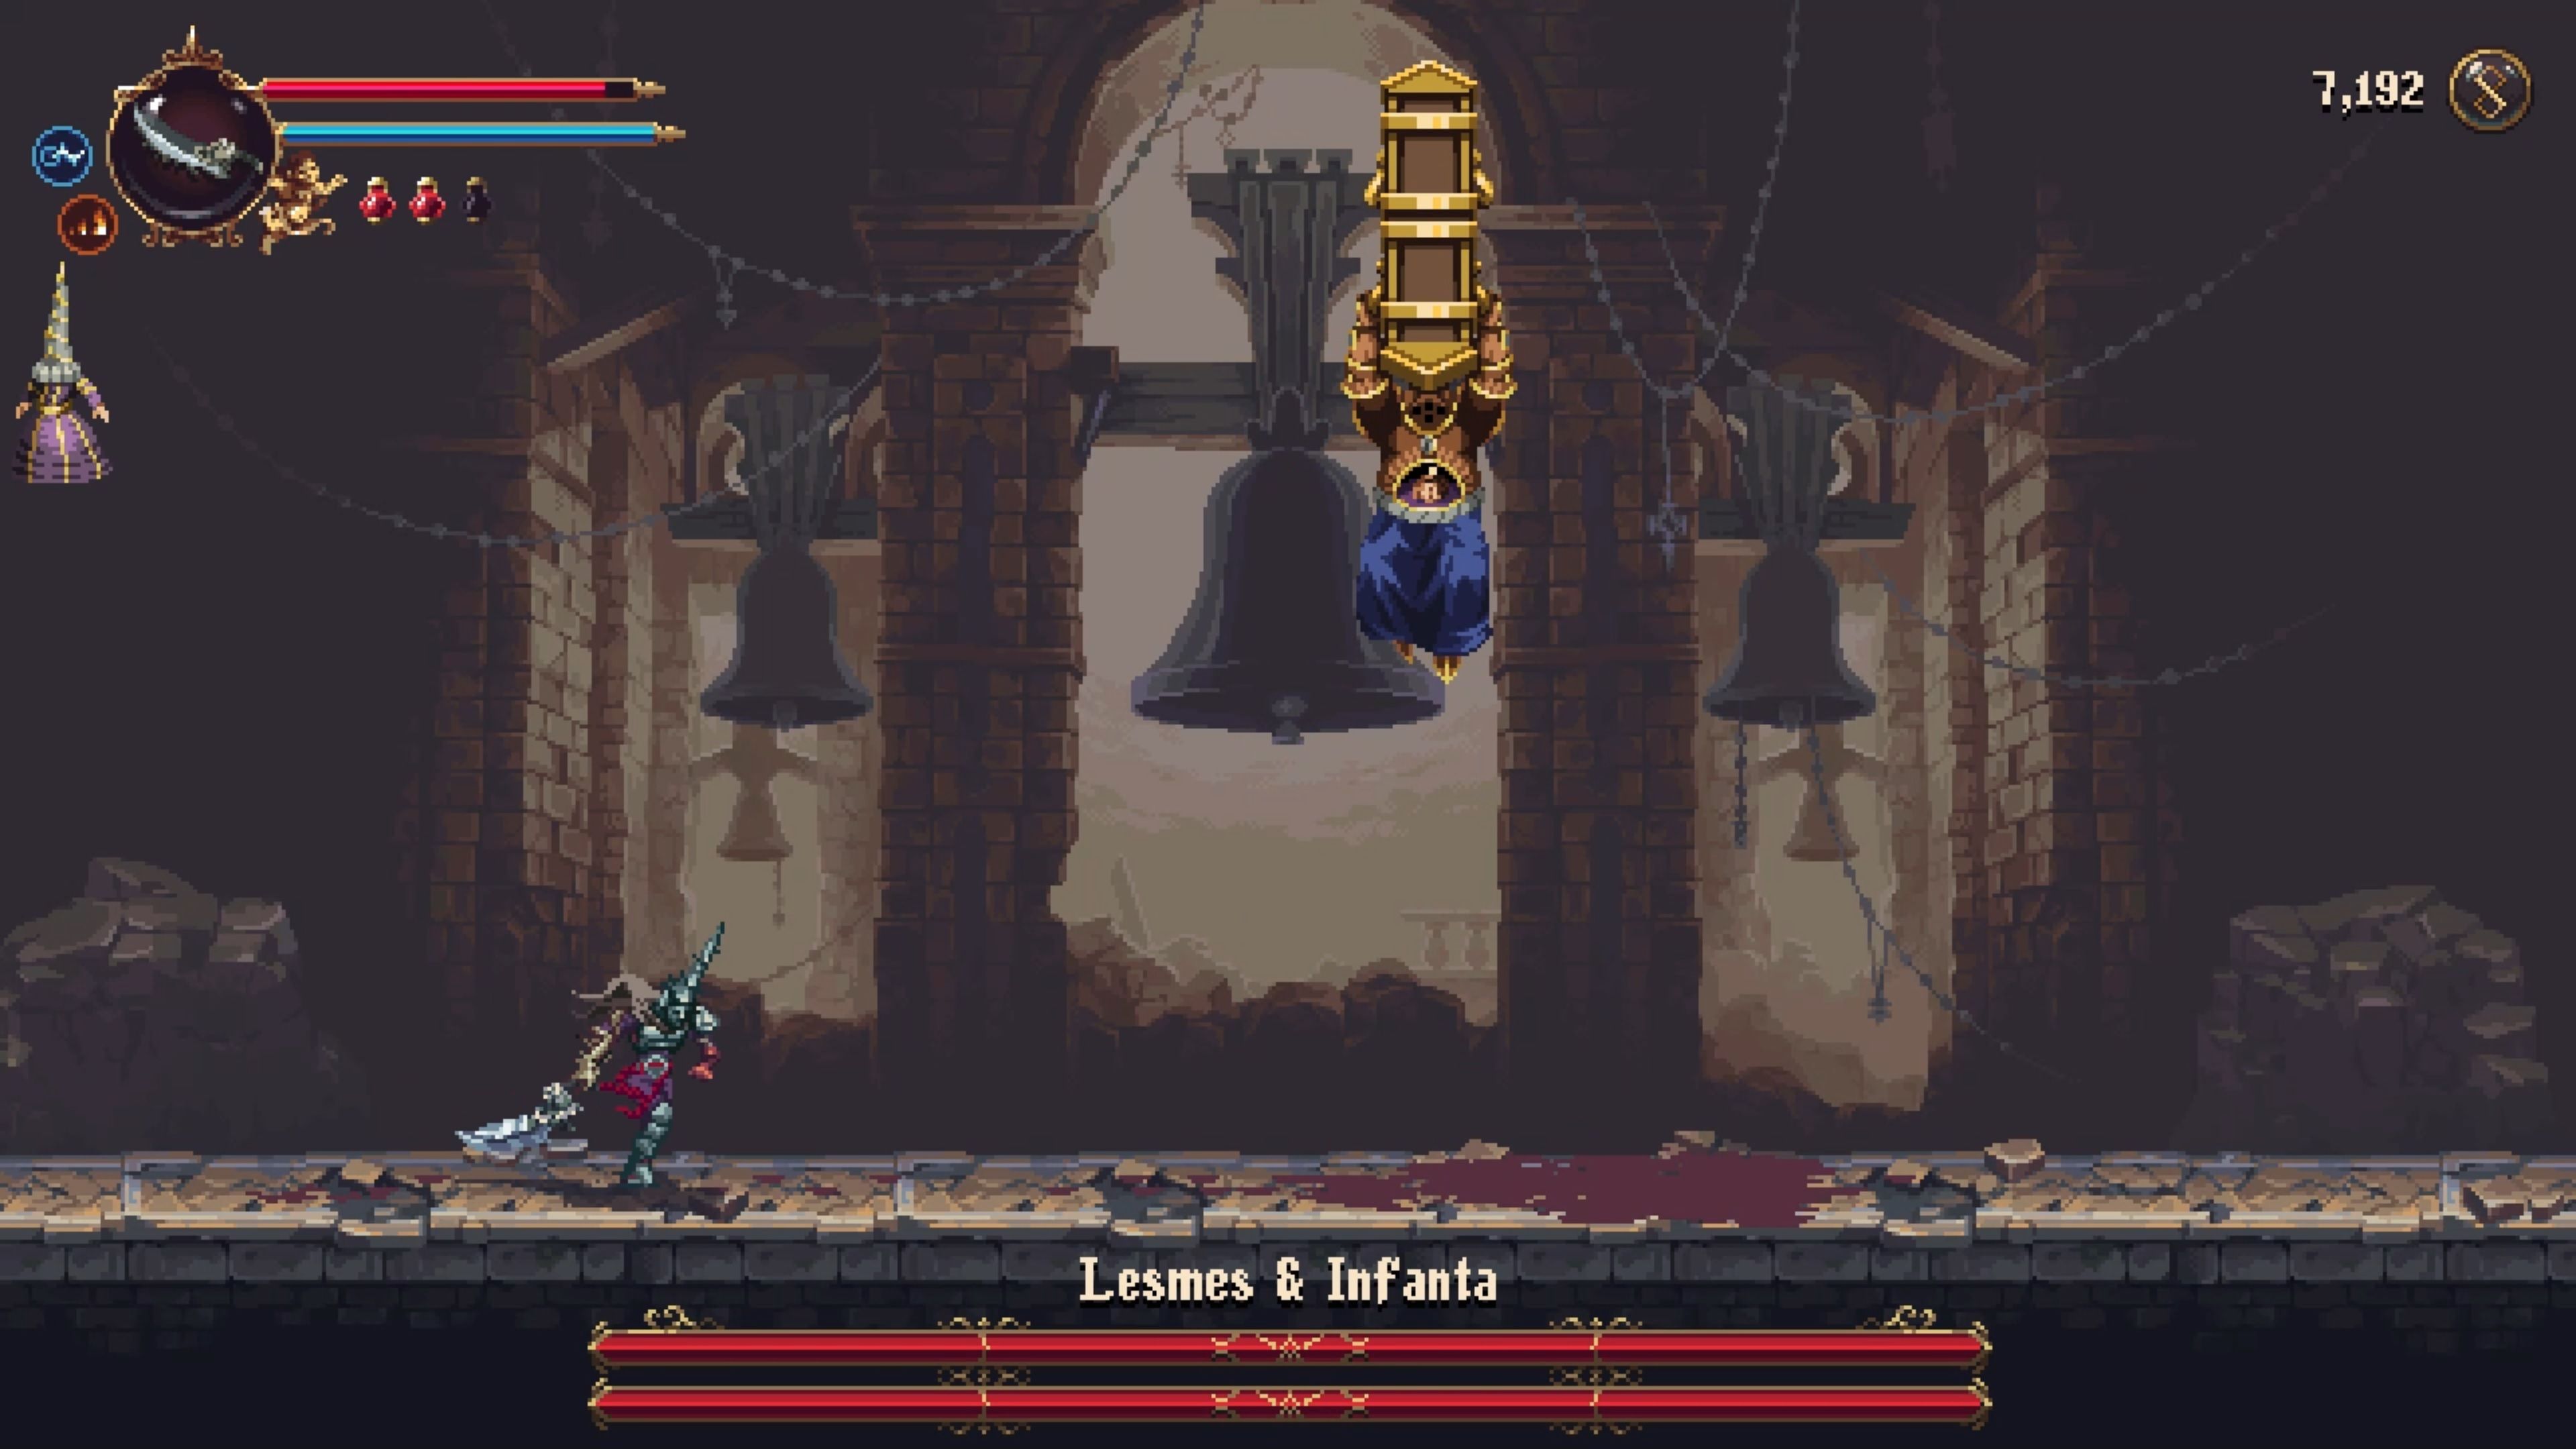
Wait, there’s even more! Get ready for the third phase, where you have to face both Lesmes and Infanta simultaneously. Brace yourself for pure chaos, my friend. This phase is a wild ride and will likely take a few attempts to master. But fear not, I’m here to guide you through this madness.
During this phase, the key is to prioritize your targets and anticipate their moves. Lesmes and Infanta won’t have any new attacks, but you’ll have to deal with both of them at the same time. It’s a delicate dance, but you can do it!
Guard Fury Spikes:
One important tip for this phase is to always guard against Infanta’s Fury Spikes. This attack can really mess up your timing and make things chaotic. By guarding, you not only avoid taking damage but also have an opportunity to react quickly to Lesmes’ follow-up attack. Stay focused and keep your guard up!
Look for an Opening:
Amidst the chaos, there will be moments when one of the bosses is vulnerable. Keep an eye out for Lesmes’ Spiraling Fire Orbs, which will leave Infanta stranded on the opposite end. Take advantage of this opportunity to attack Infanta. Similarly, if Lesmes uses his Flame Cyclones, you can evade and then focus your attention on him while keeping an eye on Infanta’s movements. It’s all about finding those openings and making the most of them.
Focus On Infanta:
Although both bosses are formidable, I strongly recommend focusing your efforts on the Sleeping Infanta first. Why? Well, the Infanta’s attacks can be quite disruptive and it has a smaller health pool. By eliminating it first, you’ll have a smoother ride in the final phase. But don’t ignore Lesmes completely. Keep him in check and unleash your fury when the opportunity arises.
Repeat Phase One:
After defeating the Sleeping Infanta, you’ll once again face Lesmes alone. It’s like deja vu all over again! But don’t let that discourage you. Remember the strategies from phase one, keep your cool, and finish off Lesmes with style.
Congratulations! You’ve survived the epic battle against Lesmes, Incorrupt Sacristan, the Sleeping Infanta, and the chaotic final phase. You’ve proven yourself as a true warrior in the world of Blasphemous 2. So go ahead, celebrate your victory, and get ready for more thrilling adventures in this incredible game!
NEXT: Blasphemous 2: Beginner Tips