Pikmin 4: Giant’s Hearth Guide
Pikmin 4: Giant's Hearth Guide
Quick Links
- Giant’s Hearth Surface Treasure Locations
- Cradle Of The Beast Treasure Locations
- Dream Home Treasure Locations
- Ultimate Testing Range Treasure Locations
Thought the game was over, didn’t you? Pikmin 4 doesn’t end after you rescue Olimar. Now Oatchi is having some trouble, and you need to track down a Koppaite veterinarian. Radar scans indicate they can be found here, in the Giant’s Hearth. For the sake of your closest teammate, it’s time to get searching.
RELATED: Pikmin 4: Hero’s Hideaway Treasure Guide
Fortunately, there aren’t as many treasures here compared to most other zones, so it shouldn’t take as long to find them all. They are a little harder to find compared to others, though. Here’s everything you’ll need to know when looking for treasure locations, from safe combos to hidden beetles.
Giant’s Hearth Surface Treasure Locations

There are 17 treasures to find here. The overall theme of this landscape is a combination of water and fire. You’ll find puddles and sprinklers as often as firepits and burnable hay. Bring plenty of Red and Blue Pikmin as you explore, and you should be able to deal with most, if not all, problems.
There’s also a Rock Pikmin onion on the south side of the map. Be careful of the Sovereign Bulblax guarding it, though.
- Stardew Valley: Marrying Abigail Guide
- Disney Dreamlight Valley: Getting Bricks
- Baldur’s Gate 3: First Stop Guide
| Treasure Image | Name | Location | Details |
|---|---|---|---|
 |
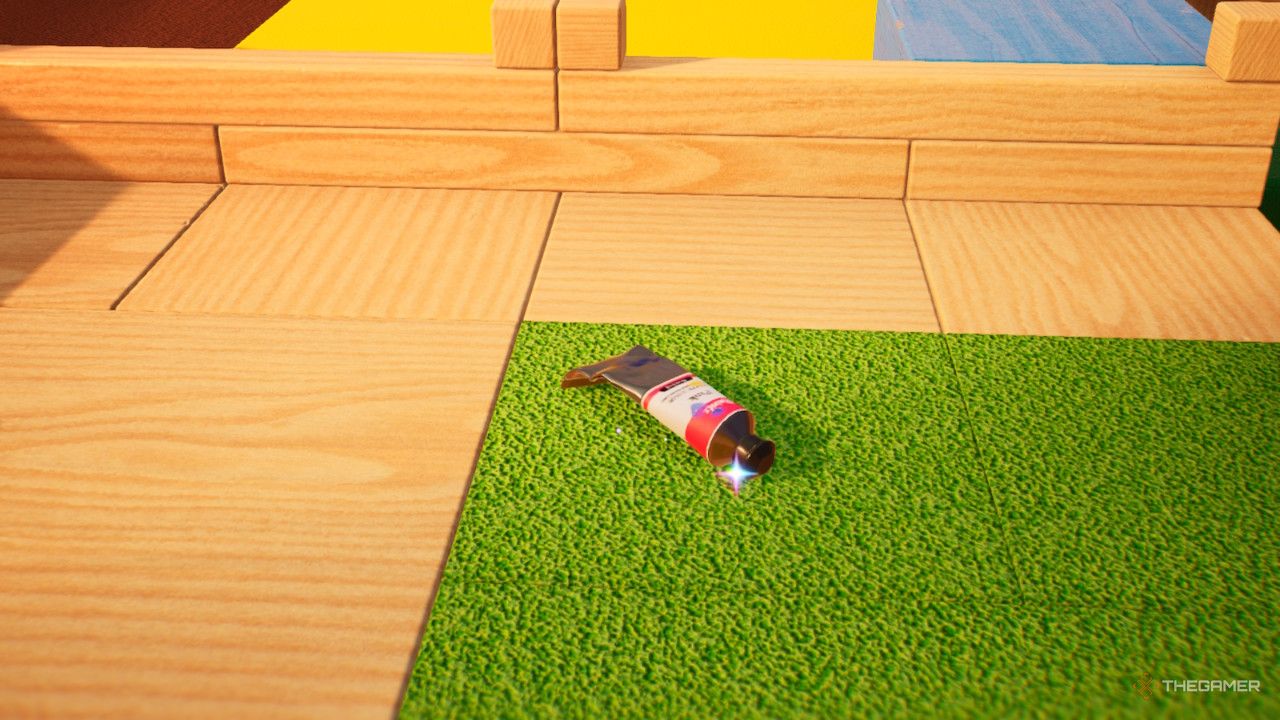
Birdy Bed | South of starting site | It can be frozen with Ice Pikmin, carried through with Blue Pikmin, or drained by digging the pile of sand |
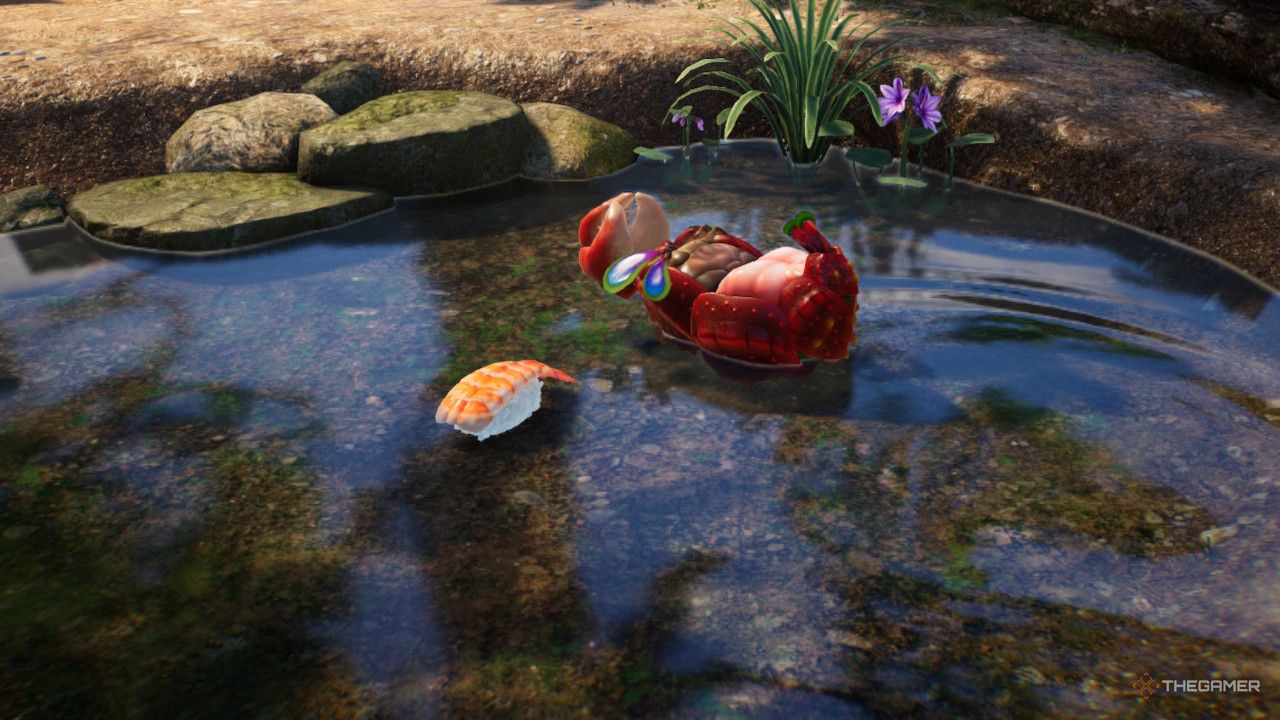 |
Fish-Bed Snack | South area, dropped by Hermit Crawmad in the small pond | |
 |
Crew-Cut Gourd | South edge of map, push box near Crawmad pond to reveal area | |
 |
Seed Hive | North side of map, dropped by Hermit Crawmad near sprinkler | |
 |
Slapstick Crescent | Northeast area, hanging from giant chair | |
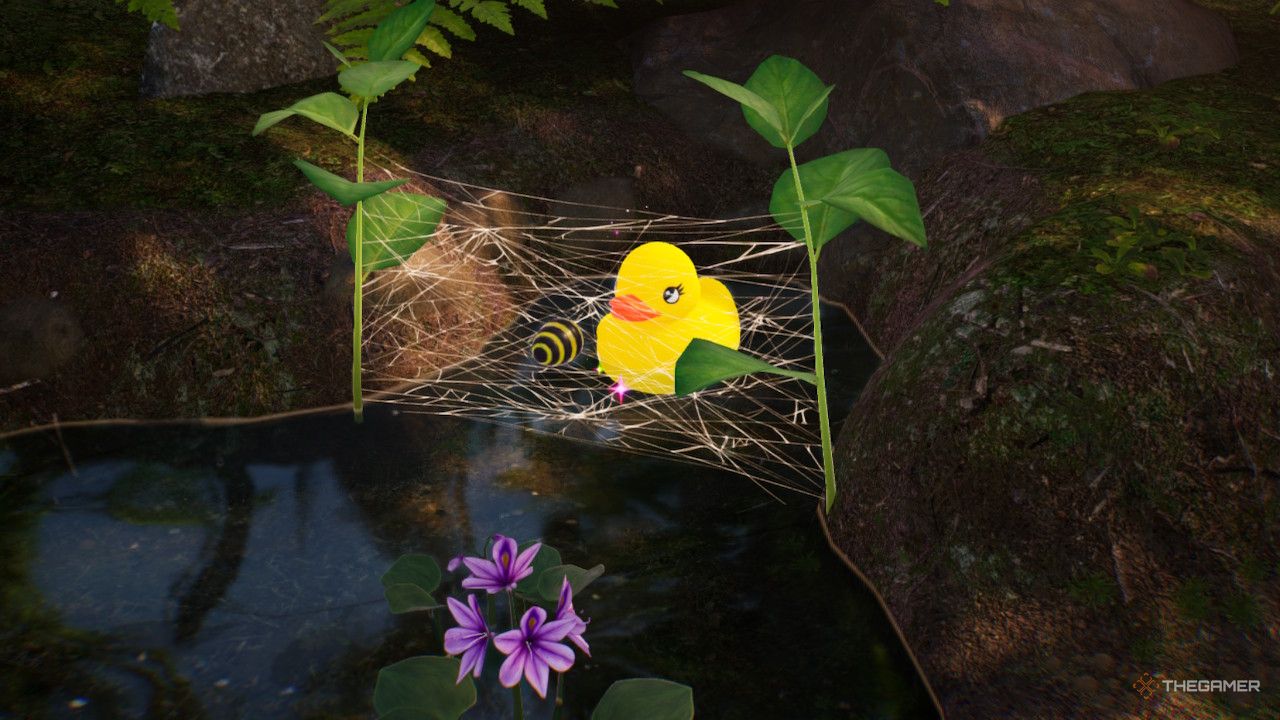 |
Universal Rubber Cutie | East edge of map, behind Arachnode web | |
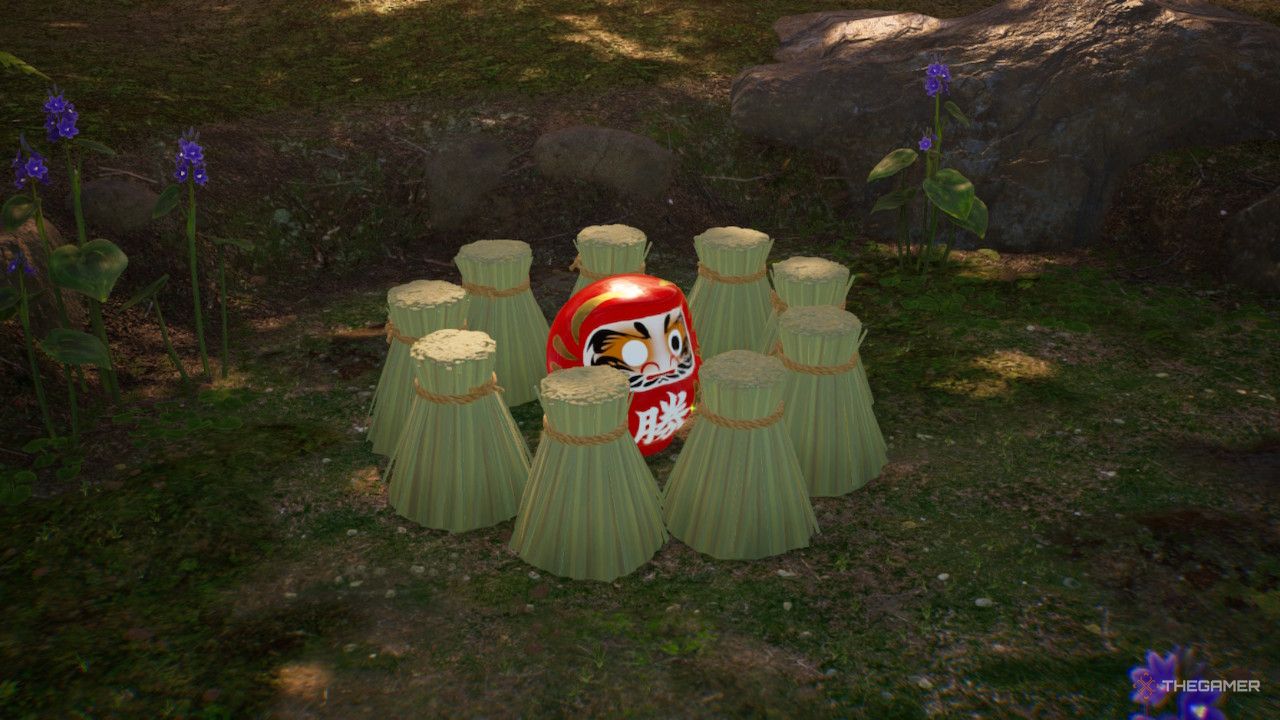 |
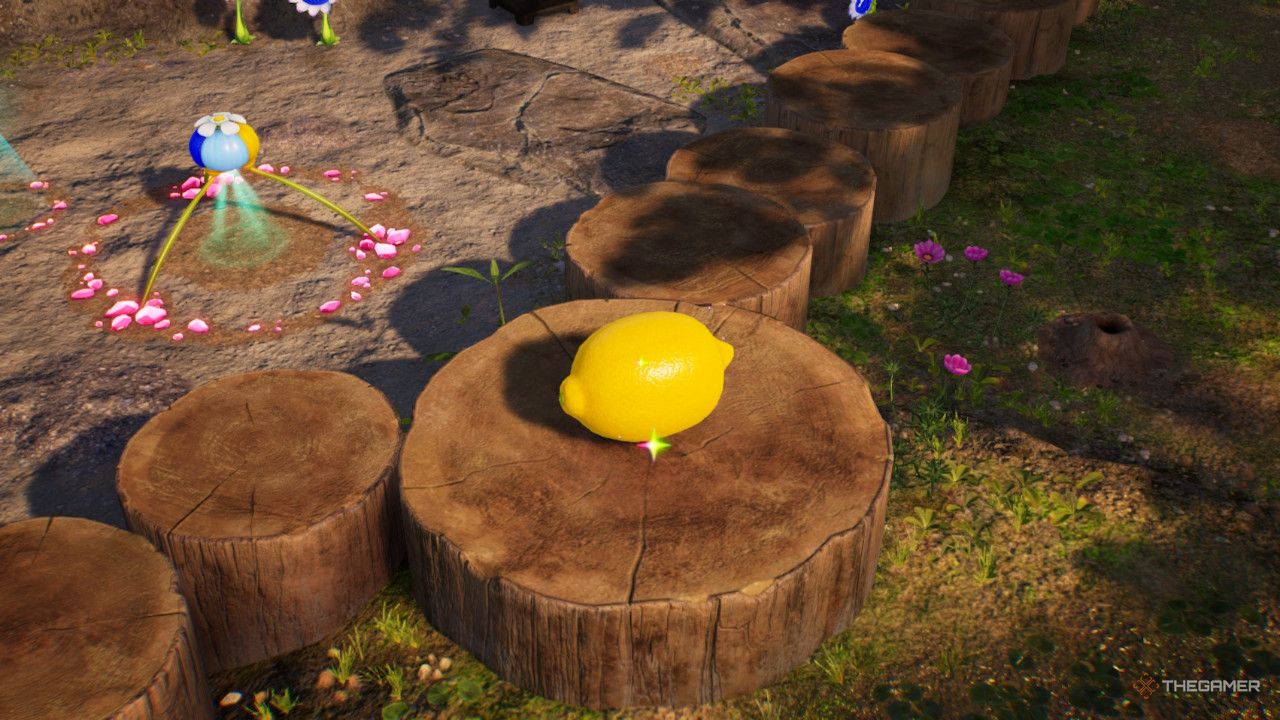
Persistence Machine | East edge of map, surrounded by burnable hay stacks | |
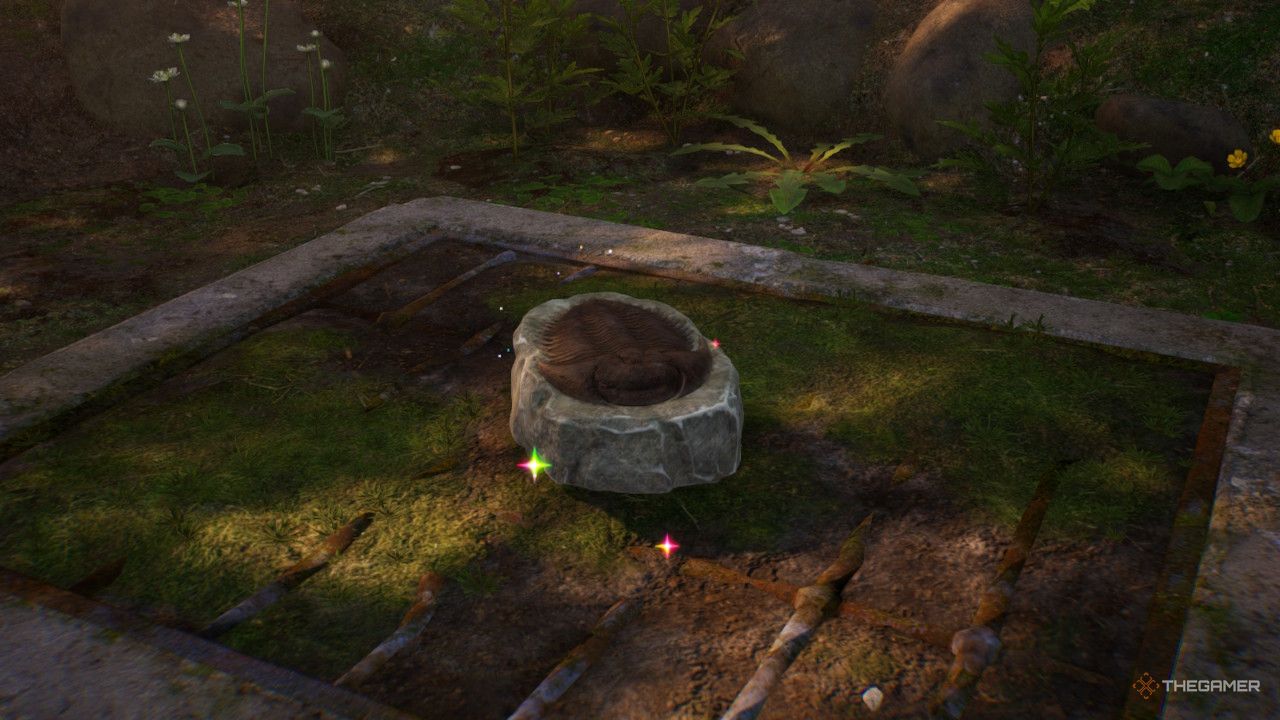 |
Slipper-Bug Fossil | Southeast area, beware of Mitite swarm | |
 |
Anxious Sprout | Central zone, near second landing site | Buried in soot in a fireplace |
 |
Stately Rubber Cutie | Central zone leading west, trapped in Arachnode web | |
 |
Face Wrinkler | Enclosed west zone, on a log | |
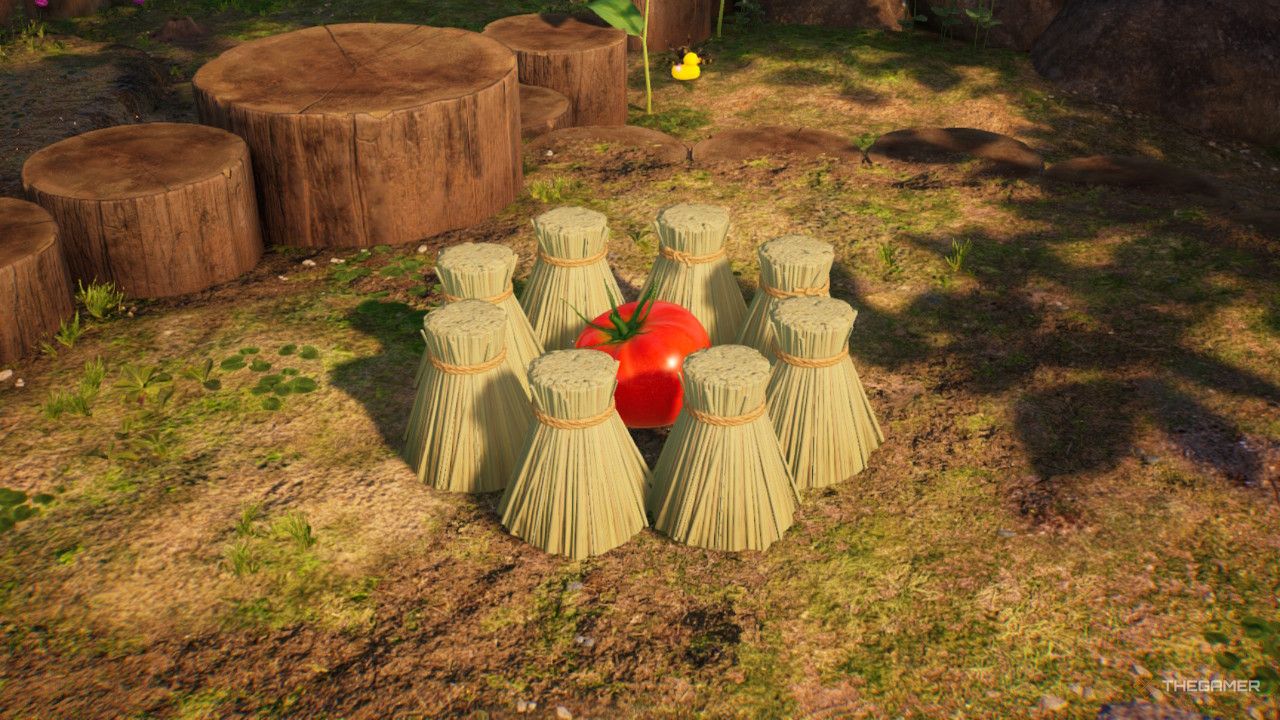 |
Love Nugget | West area, surrounded by burnable hay | |
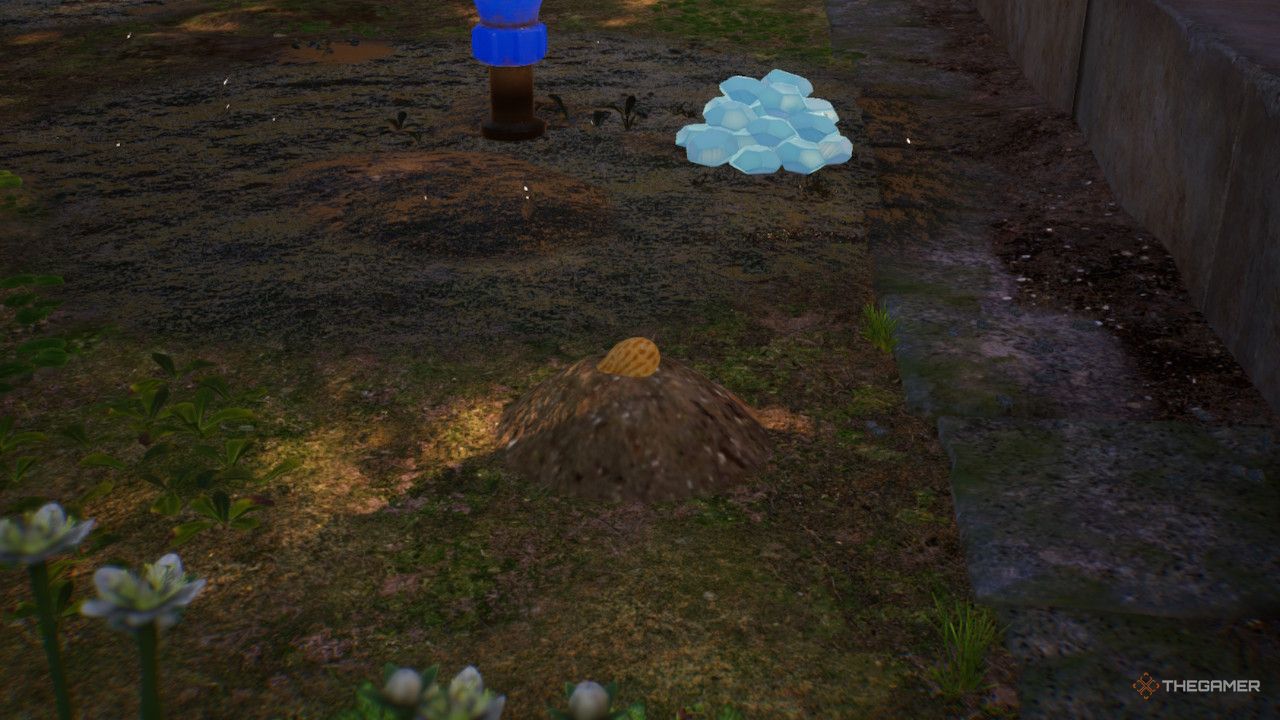 |
Snack Bean | Southwest area past the sprinklers, buried | |
 |
Ice Sword | Up the back wall of the Hearth. Jump on the bricks to reach | |
 |
The Four Grill Brothers | On the Hearth | |
 |
Ice Sword | On the Hearth, climb up the nearby container to reach | |
 |
Disk of Amusing Wisdom | An Iridescent Glint Beetle will appear when you light the small firestarter pit inside the Hearth |
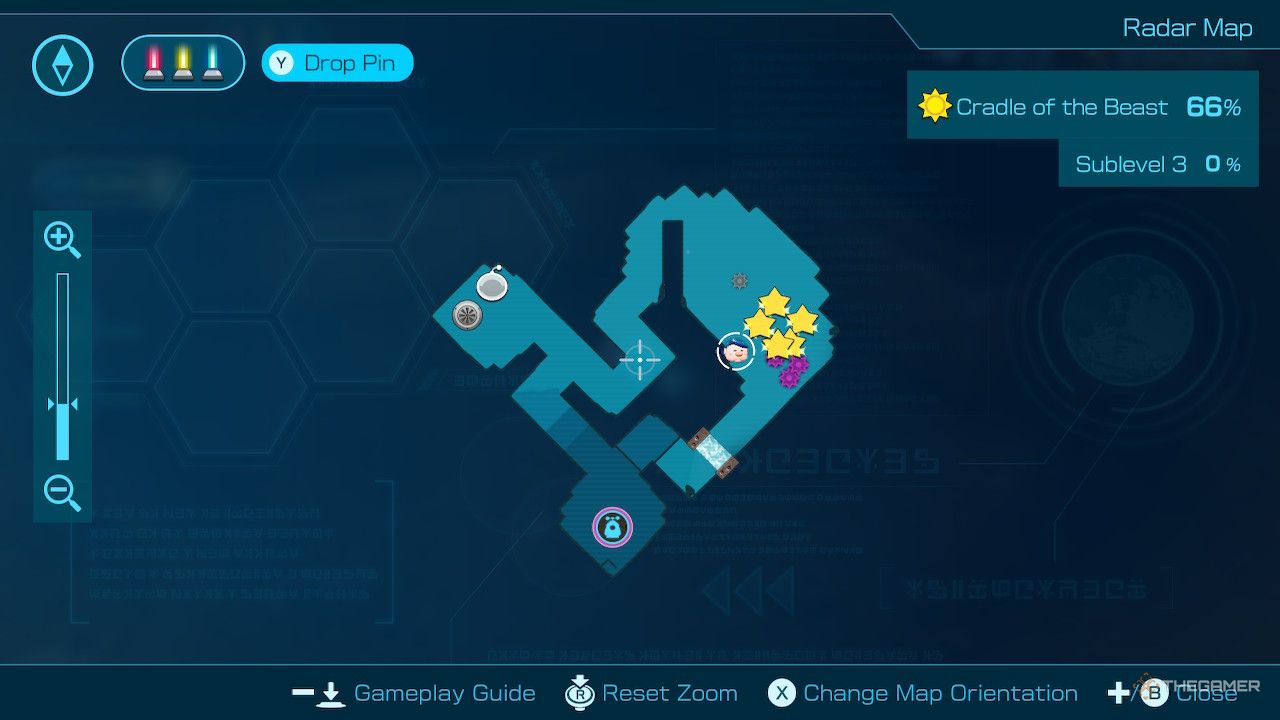
Cradle Of The Beast Treasure Locations
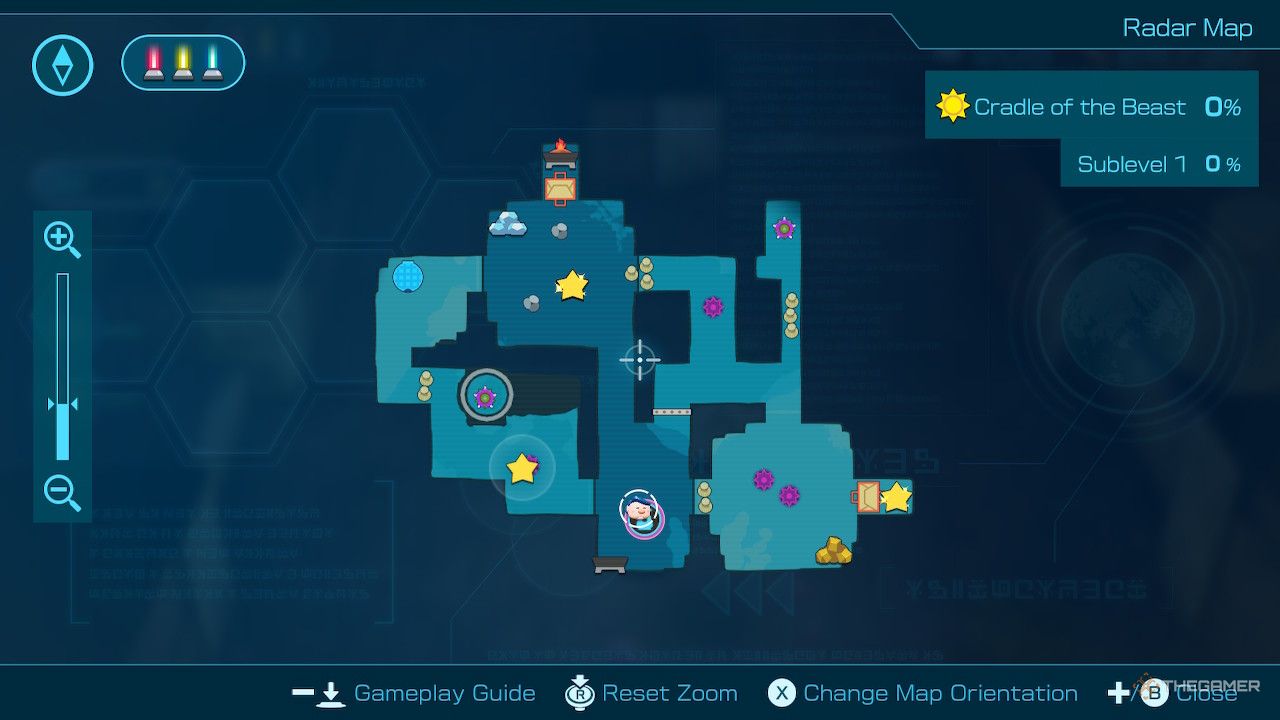
This is a pretty monster-heavy environment. And while the 12 treasure count may seem like a lot, five of them all drop from the final boss of the cavern. Be ready to fight with, and likely lose, your Pikmin.
| Treasure Image | Name | Location | Details |
|---|---|---|---|
 |
Memory Fragment (Bottom-ish) | West hallway, will likely get eaten by a Waddlequaff | |
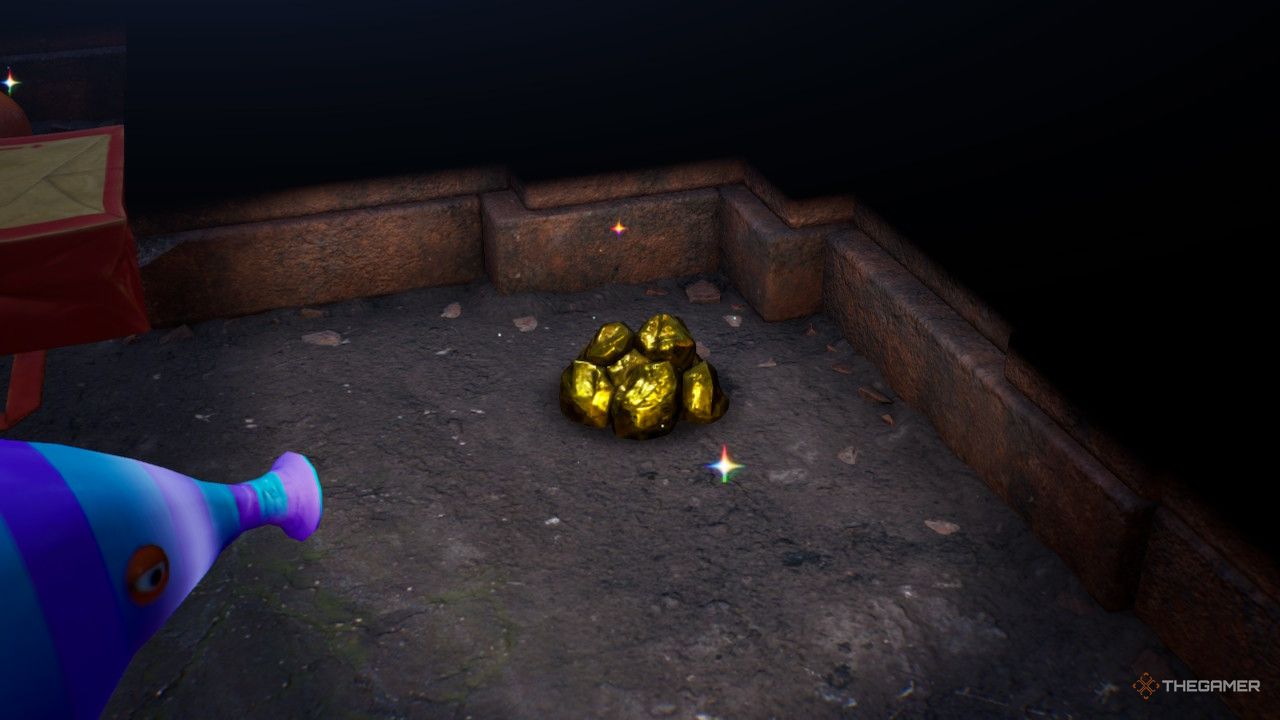 |
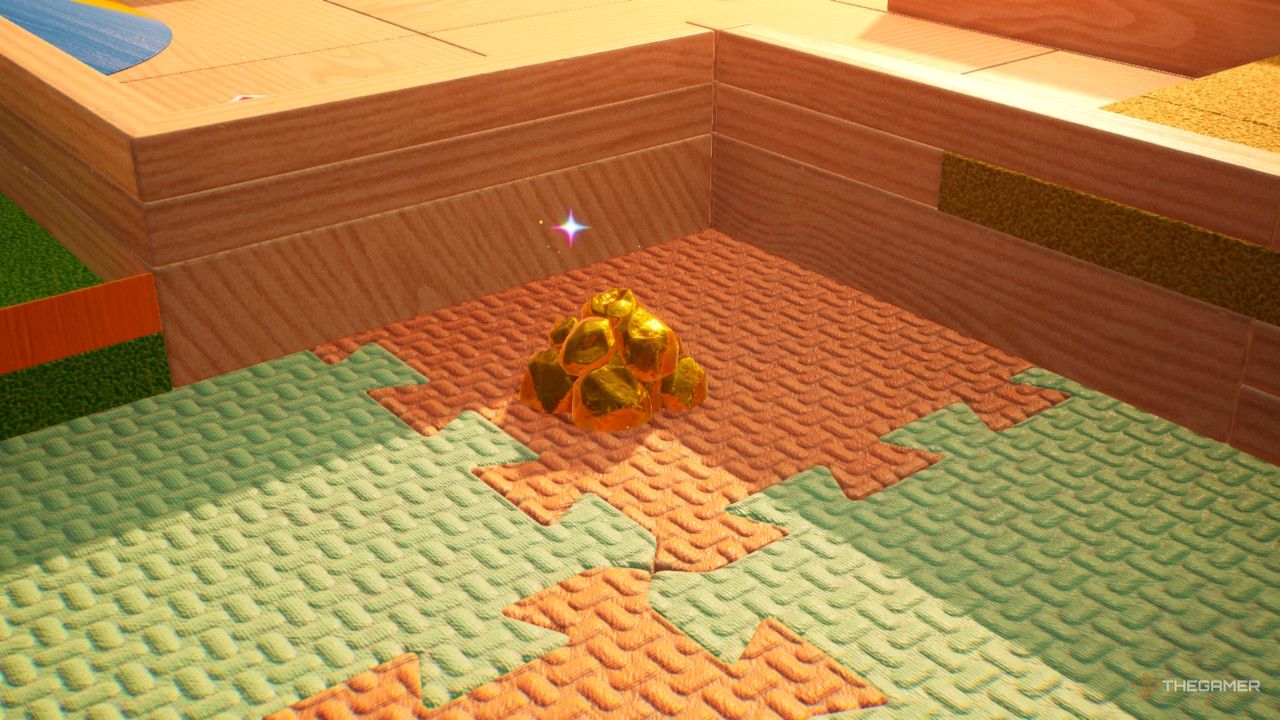
Gold Nuggets | In the corner of the east room | |
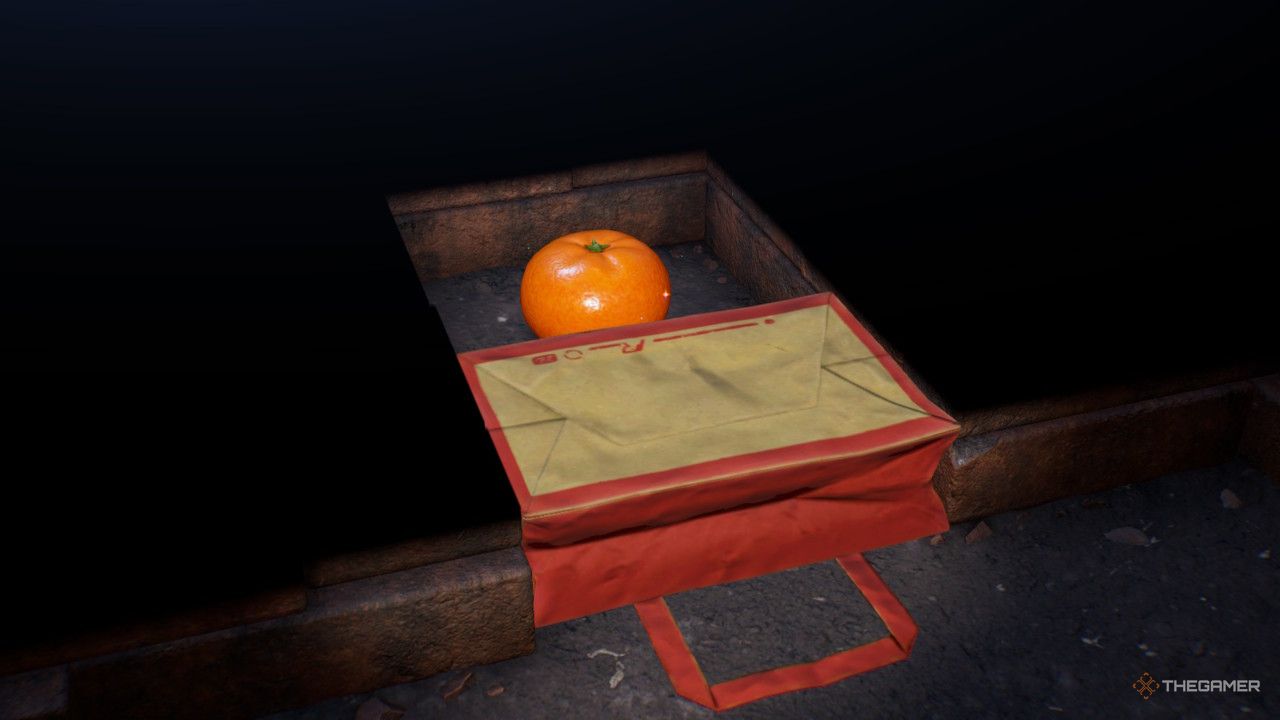 |
Citrus Lump | East room, behind a crushable bag | |
 |
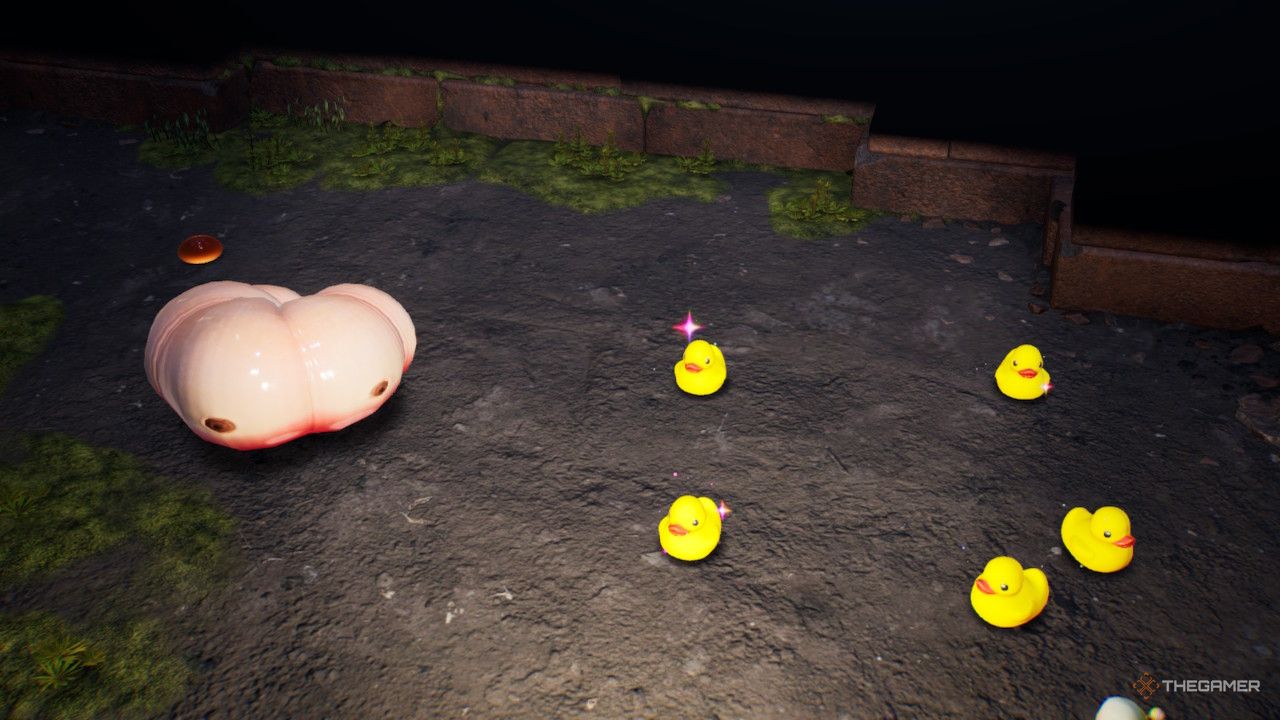
Delectable Bouquet | North room, dropped by Fiery Bulblax |
Sublevel 2
| Treasure Image | Name | Location | Details |
|---|---|---|---|
 |
Mouth of Lies | Southwest room, throw Pikmin from ledge to reach | |
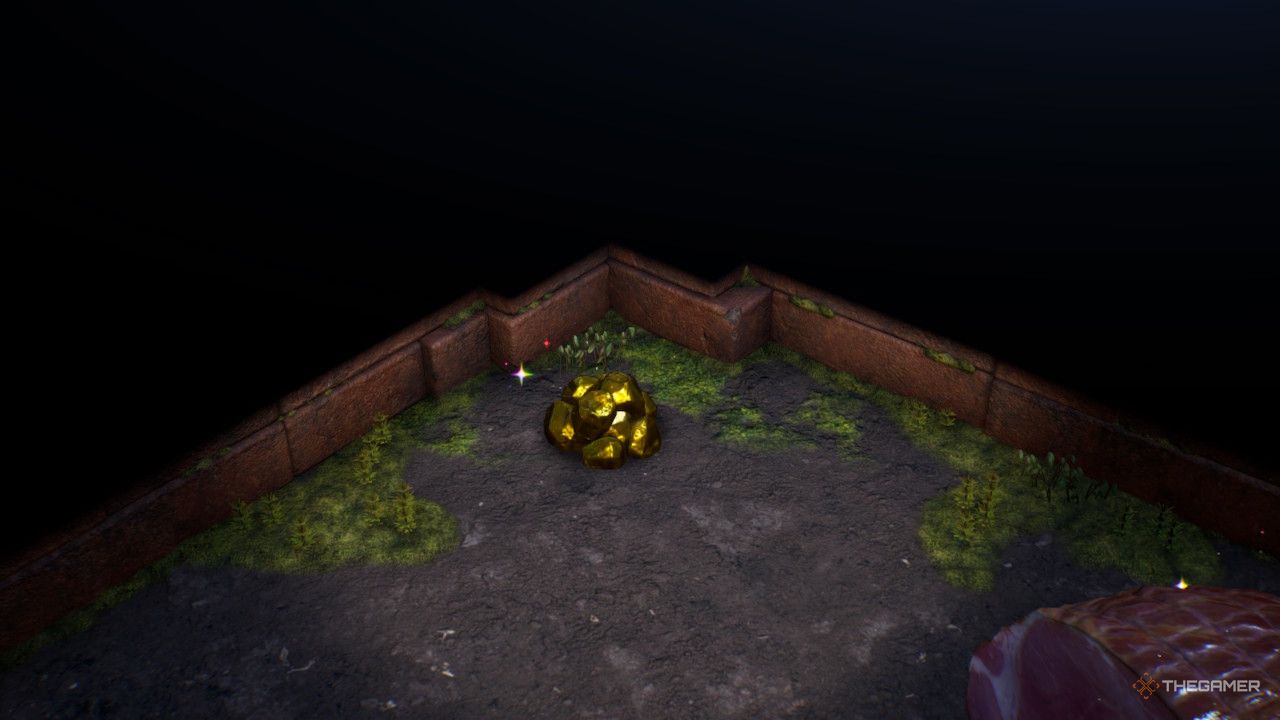 |
Gold Nuggets | In the corner of the north room | |
 |
King of Meats | North room, dropped from Porquillion |
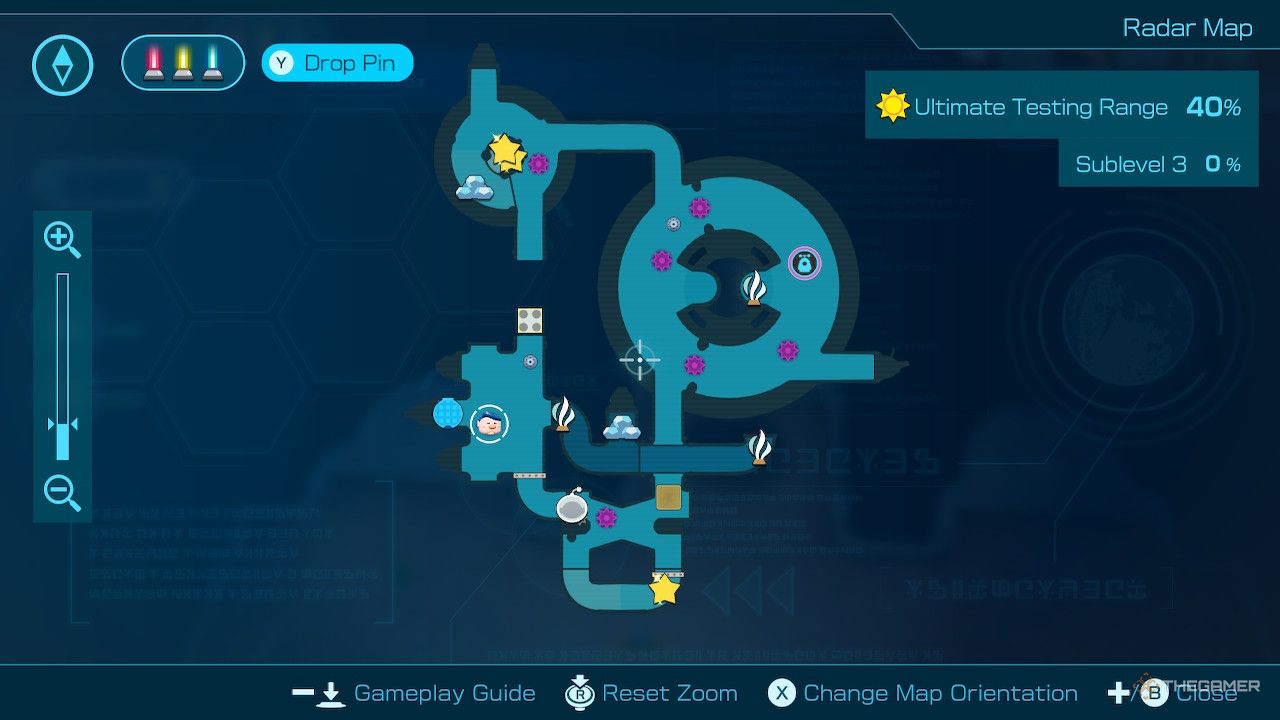
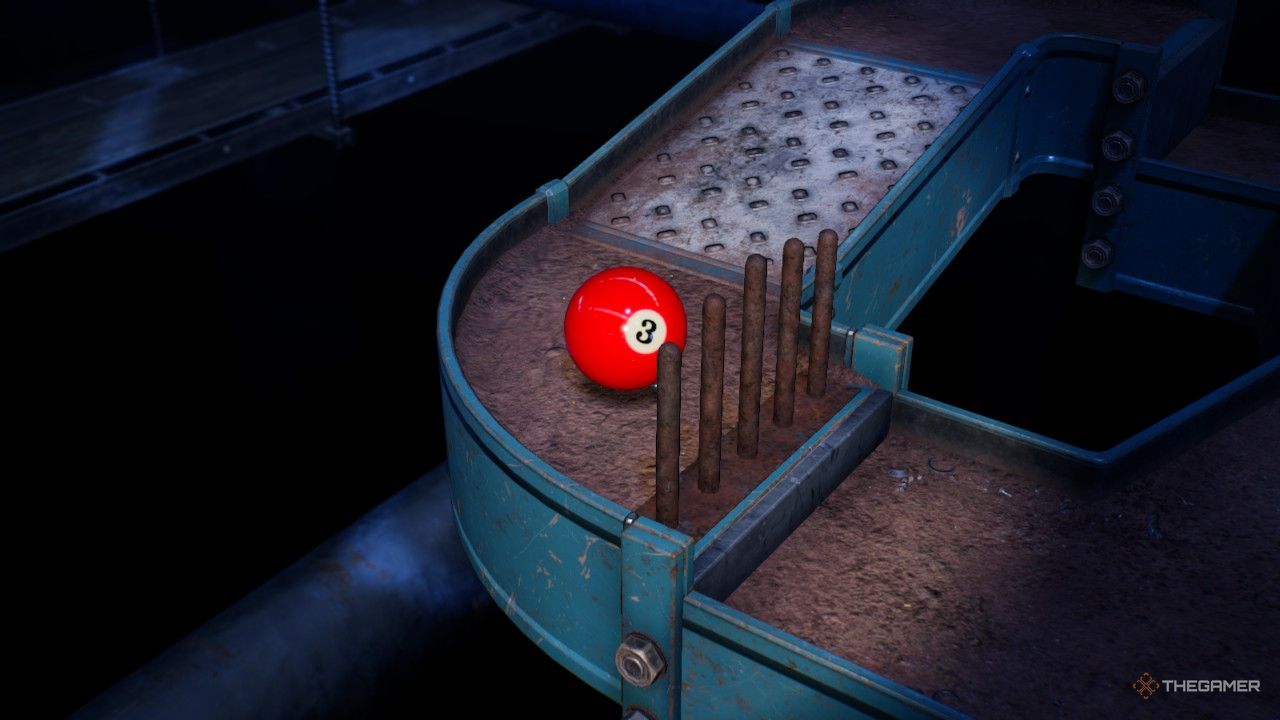
Sublevel 3
| Treasure Image | Name | Location | Details |
|---|---|---|---|
 |
Stately Rubber Cutie (x5) | East room, dropped from Empress Bulblax |
RELATED: Pikmin 4: How To Win A Dandori Battle
Dream Home Treasure Locations

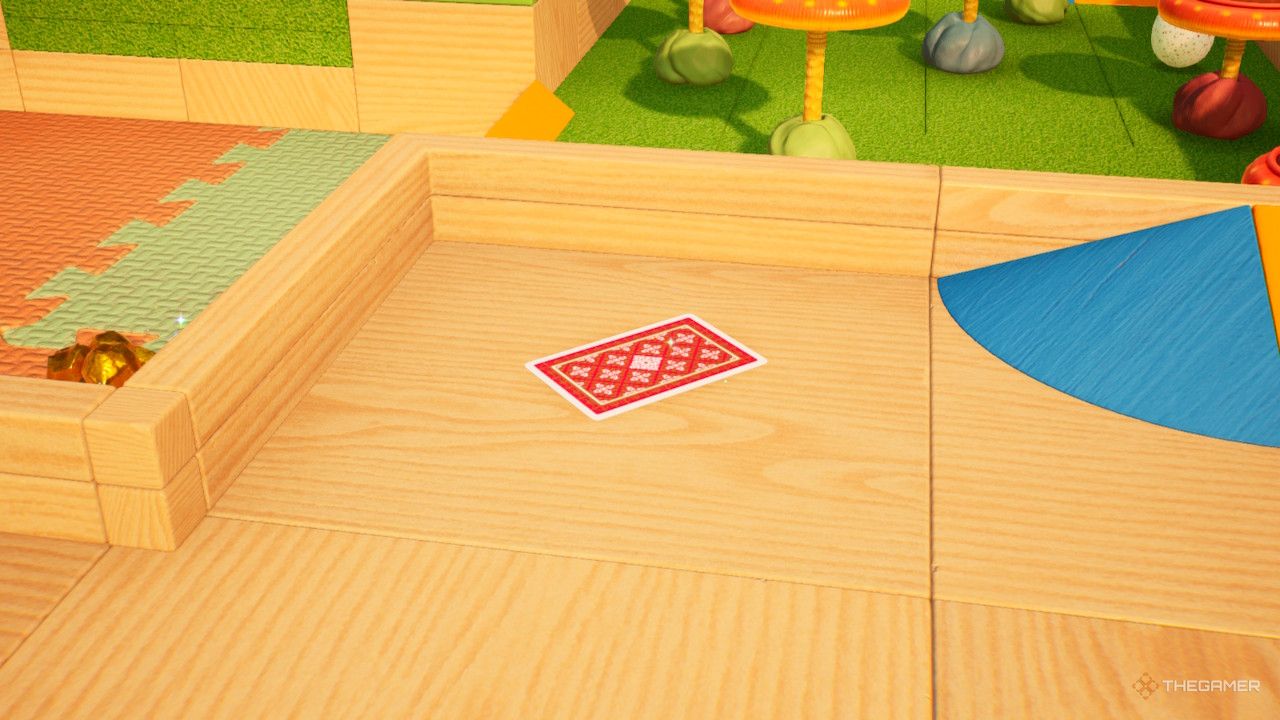
An interesting change of pace from the usual cave system, this is only one sublevel, with a whopping 15 treasures to find therein. It concludes with a castaway and a locked safe. Find the three numbered playing cards to learn the combo. We can’t tell you what it is, though, because it’s random per playthrough.
| Treasure Image | Name | Location | Details |
|---|---|---|---|
 |
Devil’s Portrait | North of landing site, near a Sunsquish | |
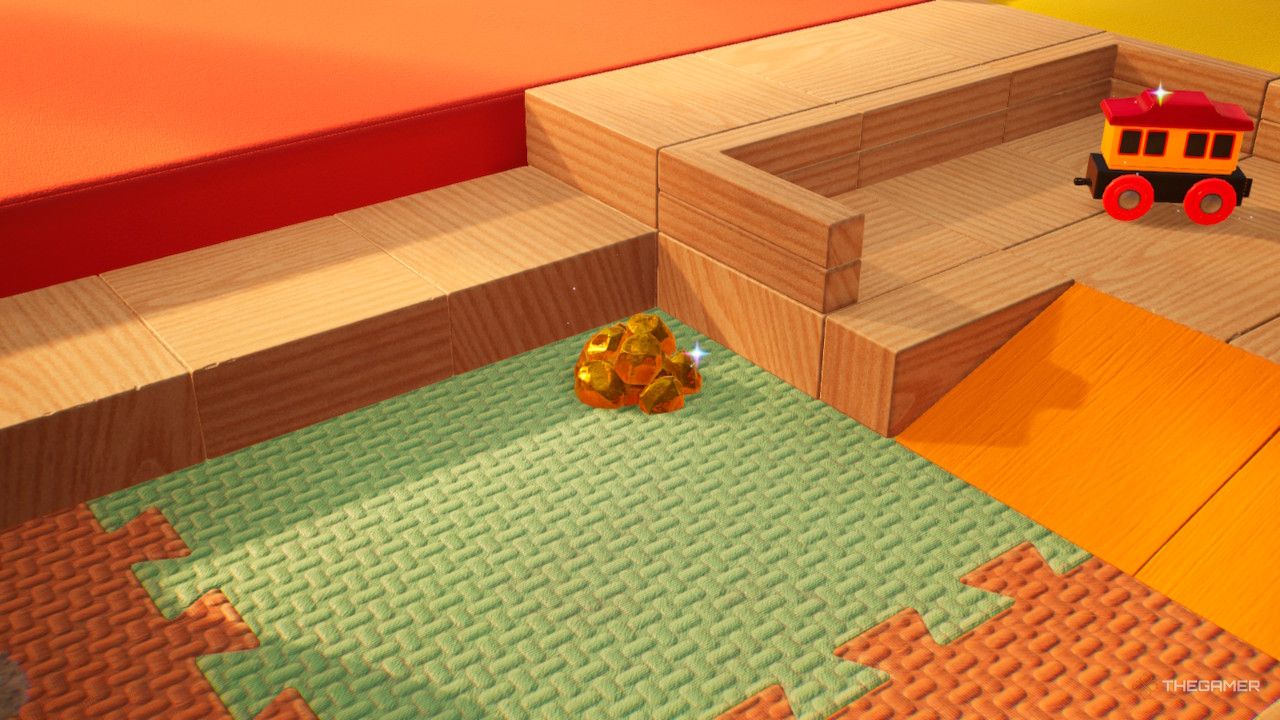 |
Gold Nuggets | Northeast zone, accessible from a tunnel behind the safe | |
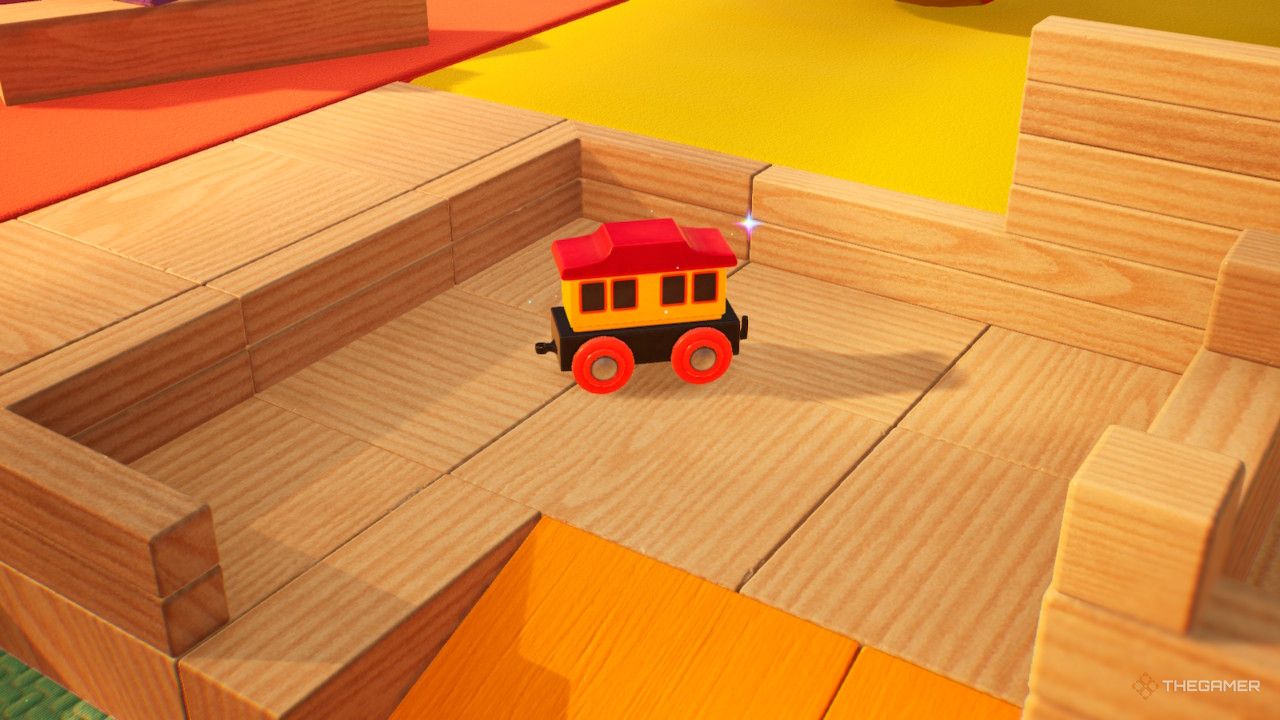 |
Leisure Car | Northeast zone, accessible from a tunnel behind the safe | |
 |
Love Emblem | Northeast upper zone, accessible from a hover platform | |
 |
Captivation Goo | Northeast upper zone, accessible from a hover platform | |
 |
Fastening Item | Hiding in pots to the east-southeast | |
 |
Condensed Sunshine | Central area, dropped by Giant Bulborb | |
 |
Deity’s Portrait | South side, upper level. Construct wall and climb up | |
 |
Divine Balloon | Southeast edge, have Oatchi enter the tunnel in the south area | |
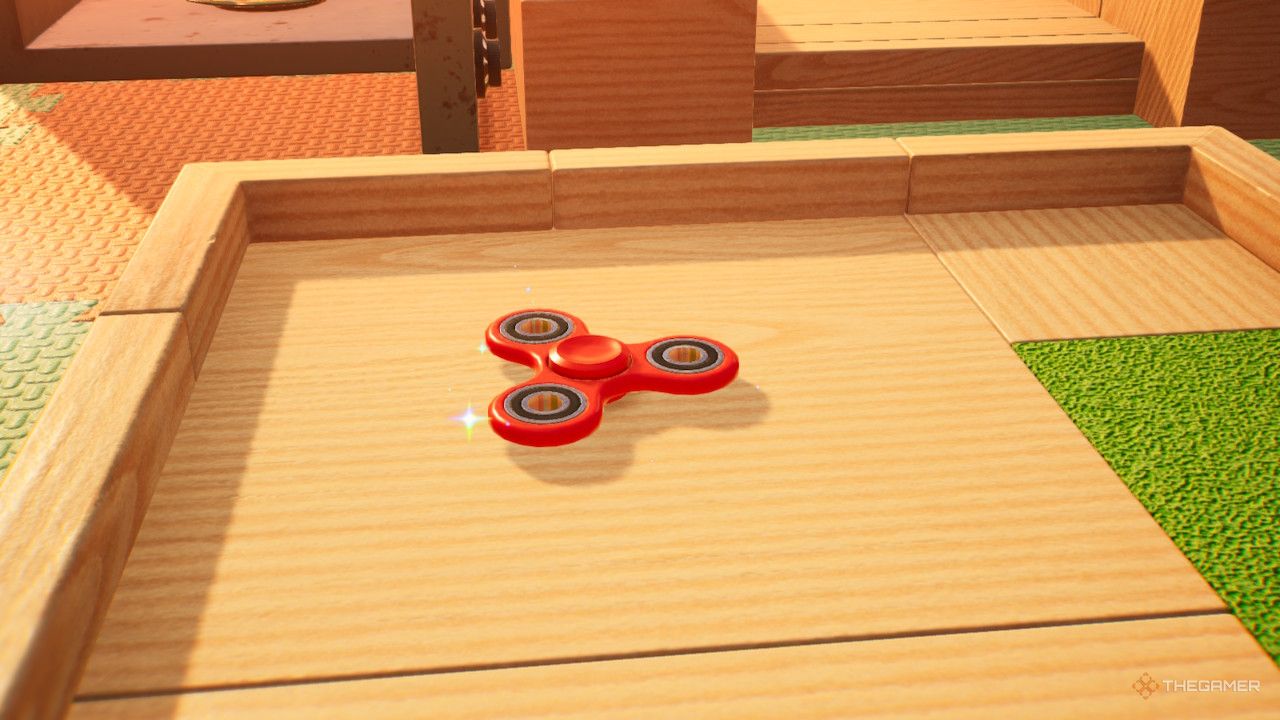 |
Space Spinner | Central area, access from the bridge on the south | |
 |
Gold Nuggets | Central area, beyond the Bulborbs | |
 |
Money Emblem | West area, after the mushroom puzzle | |
 |
Work Emblem | Pinned to the wall in the northwest area, ram the wall with Oatchi to drop | |
| Blast Shield | Blast Shield | Northwest area, pinned to the wall. Ram with Oatchi to drop | |
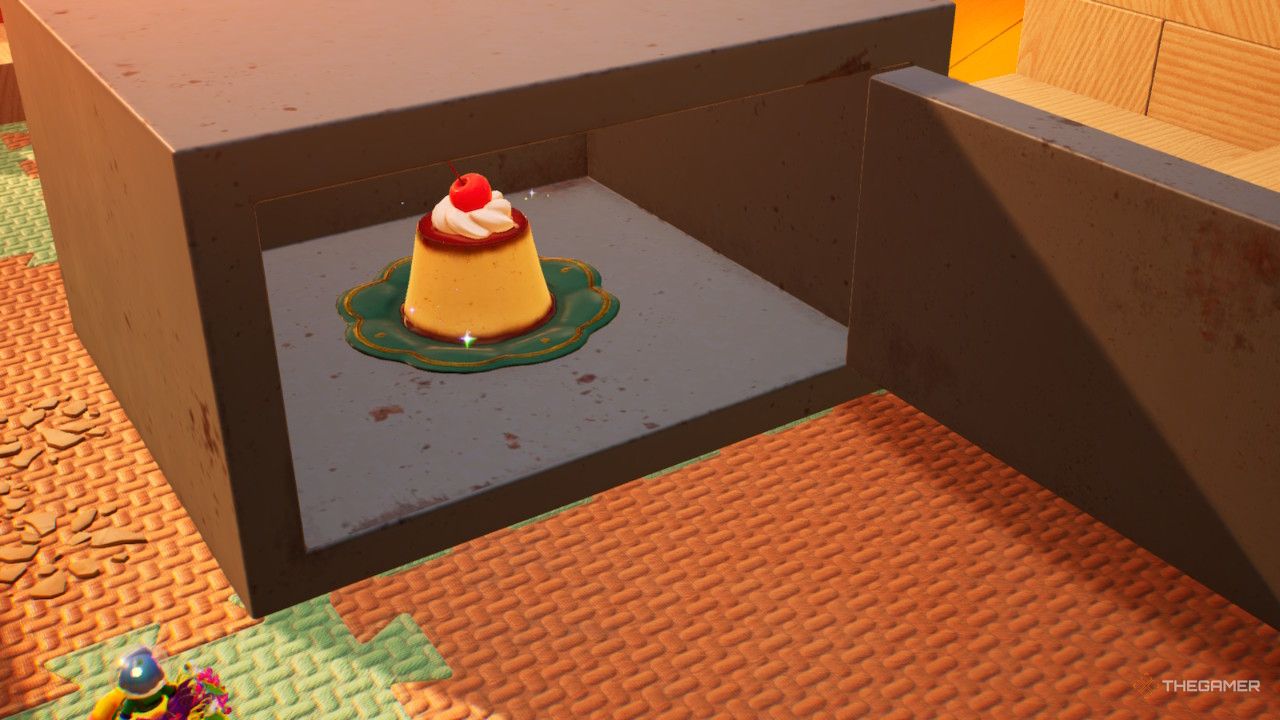 |
Jiggle-Jiggle | Inside the safe, check the card treasures for the code (the code is random) |
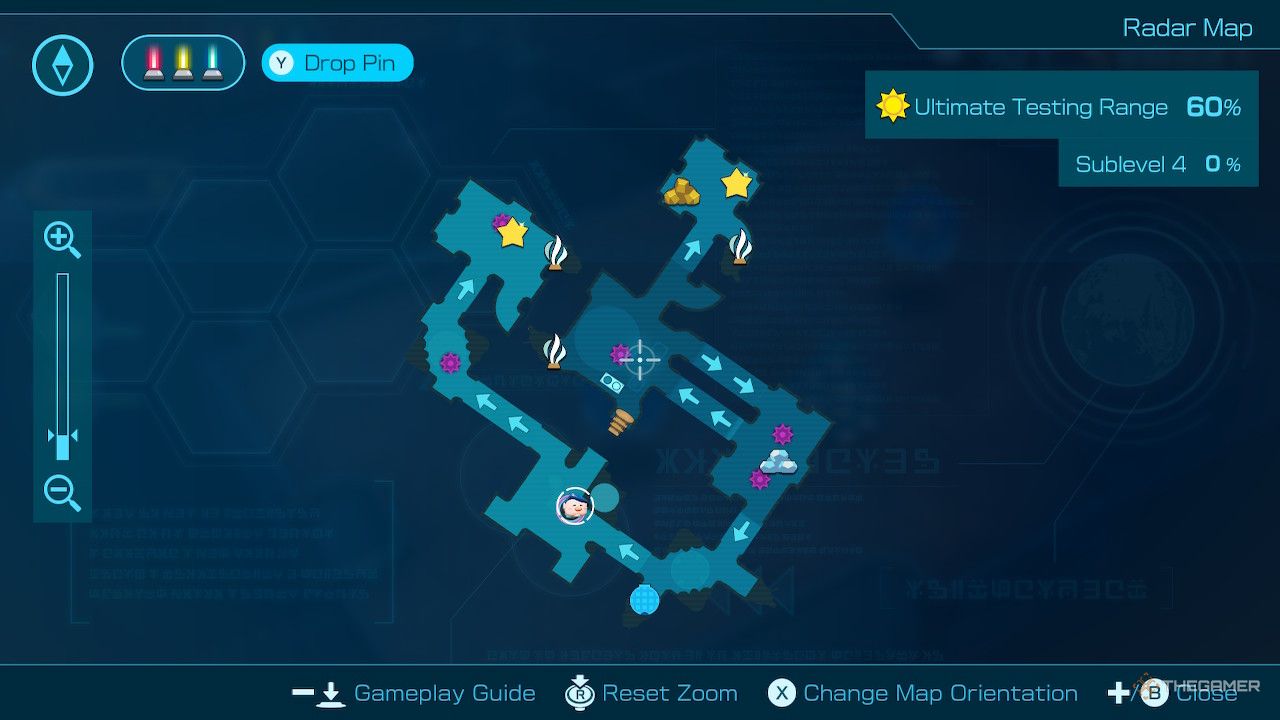
Ultimate Testing Range Treasure Locations

With an intimidating name, you don’t discover what’s so dangerous until the final sublevel, where you have to face off with a literal machine gun. Before that, however, you have a couple of run-of-the-mill levels focused around using Winged Pikmin. Don’t worry; they provide Pink Candypop Bulbs to help raise your Winged Pikmin reserves.
| Treasure Image | Name | Location | Details |
|---|---|---|---|
 |
Long-Shot Totem | Northeast corner, unobstructed | |
 |
Sphere of Trust | West zone, under a Dweevil | |
 |
Relentless Spear | Southwest area near the exit. Ride a nearby platform up |
Sublevel 2
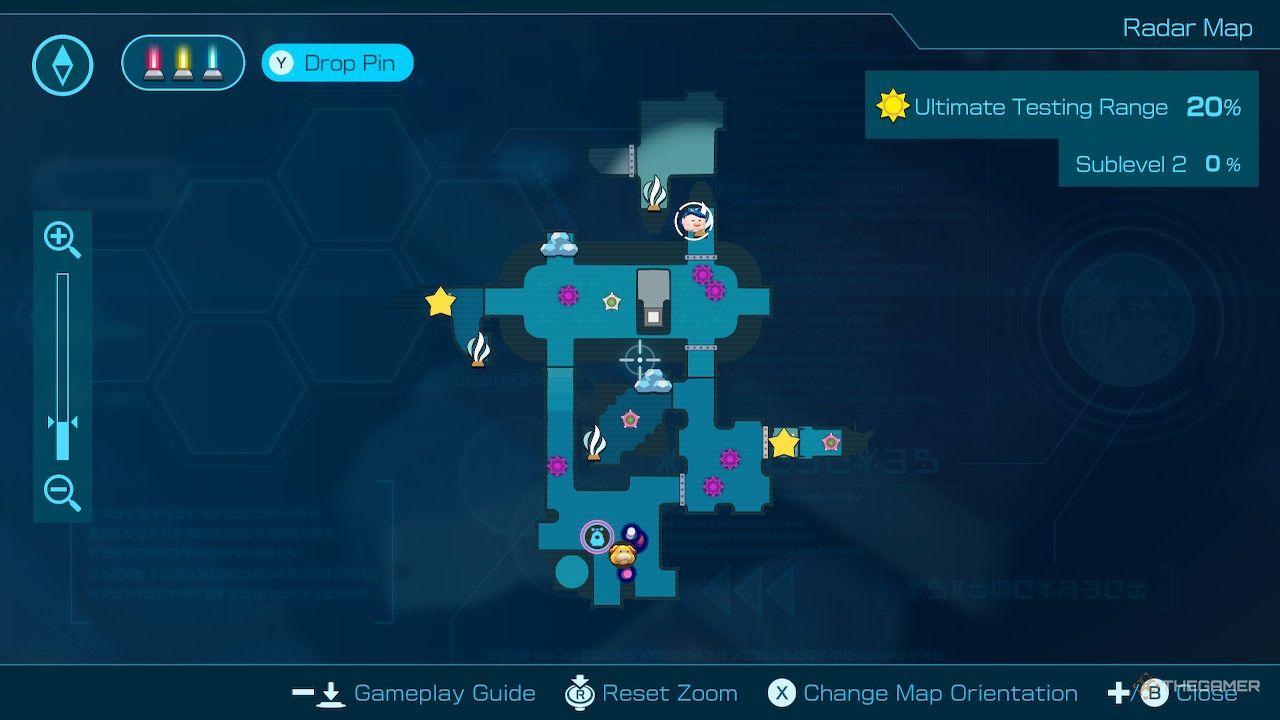
| Treasure Image | Name | Location | Details |
|---|---|---|---|
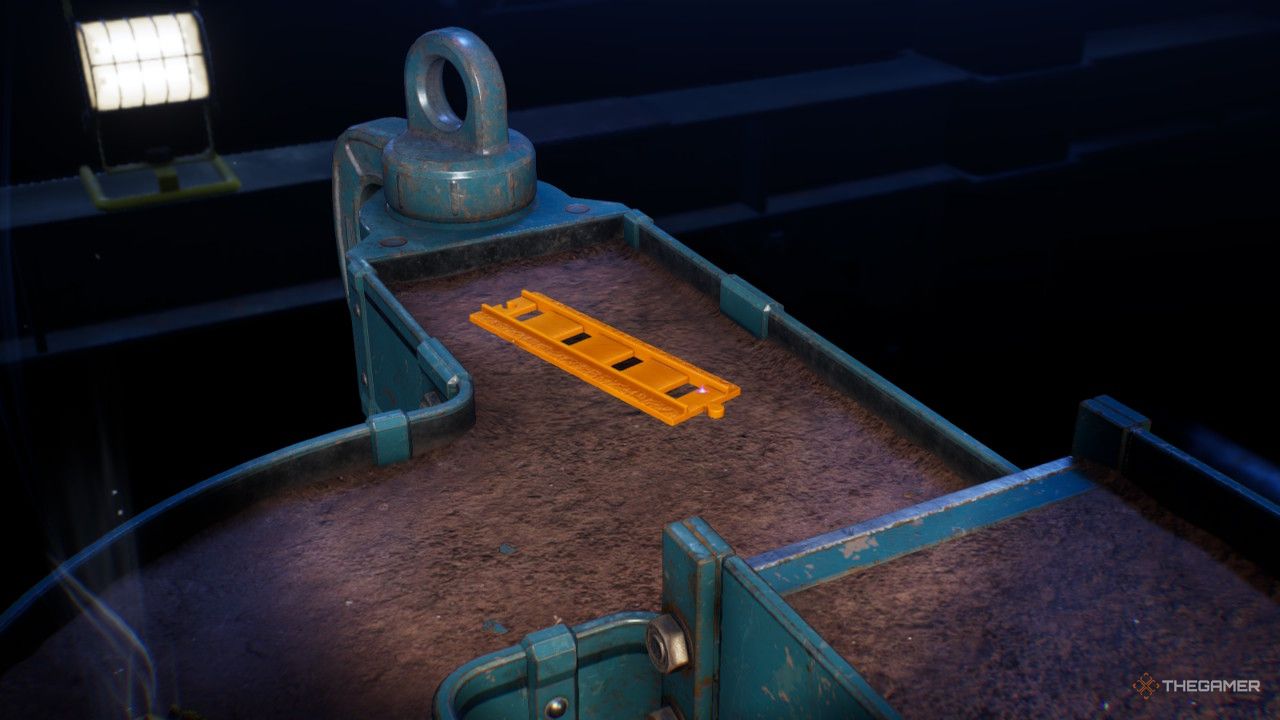 |
Straight-and-Narrow Track | West side, down a ledge | |
 |
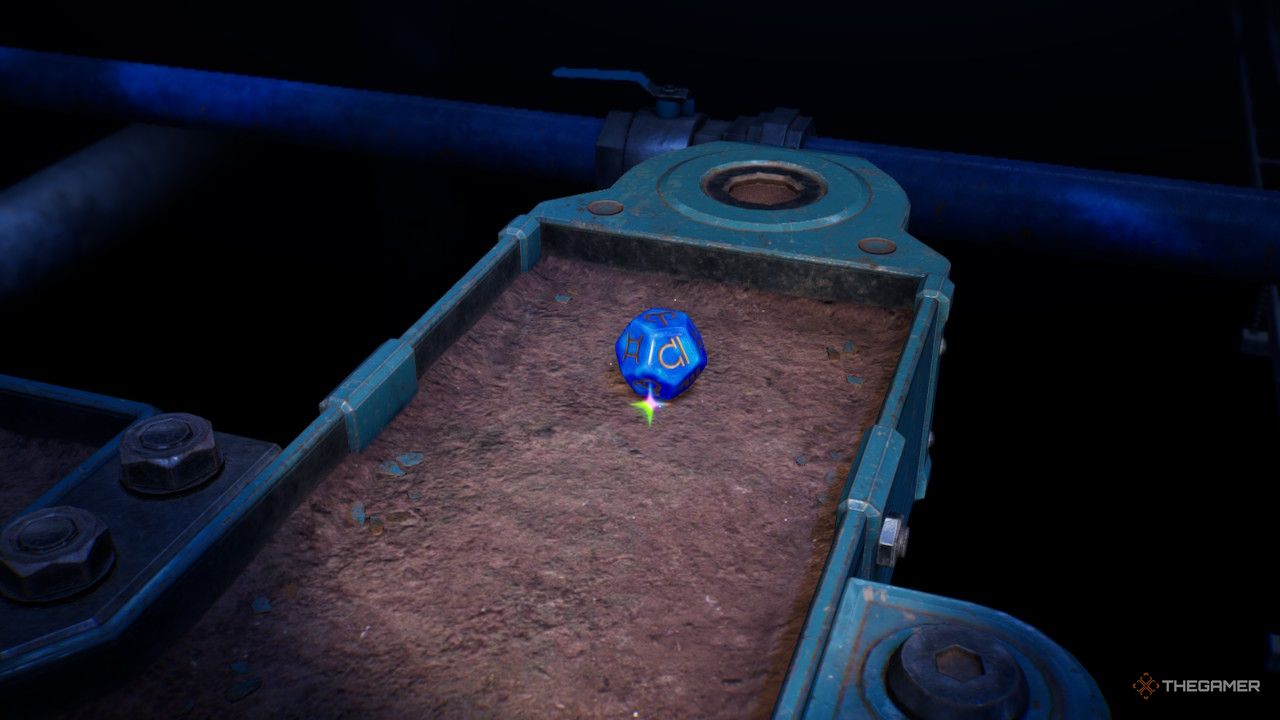
Telekinesis Detector | East side, on a platform. Winged Pikmin can carry it around the bars |
Sublevel 3
| Treasure Image | Name | Location | Details |
|---|---|---|---|
 |
Heart Sword (x2) | Northwest area, up a ledge | |
 |
Sphere of Heart | South area, behind bars on an elevated hall |
Sublevel 4
| Treasure Image | Name | Location | Details |
|---|---|---|---|
 |
Disk of Surprising Wisdom | Northwest area, with a Dweevil under it | |
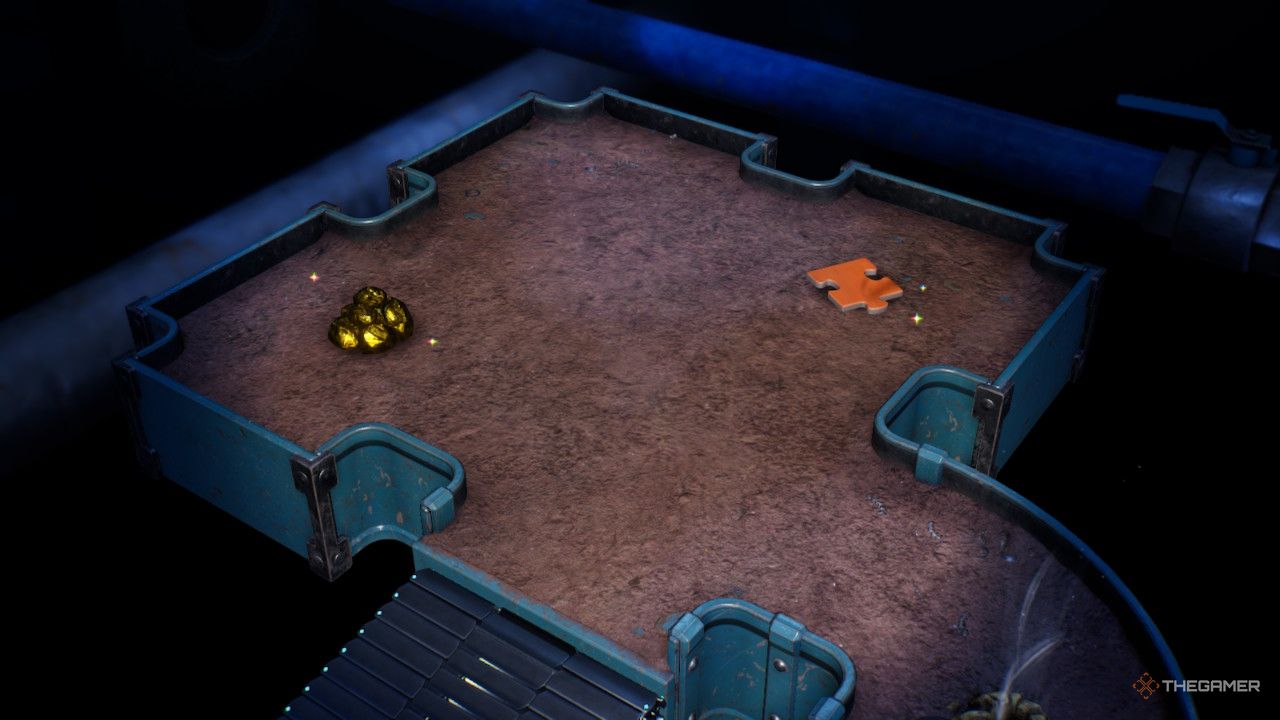 |
Gold Nuggets | Northeast zone, after a conveyor belt | |
|
Memory Fragment (Right Edge) | Northeast zone, after a conveyor belt |
Sublevel 5

| Treasure Image | Name | Location | Details |
|---|---|---|---|
 |
Winged Freedom Sculpture | Southwest corner of boss arena. Wall is removed after boss is defeated |
NEXT: Pikmin 4: Frequently Asked Questions