Armored Core 6 Walkthrough
Armored Core 6 Walkthrough
Quick Links
- Annihilate The SG Squad In Sector 1
- First Piece Of Hidden Archive Data Location
- Annihilate The SG Squad In Sector 2
- Second Piece Of Hidden Archive Data Location
- Sulla Boss Fight
Attack The Watchpoint: A Playful Guide to the Final Mission of Armored Core 6’s First Chapter
Welcome, fellow mech warriors, to the epic conclusion of Armored Core 6’s first chapter: Attack The Watchpoint. Get ready for some heart-pounding action as you face two squads of enemies, hunt for hidden goodies, and take on the tough-as-nails boss, Sulla. Join me on this adventure and let’s dive into the chaos!
Annihilate The SG Squad In Sector 1

Stealth may sound tempting, but let’s face it, being sneaky is not really our strong suit here. So, don’t worry about detection as you drop into the water at the beginning of the stage. It’s time to unleash mayhem from the depths! No combat encounter can withstand your ferocity.
Here’s a pro tip: There are two giant cannons in the first area, and they are just begging to be destroyed. Take a deep dive, swim along the left side, and surprise those cannons from below. They won’t even know what hit ’em!
Once you’ve annihilated the Laser Cannons, head towards the front of the platform (where you started) and make quick work of the pesky Light MTs. If you’ve brought your trusty Plasma Rifle, these puny enemies won’t stand a chance against a single uncharged shot. Boom!
First Piece Of Hidden Archive Data Location

Ah, the thrill of discovering hidden treasures! To find the first piece of archive data, swim your way to the Laser Cannon furthest away from where you started. Deep beneath the surface, lies a destroyed mech clutching the “Comms Record: Independent Merc Comms” archive data. It’s a pirate’s dream come true!
- Armored Core 6: AAP07: Balteus Boss Guide
- Warframe: Gotva Prime – The Ultimate Guide
- Warzone 2 DMZ – Vondel Golden Weapon Location Guide
Annihilate The SG Squad In Sector 2

Hold your horses, brave warriors! Don’t rush straight into the second area, or you’ll regret it. Follow your mission marker, and it will lead you straight into a laser bombardment. Ouch! Instead, let’s take the scenic route. Fly up to the top of the building above the checkpoint and enjoy the view.
Now that we have a bird’s-eye perspective, strategically destroy the Laser Cannons one by one. Circle around, take out any Light MTs that stand in your way, and keep moving forward. Remember, you’re the boss of this battlefield!
Second Piece Of Hidden Archive Data Location
It’s time to put your treasure hunter skills to the test again! After defeating the second squadron, soar up to the rooftops and soak in the victory. On the building overlooking the area where you fought the first squadron, lies a fallen AC. Among its treasured secrets, you’ll discover the “Observation Data: Wave Mutation Detected” archive entry. Hidden no more!
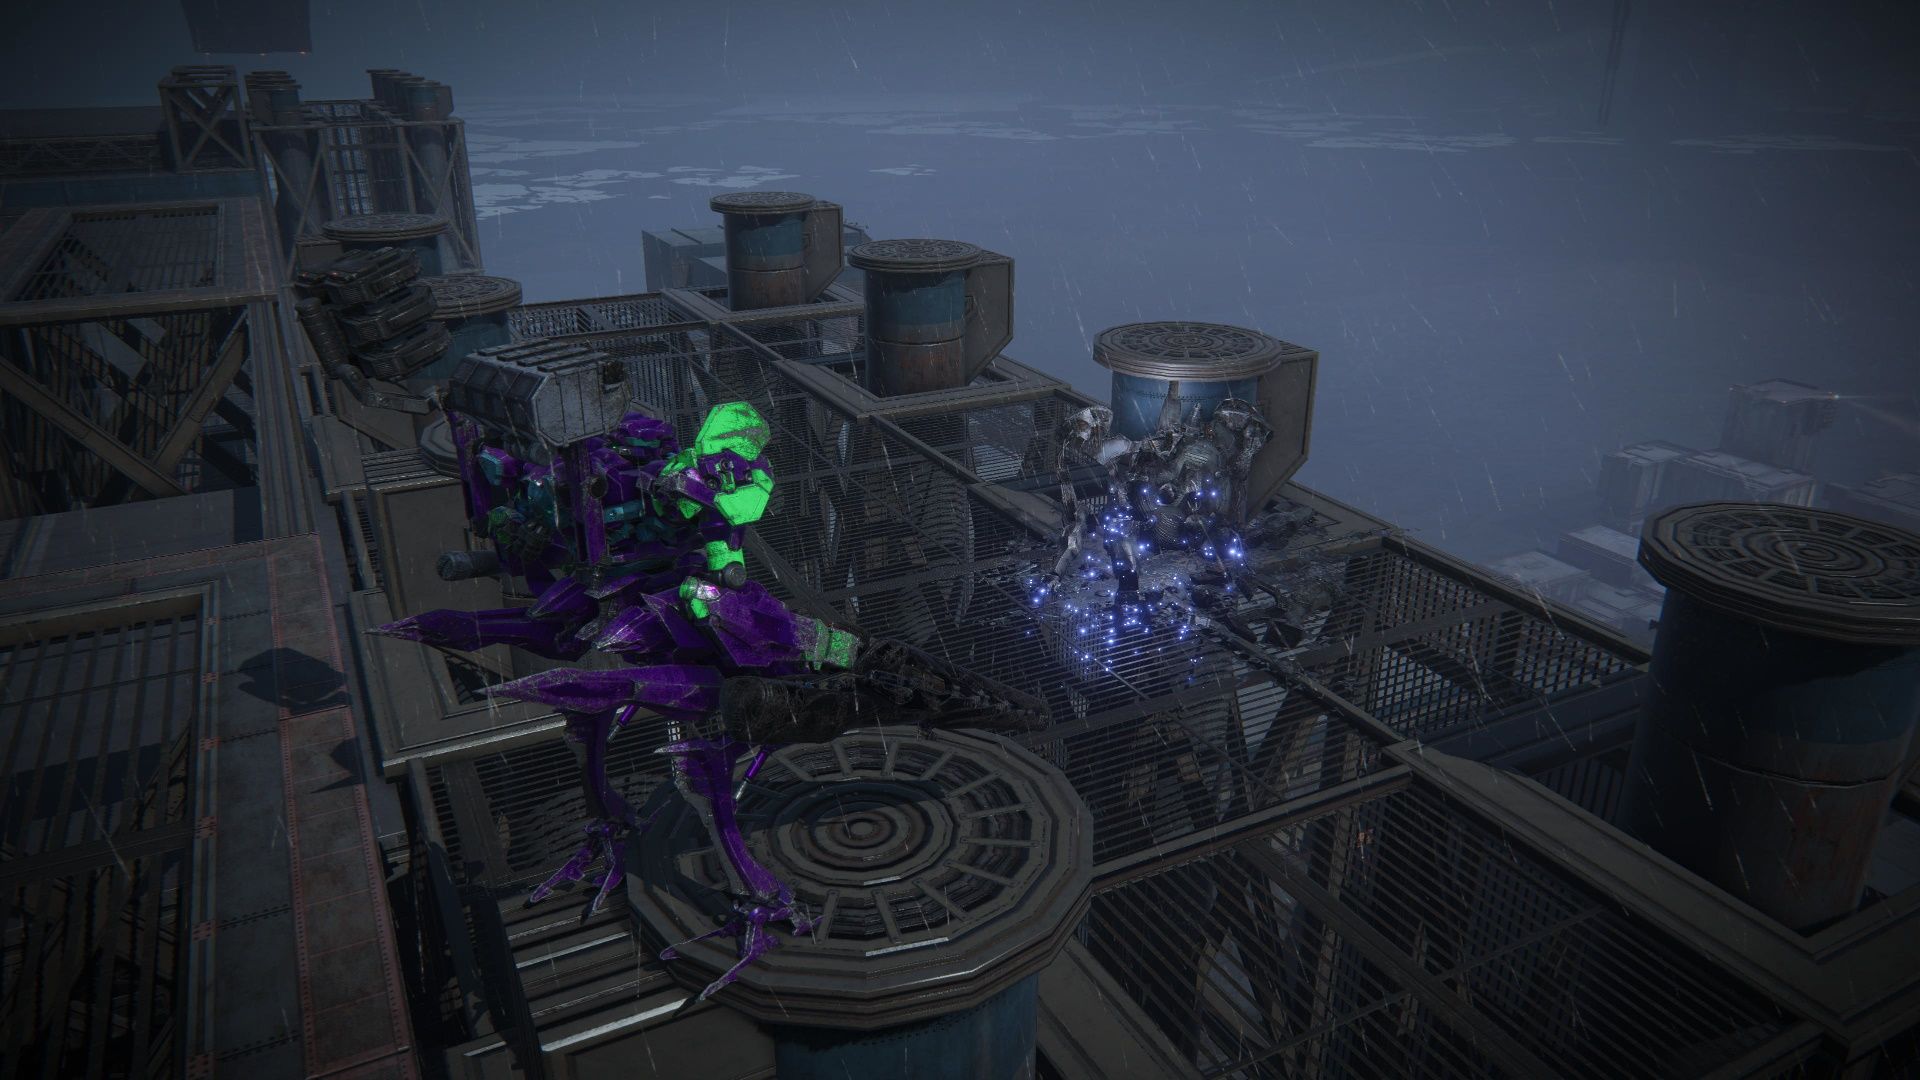
Sulla Boss Fight

Equipment
| R-Arm | Detonating Bazooka | 44-141 JVLN ALPHA |
|---|---|---|
| L-Arm | Pulse Gun | HI-18: GU-A2 |
| R-Back Unit | Plasma Missile Launcher | Vvc-703PM |
| L-Back Unit | Detonating Missile Launcher | 45-091 JVLN BETA |
Sulla Overview
Gather ’round, mech enthusiasts, and behold the mighty Sulla! This guy means business. He’s lightning fast, formidable at various ranges, and loves to play in the sky. We’ve got our work cut out for us, but fear not, we shall emerge victorious!
Beware Sulla’s sneaky tactics! Trying to fight him from the ground while he’s zipping above you is a recipe for disaster. His explosive bazooka shots will rain down upon you, and that’s no party you wanna be a part of. So, let’s get creative, shall we?
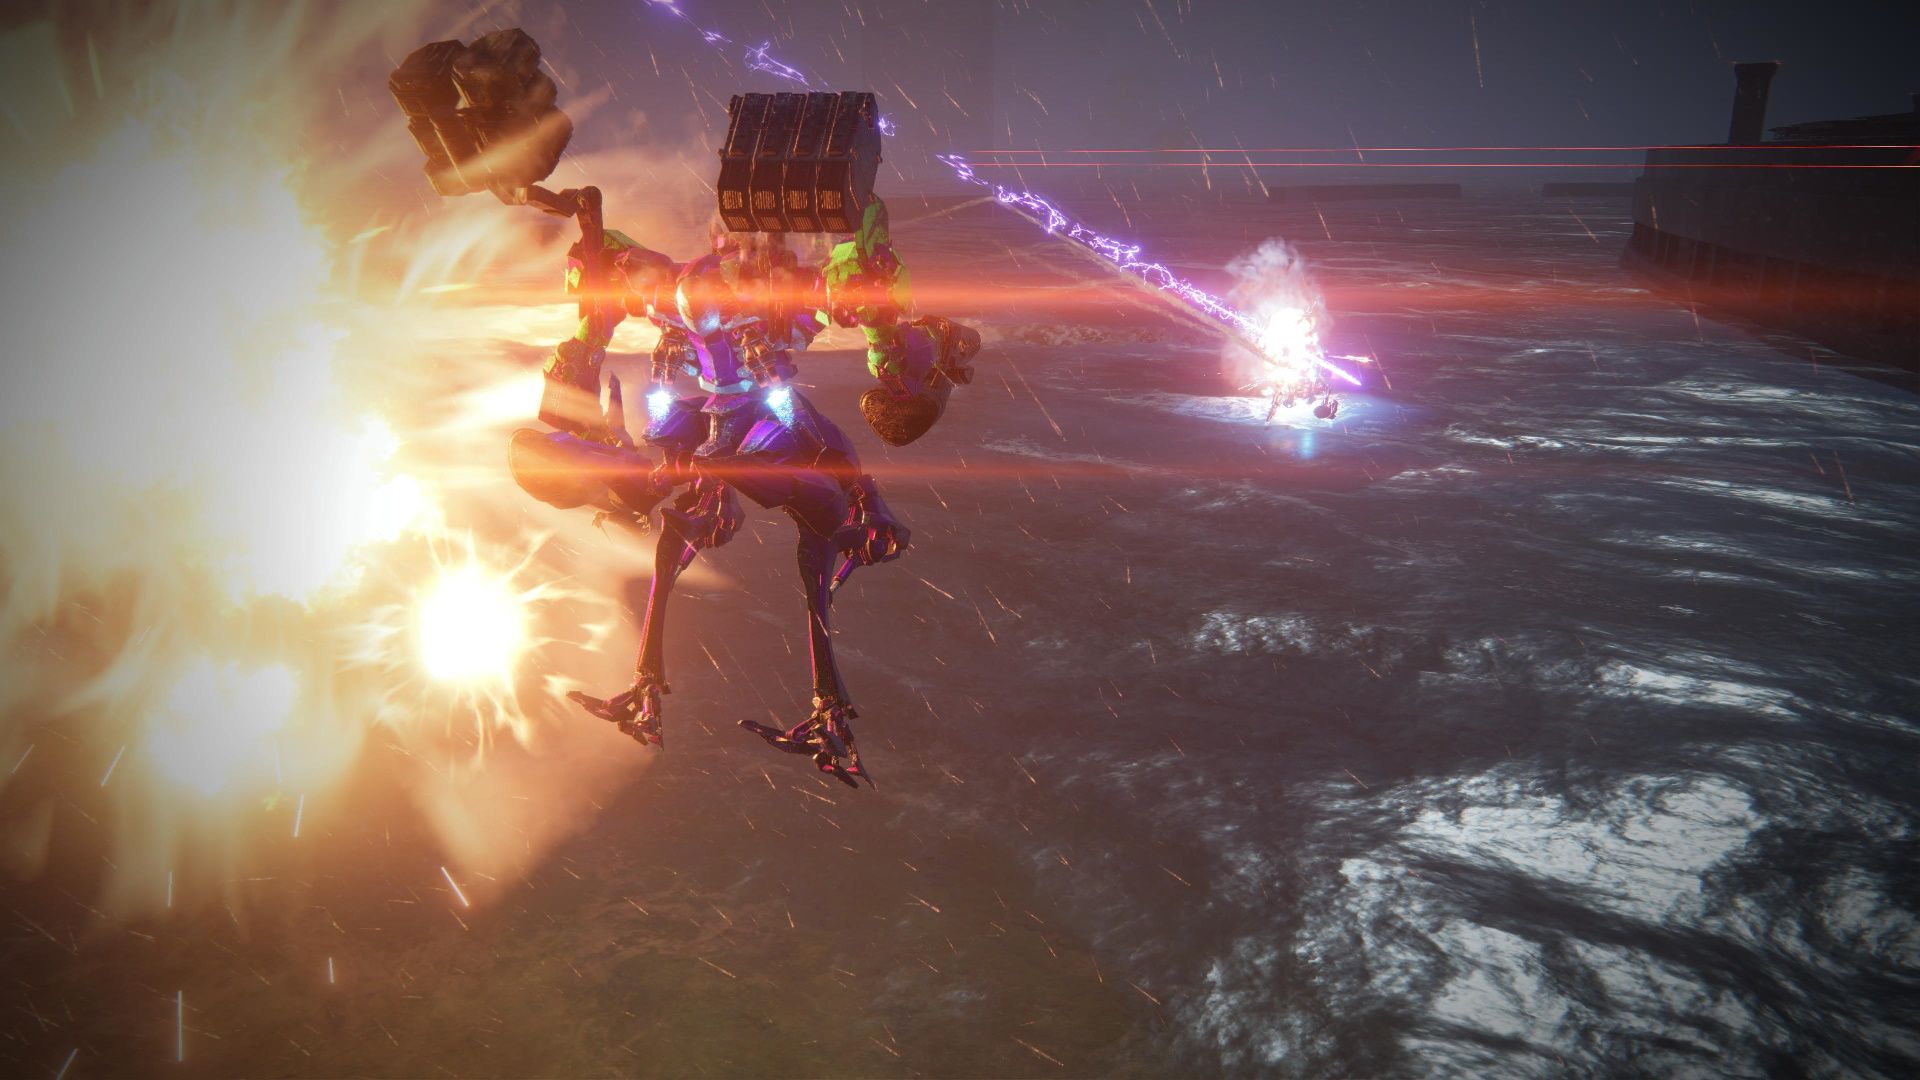
How To Beat Sulla
Time to put those mech piloting skills to the test! One strategy is to fire a barrage of missiles while strafing in one direction, then quickly switch directions and fire your Plasma Rifle. Sandwich Sulla between the explosions, and watch him enjoy a taste of his own medicine. Bon appétit!
Feeling sneaky? Find a cozy spot surrounded by objects, and lure Sulla into your trap. When he gets close, make a swift Quick Burst past him, leaving Sulla surrounded by obstacles. Now it’s your chance to strike, while he desperately tries to escape his self-made prison. Cornered and outnumbered, victory is within our grasp!
Remember, Sulla has Repair Kits too, so don’t be surprised if he tries to heal himself during the battle. Keep the pressure on, unload your arsenal of destruction, and watch those Repair Kits dwindle away.
Congratulations, brave mech warrior! You’ve conquered the final mission of Armored Core 6’s first chapter. Now, go forth and continue your journey. May your battles be fierce, your victories glorious, and your gaming experiences absolutely epic!
Next: Armored Core 6: AAP07: Balteus Boss Guide