The Legend Of Zelda: Tears Of The Kingdom – Master Kohga Of The Yiga Clan Guide
The Legend Of Zelda: Tears Of The Kingdom - Master Kohga Of The Yiga Clan Guide
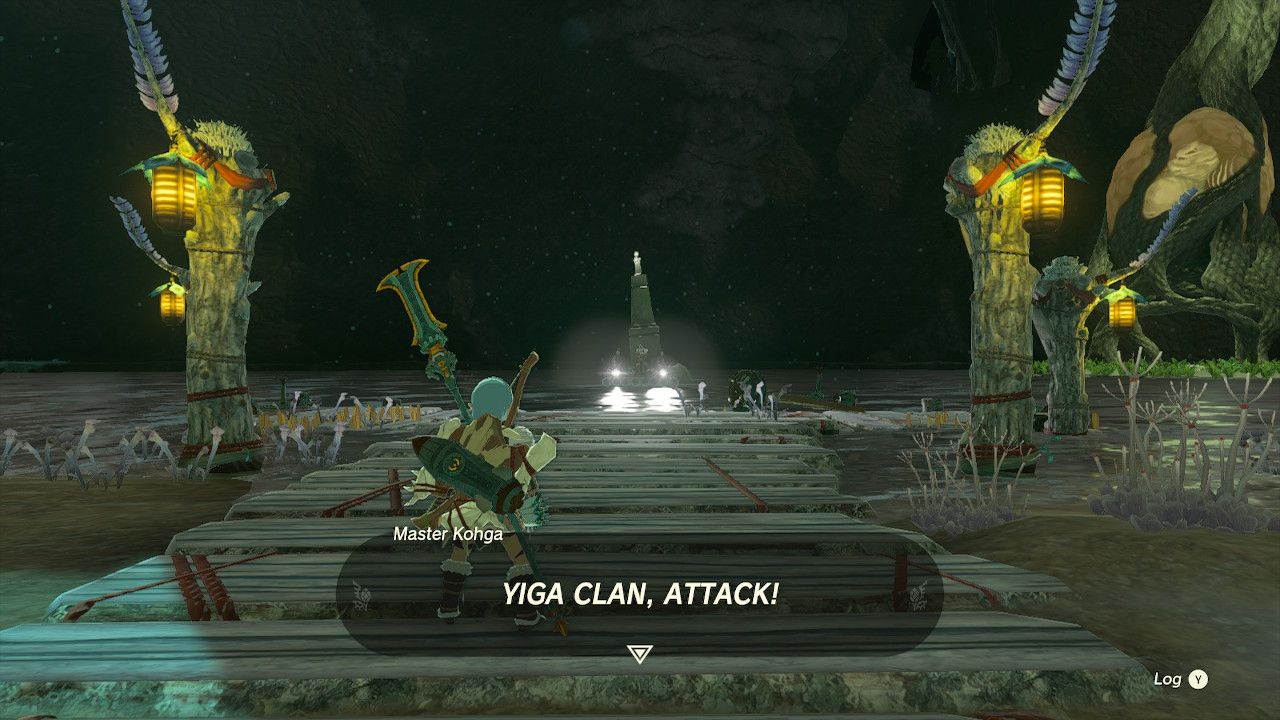
The Depths: Master Kohga Returns for Revenge!
Returning from Breath of the Wild to wreak havoc once again in The Legend of Zelda: Tears of the Kingdom, Master Kohga of the Yiga Clan is back with a vengeance. What you thought was the finishing blow in the prequel was actually Link knocking Kohga into The Depths, where he’s had a chance to not only survive, but thrive.
But that doesn’t mean he forgives you – he really wants revenge, and he’ll drag you all over The Depths trying to get it. Our guide will help you pin down Master Kohga of the Yiga Clan once and for all.
Master Kohga of the Yiga Clan Begins in The Depths
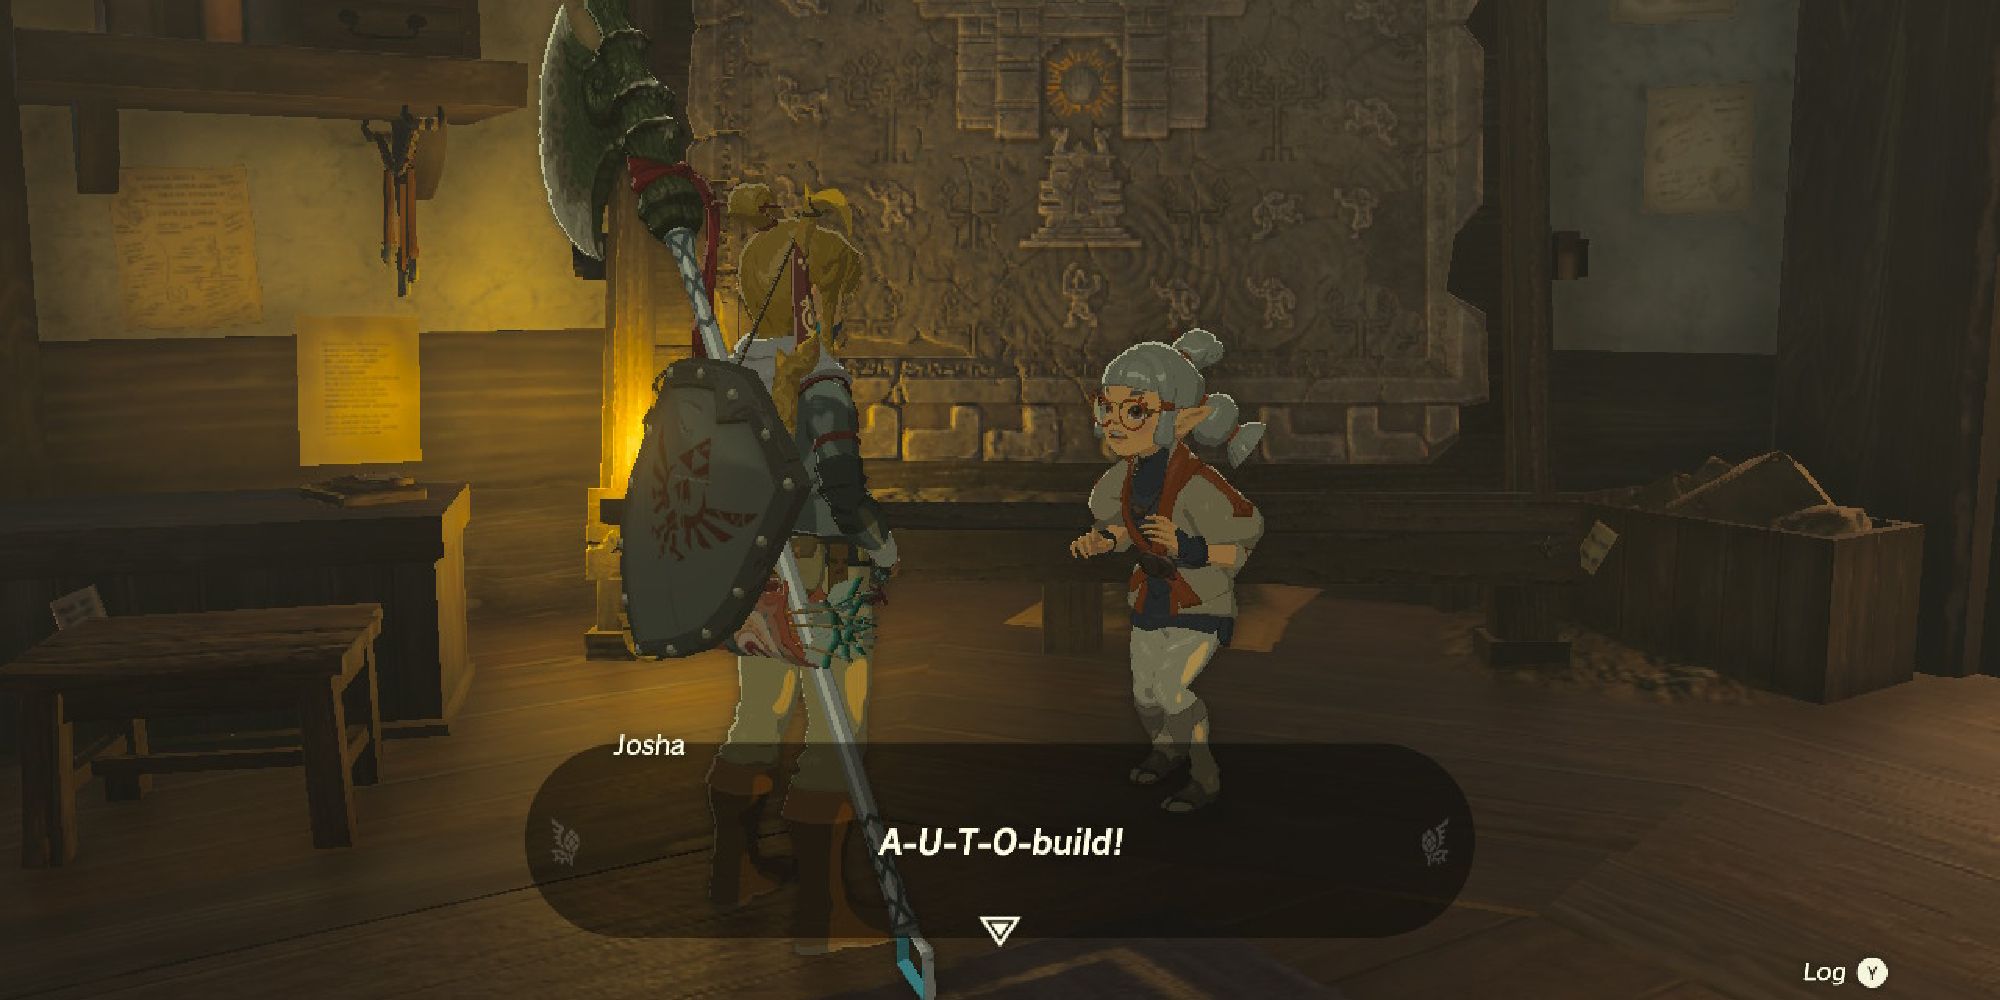
It’s entirely possible that you’ll trigger the Master Kohga of the Yiga Clan quest without meaning to, as doing so is intricately tied to receiving the Autobuild ability. Speak to Josha up in Lookout Landing, who’ll give you the A Mystery in the Depths quest, which sends you to the Great Abandoned Central Mine in The Depths.
Follow the questline to unlock Autobuild, and your first fight with Master Kohga takes place as part of it. As soon as you defeat him the first time, this triggers the Master Kohga of the Yiga Clan quest, which you can then proceed with any time you’re ready.
Phase One: First Encounter
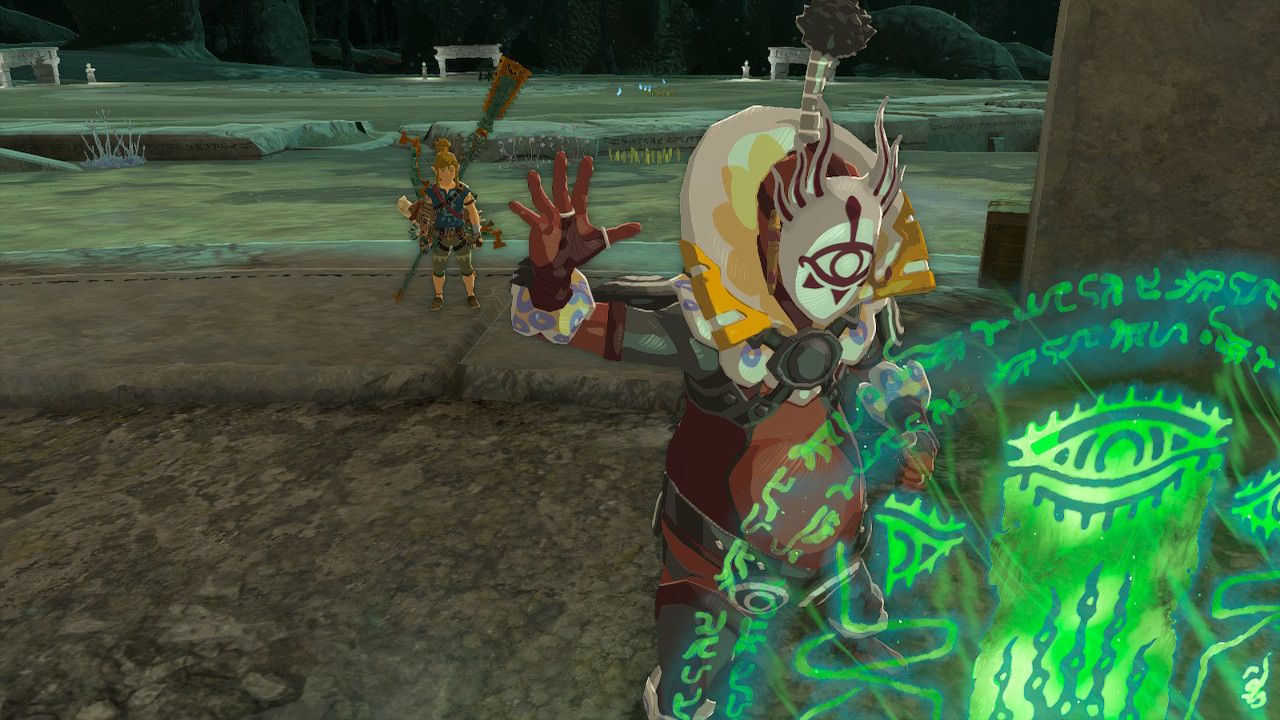
The first time you fight Master Kohga, you’re really not expecting to – his Yiga Clan goons were in disguise and jumped you as soon as you helped them with their Autobuild problems. Enter, Master Kohga.
- Fortnite: Boost Your Rep!
- Lies Of P: The King Of Puppets Boss Guide
- Baldur’s Gate 3: Disable The Steel Watch Quest Guide
The first stage of this fight is fairly simple. Master Kohga will be riding around the arena, and you’ll be tasked with firing arrows at him in order to stun him.
Once Master Kohga is stunned, run over and wail on him with everything you have, using your strongest weapons to move the fight along quickly.
Phase Two: On Wheels
Once you’ve depleted a chunk of Master Kohga’s health bar, he’ll begin charging at you in his vehicle mech. Additionally, he’s now got a barrier on his car.
While Master Kohga is capable of performing a charged attack here, he can’t correct course if you move.
Because of this, it’s easy to get Master Kohga to aim for you, before you move at the last second. Master Kohga will drive into the wall and become stunned.
Just like before, beat on Master Kohga until his health is depleted. After he’s finished, watch the cutscene, in which Master Kohga tells you where to find him next – the Abandoned Gerudo Mine.
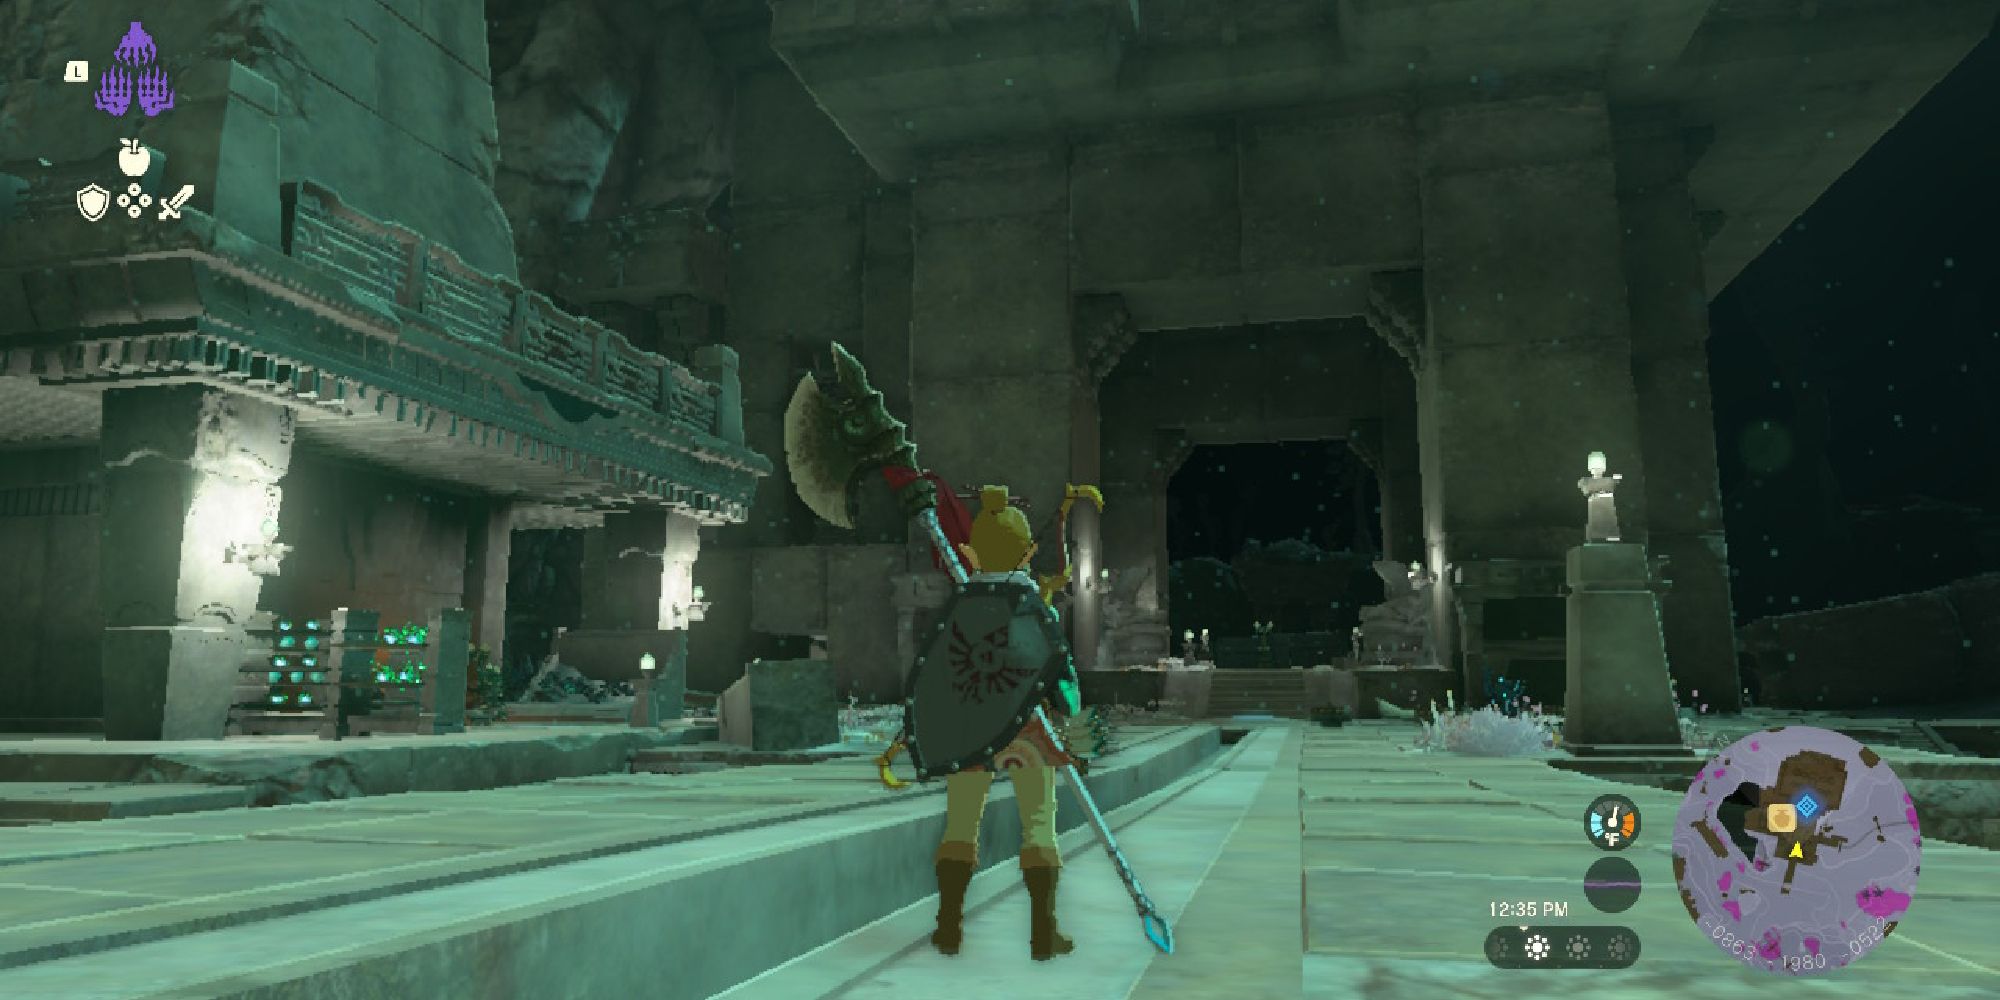
Abandoned Gerudo Mine
When you first arrive at the Abandoned Gerudo Mine, you find Master Kohga messing with a green glowing light to try it make it work. It doesn’t, which is your fault, obviously – time to fight.
Phase One: Flying Mech
During this stage of the fight, Master Kohga will now be in a flying mech, a hodgepodge plane he’s put together.
Don’t stay on the ground too much, as Kohga having the higher ground puts you at bigger risk from his aerial attacks.
Once you’re above Master Kohga, loose your arrows to send him crashing to the ground, then head back down to use your melee weapons to do some serious damage before he can get back up.
Phase Two: On Guard
Now that Master Kohga is tired of your strategy, he once again erects a shield on his vehicle. Amusingly, he seemed most concerned with the front.
While he’s now more aggressive in his own attacks, if you’ve got a pattern down for staying above Master Kohga’s plane, there’s little he can do to hurt you.
Again, your goal is to hit Master Kohga with your arrows to send him crashing to the ground, so you can use your melee weapons to finish him off.
After his defeat, another cutscene plays where Master Kohga flies off and you’re given your next location – the Abandoned Lanayru Mine.
Abandoned Lanayru Mine
He’s fought you on the ground, and he’s fought you in the air, but now that you’re in Lanayru just below Zora’s Domain up on The Surface, it’s time for Master Kohga to fight you on a boat.
Hop on one of the makeshift boats nearby and give chase into the water to begin fighting Master Kohga and his Yiga Clan goons.
Phase One: Water Battle
Not only is the water-based nature of this fight a bit much, as Link is at risk of drowning if your stamina isn’t too strong, but Master Kohga has backup in this fight from two Yiga Clan members in his boat.
They’ll be firing at you to slow you down, so take out the Yiga Clan members first to let you get closer to Master Kohga himself. Thrown weapons also work well here, as do bows.
Should you hit Master Kohga himself or even board his boat, you can then proceed into the melee attack portion of the fight. Continue this until the second phase begins.
Phase Two: Shields Up!
It should come as no surprise by now that phase two includes a shield for Master Kohga – but not for his Yiga Clan cronies, though.
Keep firing arrows or lobbing projectile weapons to handle his increased defenses.
When he’s finished, he’ll warn you that the final stage will be your last and take off, leaving you to grab the treasure and speak to the Constructs before heading to Master Kohga’s final destination – the Abandoned Hebra Mine.
Round Four: Abandoned Hebra Mine
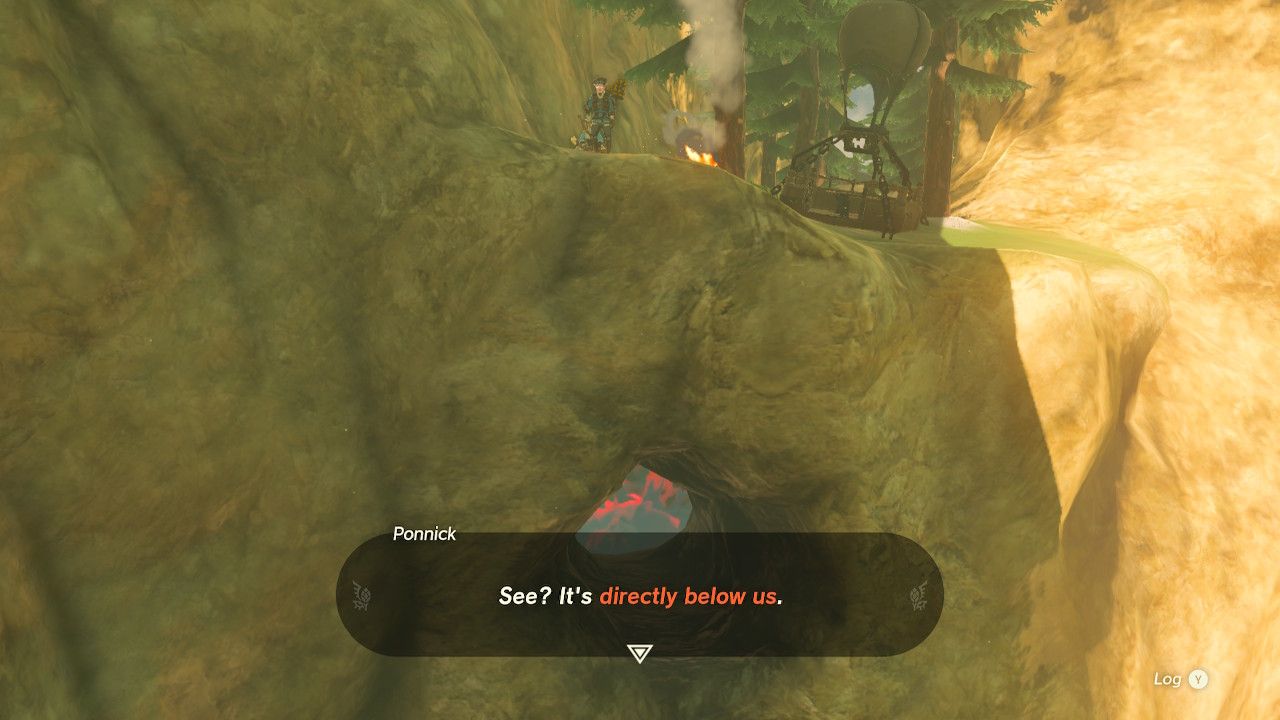
Enter The Hebra Mine Through The Rito Village Chasm
Getting there will be a lot easier said than done, though, since Hebra has almost no chasms.
An overview of the map of the region reveals none on the surface, but the Construct at the Abandoned Lanayru Mine tells you that a cave in the Hebra region is so gloom-filled that you can see the gloom from outside the cave.
And since there’s only one way into the Abandoned Hebra Mine, you’ll need to go searching. Hopefully, you’ll have noticed that the Mines are all under towns on The Surface, meaning you’re headed to Rito Village.
If you look at Rito Village on your map, you’ll notice a small V-shape on the South side of the central island that is Rito Village. Run that way, and you’ll soon spot smoke from a fire by the edge of the cliff.
Speak to the explorer here, who points out the cave opening just below you in the mountainside.
You’ll need to jump off the cliff near him and use your Paraglider to float back into the cave to find Master Kohga at Hebra Mine.
From here, simply hop into the Rito Village Chasm, activate the Lightroot for easier returns, and then speak to a meditating Master Kohga to begin your final battle in Hebra Mine.
Phase One: No Shield This Time!
You’d think Master Kohga would have learned to just start with a shield, but he once again goes unprotected, with your goal again to use arrows or projectiles from the floor of the arena to hit him in the head to knock him from the mech.
Like always, pound on him until he gets back into his mech again. This will keep up, again, until he’s got about half his HP.
Phase Two: Shielded Attacks
This time, Master Kohga’s mech doesn’t have a shield in the traditional sense, but you’ll notice that it has a shield when it claps its hands. You’ll need to time your shots to account for this.
Additionally, Master Kohga is pulling out all his offensive stops with a cannon attack that moves in on you to trap you between the blasts, and a pounding attack if you get too near.
These are both easy enough to avoid if you run from them, as there’s no way to hurt Master Kohga while he’s using these moves.
It’s his final move, though, that you can turn back against him. When he pulls out three large projectiles to fire at you, use Recall to rewind them so that they hit Master Kohga instead of you.
Once he’s hit, run to use your melee weapons while he’s stunned.
These projectiles do heavy damage to Master Kohga innately, so it should only take two or three blasts until you’ve beaten Master Kohga in Hebra Mine for the final time.
NEXT: The Legend Of Zelda: Tears Of The Kingdom – How To Find All The Great Fairies